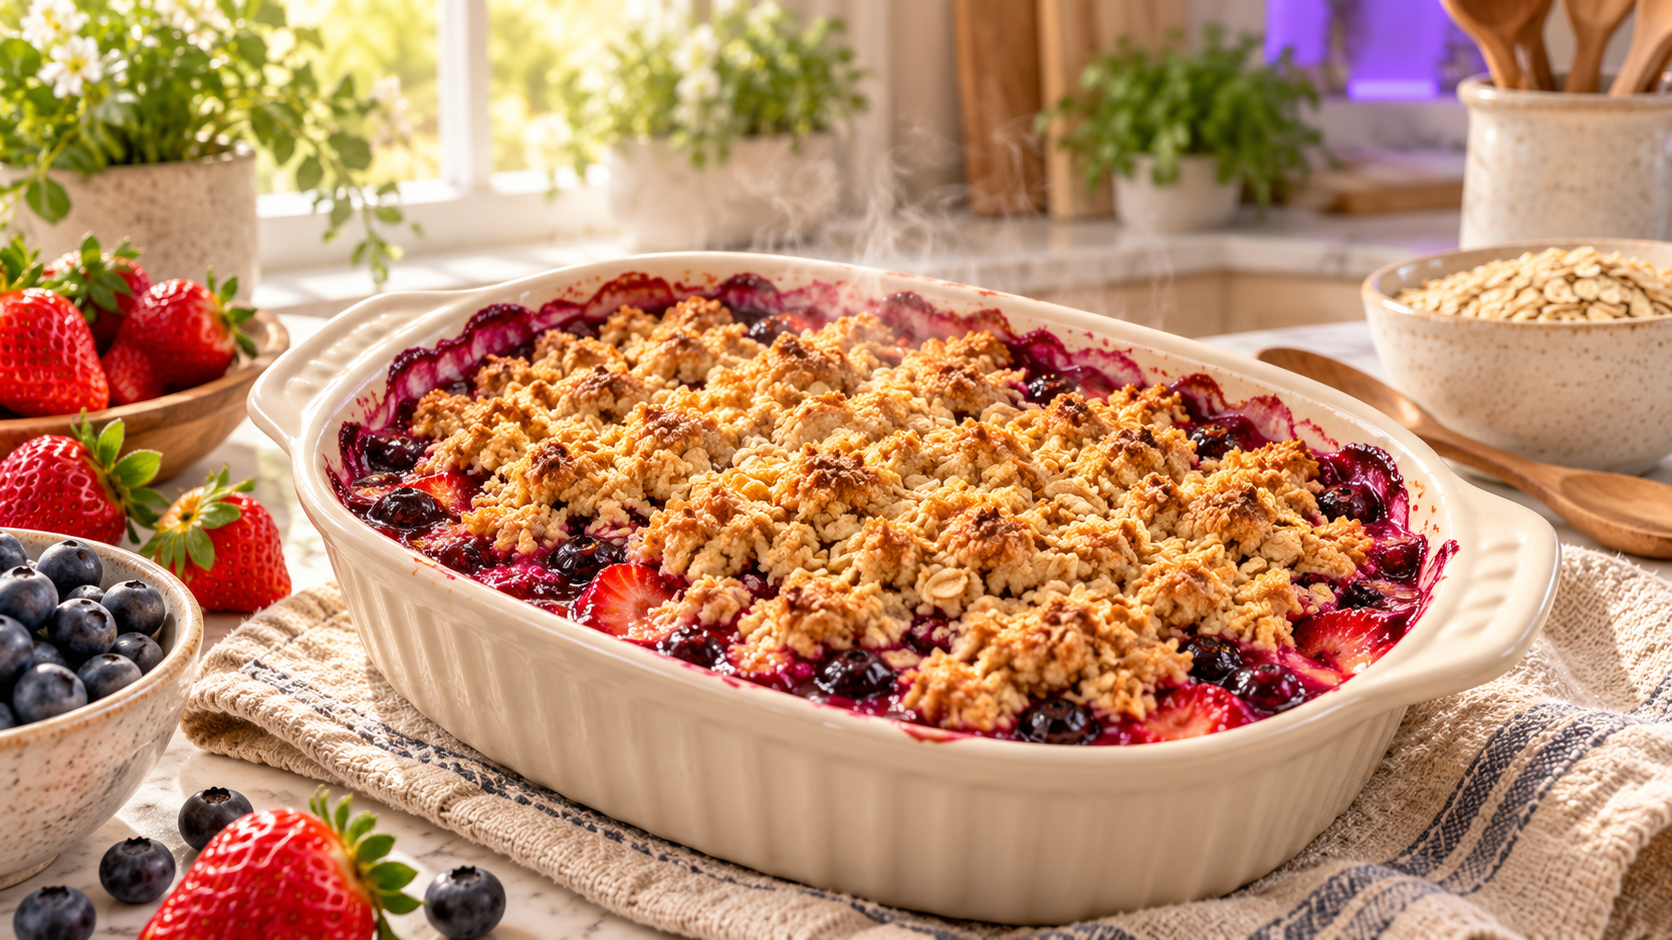
The EBT Freezer Meal Plan: Elevated Freezer Cooking


- Freedom from Daily Cooking — Reclaim your weeknights. Spend a few hours on Sunday preparing, then enjoy effortless, delicious dinners all week with minimal cleanup.
- Gourmet Taste on a Tight Budget — Discover how smart technique—not expensive ingredients—creates meals that feel special, intentional, and restaurant-worthy using freezer and pantry staples.
- Stop Throwing Money Away — Dramatically cut down on food waste and impulse takeout. Cook exactly what you need and freeze the rest for nights when cooking is the last thing you want to do.
- Nourish Your Body Consistently — Enjoy balanced, home-cooked meals packed with protein, fiber, and veggies, giving you control over ingredients, sodium, and quality.
- The Power of Frozen Ingredients — Frozen vegetables and proteins are often more nutritious than “fresh” options that have traveled long distances, plus they’re cheaper, reduce waste, and are always ready when you are.
- Built for Real Life — This plan is designed for flexibility, with smart swaps for every recipe to accommodate dietary preferences, what’s on sale, or what you already have on hand.
Budget Breakdown & Accessibility
Note: Cost assumes using frozen proteins, canned goods, and basic pantry staples. Price per serving drops significantly when buying in bulk.
The Menu
Get a taste of what you’ll be making! Each meal freezes beautifully and reheats like a dream.
1. Smoky Turkey & Cocoa-Spiced Bean Ragù

A rich, satisfying stew that gets better in the freezer. The touch of cocoa adds incredible depth.
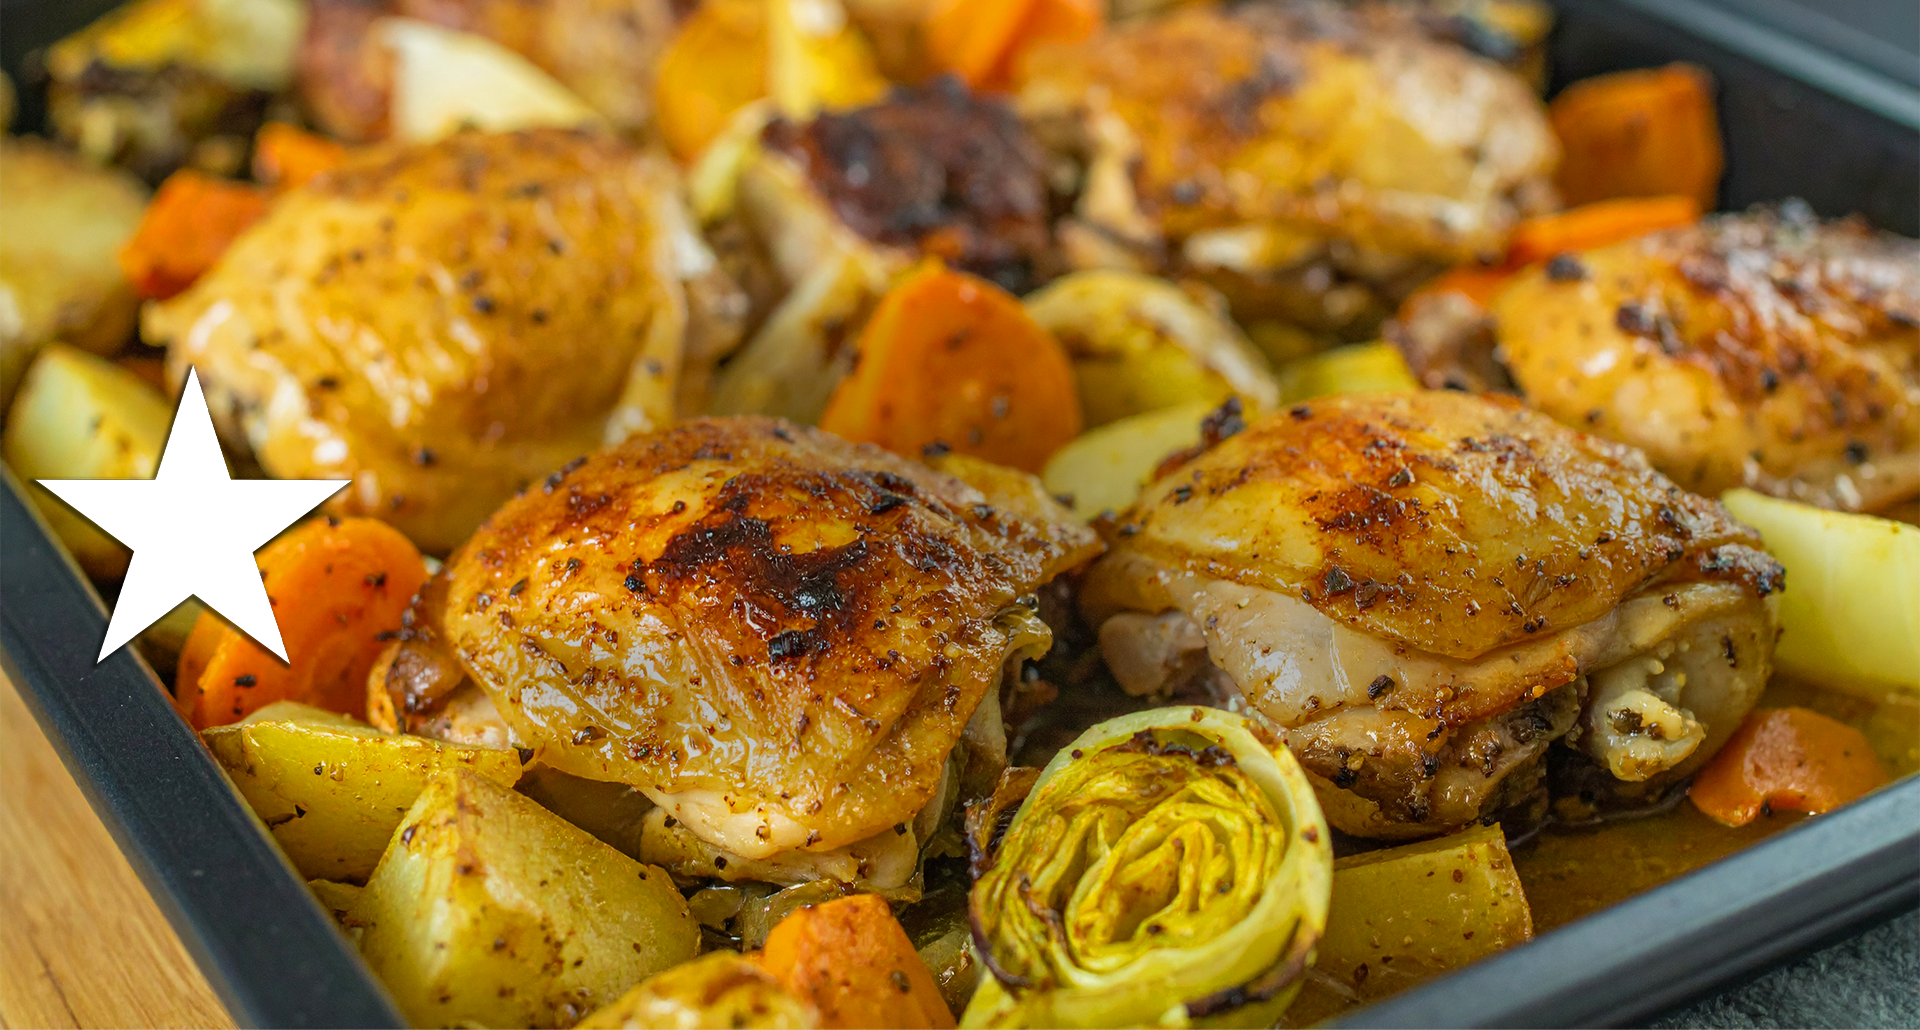
2. Lemon-Garlic Chicken with Herb Rice Pilaf

Bright, complete meal that reheats perfectly. The lemon is added after reheating for maximum freshness.
3. Spiced White Bean & Caramelized Onion Ragout
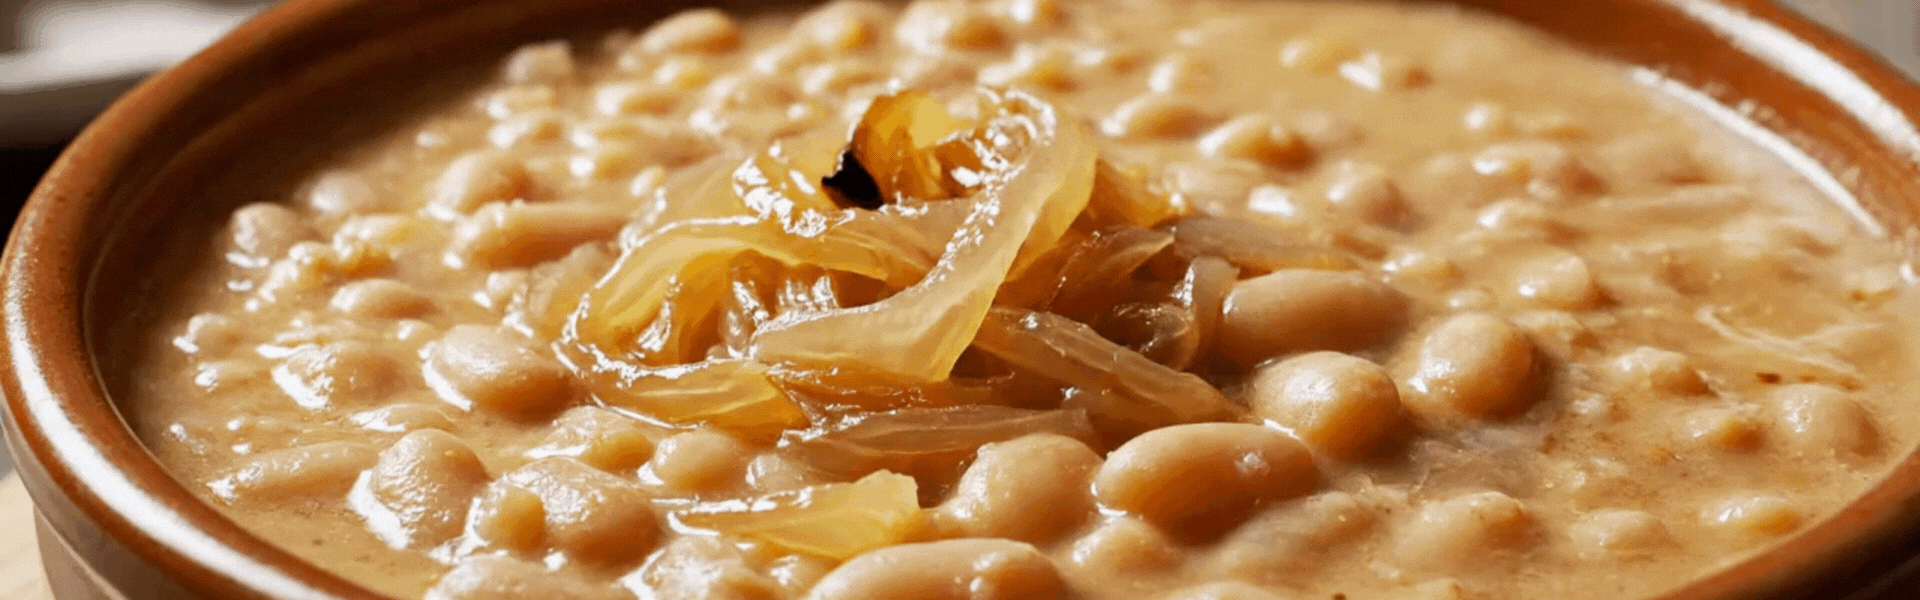
Creamy, versatile, and plant-powered. Serve over rice, with chicken, or on toast.
4. Harissa-Spiced Freezer Breakfast Burritos

Grab-and-go protein power for busy mornings. Make 10 at once and freeze for the week.
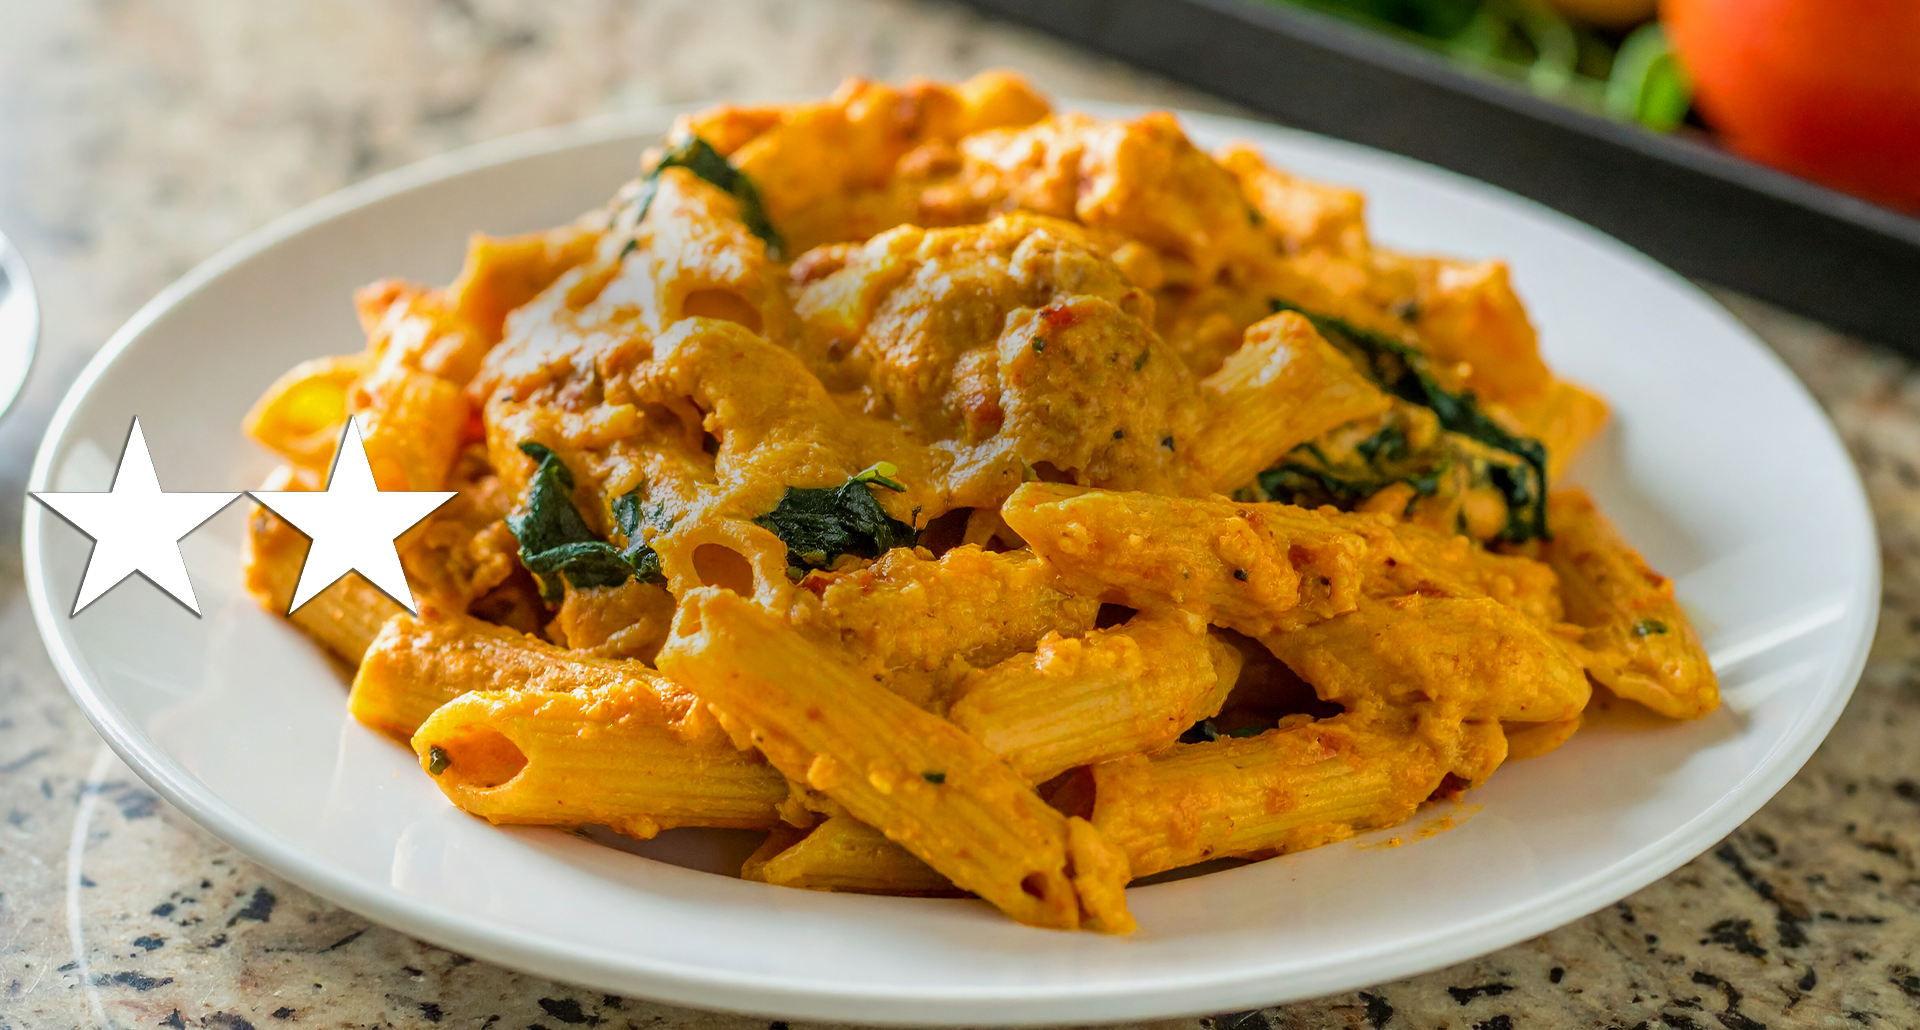
5. Creamy Tomato & Beef Pasta Bake

The ultimate comfort food, made freezer-friendly. Cheesy, hearty, and always a crowd-pleaser.
5 Core Benefits of This Freezer Plan
“
This method transformed my relationship with cooking on a budget. By focusing on technique and flavor-building with spices, I create meals from my freezer that feel like a treat, not a compromise. It’s the ultimate tool for eating well without spending your life in the kitchen or your whole paycheck at the grocery store.
“
Sunday Prep & Freezer Mastery Tips
- Work in an Assembly Line – Chop all your frozen aromatics (onions, etc.) first if needed, then brown all your meats together, then build your sauces.
- Cool Completely Before Freezing – This prevents ice crystals and keeps textures perfect. Spread food on a baking sheet to cool faster.
- Portion for Your Life – Freeze in individual servings for lunches, or family-sized portions for dinners. Use flat freezer bags for easy stacking and faster thawing.
- Label Everything – Use masking tape and a marker: write the meal name, date, and simple reheating instructions (e.g., “Bake 350°F, 45 min covered”).
Your freezer is your most valuable kitchen tool for saving time and money.
1. Smoky Turkey & Cocoa-Spiced Bean Ragù
A Rich, Satisfying Stew That Improves in the Freezer

Health Benefits: Lean ground turkey is a great source of protein and B vitamins. Black beans add a powerhouse of fiber (supporting gut health and stable energy) and plant-based protein. The touch of cocoa powder is rich in flavonoids and adds depth without sweetness.
Money-Saving Benefits: Using frozen turkey and onions is typically cheaper than fresh. Canned tomatoes and beans are pantry staples with a long shelf life and low cost per serving. This recipe stretches one pound of protein into 6 hearty servings.
Prep: 15 min | Cook: 40 min | Freezer Life: 3 months
Ingredients:
- 1 lb frozen ground turkey
- 1 (28 oz) can crushed tomatoes
- 1 (15 oz) can black beans, drained
- 2 tbsp tomato paste
- 1½ cups frozen diced onion
- 1 tsp smoked paprika
- 1 tsp cumin
- ½ tsp unsweetened cocoa powder
- 1 tsp garlic powder
- Salt and black pepper
- 2 tbsp oil for cooking
Beginner-Friendly Instructions:
- Prep your station: Place all ingredients on your counter. Open the canned tomatoes and beans, and drain the beans in a colander.
- Heat the oil: Place a large, heavy-bottomed pot or Dutch oven over medium heat. Add 2 tablespoons of oil and let it heat for 1 minute (it should shimmer but not smoke).
- Cook the onions: Add the frozen diced onions directly to the hot oil. Cook for 5-7 minutes, stirring occasionally, until they become soft and start to turn golden brown at the edges.
- Brown the turkey: Add the frozen ground turkey to the pot, breaking it up with a wooden spoon. Cook for 8-10 minutes, stirring frequently, until no pink remains and it’s fully browned.
- Bloom the spices: Push the meat and onions to one side. Add the tomato paste, smoked paprika, cumin, cocoa powder, and garlic powder to the cleared spot. Cook for 1 minute until fragrant, then stir everything together.
- Add liquids and beans: Pour in the crushed tomatoes and add the drained black beans. Stir well to combine everything.
- Simmer: Reduce heat to medium-low (a gentle bubble). Let it cook uncovered for 25-30 minutes, stirring occasionally, until the sauce thickens and becomes glossy.
- Season: Taste the ragù and add salt and black pepper until it tastes good to you. Remember it will taste less salty once frozen.
- Cool and freeze: Turn off heat. Let the ragù cool completely in the pot (about 1 hour), then transfer to freezer-safe containers or bags. Leave ½ inch of space at the top for expansion.
- Freezer tip: For easy stacking, pour cooled ragù into gallon freezer bags and lay them flat to freeze.
Smart Swap Options:
- Turkey → Ground chicken, lean beef, or lentils for a vegetarian version.
- Black Beans → Kidney beans, pinto beans, or chickpeas.
- Cocoa Powder → A teaspoon of strong brewed coffee or omit.
- Smoked Paprika → Regular paprika plus a tiny drop of liquid smoke (if tolerated).
2. Lemon-Garlic Chicken with Herb Rice Pilaf
A Bright, Complete Meal That Reheats Beautifully

Health Benefits: Chicken thighs offer flavorful protein and healthy fats. The rice provides energy-sustaining complex carbohydrates. Adding the lemon juice after reheating preserves its vitamin C and gives a fresh, bright flavor that cuts through richness.
Money-Saving Benefits: Frozen chicken is often more economical than fresh and prevents waste. Bouillon is a cheap flavor powerhouse compared to buying broth. Frozen peas add color and nutrition for pennies. The entire meal is made from inexpensive, long-lasting staples.
Prep: 10 min | Cook: 35 min | Freezer Life: 2 months
Ingredients:
- 2 lbs frozen chicken thighs or breasts
- 1½ cups long-grain rice (like jasmine or basmati)
- 3 cups water
- 1 tbsp chicken bouillon powder or 1 cube
- 1 tsp garlic powder
- 1 tsp dried parsley or Italian seasoning
- 1 cup frozen peas
- 2 tbsp bottled lemon juice
- 1 tsp salt
- ½ tsp black pepper
- 1 tbsp oil
Beginner-Friendly Instructions:
- Prep chicken: Preheat oven to 400°F. Place frozen chicken on a baking sheet. Drizzle with 1 tbsp oil and sprinkle with ½ tsp garlic powder, ½ tsp salt, and ¼ tsp black pepper. Rub seasoning all over.
- Bake chicken: Place chicken in oven and bake for 30-35 minutes, or until internal temperature reaches 165°F (juices run clear, no pink inside).
- Start rice: While chicken bakes, rinse rice in a fine mesh strainer until water runs clear (this removes excess starch).
- Cook rice: In a medium saucepan, combine rinsed rice, 3 cups water, bouillon, remaining ½ tsp garlic powder, dried parsley, and remaining ½ tsp salt. Bring to a boil.
- Simmer rice: Once boiling, reduce heat to low, cover with tight-fitting lid, and simmer for 15 minutes. DO NOT PEEK while cooking.
- Add peas: After 15 minutes, remove rice from heat (keep covered) and let sit for 5 minutes. Then fluff with a fork and stir in frozen peas—the residual heat will thaw them.
- Cool chicken: Remove chicken from oven and let cool completely on the baking sheet (about 20 minutes).
- Portion meals: Divide rice among meal containers. Top with a piece of chicken. DO NOT add lemon juice yet.
- Freeze: Seal containers and freeze. Label with “Add lemon after reheating.”
- When reheating: Microwave or bake until heated through, then drizzle with ½-1 tsp lemon juice per serving and sprinkle with fresh black pepper.
Smart Swap Options:
- Chicken Thighs → Chicken breasts, pork chops, or firm tofu.
- Rice → Quinoa, couscous, or cauliflower rice.
- Frozen Peas → Frozen mixed vegetables, corn, or green beans.
- Bottled Lemon Juice → Fresh lemon or a dash of white vinegar.
3. Spiced White Bean & Caramelized Onion Ragout
A Versatile, Plant-Powered Freezer Star

Health Benefits: Cannellini beans are loaded with fiber, protein, and minerals like magnesium and iron. Caramelizing the onions unlocks natural sugars and deep, sweet flavors. This dish is naturally vegetarian, vegan-adaptable, and high in nutrients that support heart and digestive health.
Money-Saving Benefits: Canned beans are one of the most affordable sources of nutrition available. Using frozen sliced onions saves prep time and money. This ragout is incredibly versatile—serve it over rice, with chicken, or on toast—making one batch work for multiple meals.
Prep: 5 min | Cook: 30 min | Freezer Life: 3 months
Ingredients:
- 2 (15 oz) cans cannellini or great northern beans
- 2 cups frozen sliced onions
- 2 tbsp olive or vegetable oil
- 1 tsp smoked paprika
- ½ tsp cumin
- 1 tsp garlic powder
- ½ tsp salt
- ¼ tsp black pepper
- 1 tbsp bottled lemon juice
Beginner-Friendly Instructions:
- Prep beans: Open the cans of beans but DO NOT drain completely. Pour beans and their liquid into a bowl. You’ll use about ¼ cup of the bean liquid from the cans.
- Start onions: Heat 2 tbsp oil in a large skillet or wide pot over medium-low heat. Add frozen sliced onions.
- Caramelize onions: Cook onions slowly for 15-20 minutes, stirring every 3-4 minutes. They will soften, turn translucent, then become golden brown. This slow cooking develops sweet flavor.
- Toast spices: When onions are golden, add smoked paprika, cumin, and garlic powder directly to the onions. Stir constantly for 30 seconds until fragrant.
- Add beans: Pour in the beans along with ¼ cup of the reserved bean liquid (just scoop it from the bowl). Stir to combine.
- Simmer and mash: Increase heat to medium. Simmer for 10 minutes, stirring occasionally. Use the back of your spoon to mash about ⅓ of the beans against the side of the pan—this creates a creamy texture.
- Season: Add salt and pepper. Taste and adjust seasoning if needed.
- Cool: Remove from heat and let cool completely in the pan (about 30 minutes).
- Portion and freeze: Transfer to freezer containers, leaving ½ inch space at top. DO NOT add lemon juice yet.
- When serving: Reheat thoroughly, then stir in ½-1 tsp lemon juice per serving just before eating for bright, fresh flavor.
Smart Swap Options:
- Cannellini Beans → Great Northern beans, navy beans, or chickpeas.
- Frozen Onions → Fresh onions or shallots.
- Smoked Paprika → Sweet paprika or a pinch of chili powder.
- For Creaminess → Mash more beans or stir in a tablespoon of tahini after reheating.
4. Harissa-Spiced Freezer Breakfast Burritos
Grab-and-Go Protein Power for Busy Mornings

Health Benefits: Eggs provide high-quality protein and choline for brain health. Chickpeas add extra fiber and protein to keep you full for hours. Controlling the ingredients means less sodium and fat than store-bought frozen breakfasts.
Money-Saving Benefits: Homemade breakfast burritos cost a fraction of store-bought or cafe versions. Using canned beans and frozen potatoes keeps costs ultra-low. This batch makes 10 breakfasts, saving you from expensive morning takeout routines.
Prep: 30 min | Cook: 20 min | Freezer Life: 2 months
Ingredients:
- 10 large eggs
- 2 cups frozen diced potatoes
- 1 (15 oz) can chickpeas or black beans, drained
- 1-2 tbsp harissa paste or mild chili paste
- 1½ cups shredded cheese (cheddar, Monterey Jack, or Mexican blend)
- 10 large flour tortillas (10-inch)
- 1 tbsp oil
- ½ tsp salt
- ¼ tsp black pepper
Beginner-Friendly Instructions:
- Cook potatoes: Heat 1 tbsp oil in a large non-stick skillet over medium heat. Add frozen diced potatoes and cook for 10-12 minutes, stirring occasionally, until golden brown and crispy. Transfer to a plate.
- Scramble eggs: In the same skillet (no need to wash), crack all 10 eggs into a bowl first, then pour into skillet. Cook over medium-low heat, stirring gently with a spatula, until softly set (about 4-5 minutes).
- Combine filling: Turn off heat. Add cooked potatoes, drained chickpeas, harissa paste, salt, and pepper to the eggs. Gently stir to combine.
- Prep assembly station: Lay out all 10 tortillas on a clean surface. Have shredded cheese ready in a bowl.
- Assemble burritos: For each tortilla: sprinkle 2 tbsp cheese in the center, then add about ½ cup of the egg mixture. Don’t overfill!
- Fold burritos: Fold the sides in about 1 inch, then roll tightly from the bottom up, tucking the filling in as you go. It should look like a cylinder.
- Wrap for freezing: Wrap each burrito tightly in aluminum foil, parchment paper, or plastic wrap. Label with date.
- Freeze immediately: Place wrapped burritos in a single layer on a baking sheet and freeze for 2 hours, then transfer to a freezer bag.
- To reheat: Remove foil (if using) and microwave for 2-3 minutes, or bake at 350°F for 20 minutes wrapped in foil.
- Pro tip: For easier rolling, warm tortillas for 10 seconds in microwave first to make them more pliable.
Smart Swap Options:
- Harissa → Sriracha, mild salsa, taco seasoning, or omit for plain.
- Chickpeas → Black beans, pinto beans, or cooked lentils.
- Potatoes → Frozen hash browns, diced sweet potato, or bell peppers.
- Tortillas → Large lavash, whole wheat tortillas, or use the filling for a breakfast bowl.
5. Creamy Tomato & Beef Pasta Bake
The Ultimate Comfort Food, Made Freezer-Friendly

Health Benefits: Using whole-grain pasta adds fiber. The evaporated milk creates creaminess without the need for heavy cream, reducing saturated fat. Tomatoes are rich in lycopene, an antioxidant.
Money-Saving Benefits: Pasta is a famously budget-friendly base. Shelf-stable milk (evaporated or powdered) is cheaper than fresh and doesn’t spoil. This is a crowd-pleaser that feeds a family for less than the cost of a fast-food meal.
Prep: 20 min | Cook: 30 min | Freezer Life: 3 months
Ingredients:
- 1 lb dry pasta (penne, rigatoni, or shells)
- 1 lb frozen ground beef
- 1 (28 oz) can crushed tomatoes
- 2 tbsp tomato paste
- ½ cup evaporated milk or shelf-stable milk
- 1½ cups shredded mozzarella or cheddar cheese
- 1½ cups frozen diced onion
- 1 tsp Italian seasoning
- 1 tsp garlic powder
- 1 tsp salt
- ½ tsp black pepper
Beginner-Friendly Instructions:
- Cook pasta: Bring a large pot of salted water to a boil. Add pasta and cook for 1 minute LESS than package instructions (it will finish cooking in the oven). Drain and set aside.
- Brown beef: While pasta cooks, heat a large skillet over medium heat. Add frozen ground beef and frozen onions. Break up beef with a spoon as it thaws. Cook for 8-10 minutes until no pink remains.
- Add flavor: Stir in tomato paste, Italian seasoning, garlic powder, salt, and pepper. Cook for 1 minute until fragrant.
- Make sauce: Pour in crushed tomatoes and evaporated milk. Stir well and bring to a simmer. Cook for 5 minutes until slightly thickened.
- Combine: In a large bowl, mix the drained pasta with the meat sauce until well combined.
- Layer for freezing: Divide mixture among freezer-safe baking dishes or aluminum pans. Sprinkle cheese evenly over the top.
- Cool: Let cool completely on counter (about 45 minutes). This prevents freezer burn.
- Wrap and freeze: Cover tightly with plastic wrap, then foil. Label with baking instructions.
- To bake from frozen: Preheat oven to 375°F. Remove plastic wrap but keep foil on. Bake for 45 minutes. Remove foil and bake 15 more minutes until bubbly and golden.
- Pro tip: For individual portions, use disposable aluminum containers with lids for easy reheating.
Smart Swap Options:
- Ground Beef → Ground turkey, sausage, or plant-based crumbles.
- Evaporated Milk → Heavy cream, half-and-half, or a roux made with butter/flour/milk.
- Pasta Shape → Any short pasta like penne, rigatoni, or shells.
- Cheese → Mozzarella, cheddar, Monterey Jack, or a dairy-free alternative.
Why This Freezer-First Approach Is a Game-Changer
This plan proves that eating well on a budget isn’t about deprivation—it’s about strategy. By leveraging your freezer and pantry, you create a personal stash of delicious, ready-to-eat meals that save you time, money, and stress. The initial investment of a few hours pays dividends all week long in freedom and satisfaction. You’re not just making dinner; you’re building a system that supports a easier, healthier, and more financially savvy life.
“The best thing I cook all week is the time I get back for myself.”
Note on Flexibility: This meal plan is designed to be adaptable. All “smart swaps” are suggestions to accommodate dietary needs, preferences, and ingredient availability. Cooking times may vary based on appliance. Always ensure frozen meals are reheated to a safe internal temperature of 165°F (74°C).
Ingredients:
Ingredients for All Recipes (Proteins)
- 1 lb ground turkey
- 1 lb ground beef
- 2 lbs chicken (thighs/breasts)
- 1 dozen eggs
- 4 cans beans ((black, chickpea, cannellini)
Ingredients for All Recipes (Vegetables: Frozen & Canned)
- 5 cups frozen diced onions
- 2 cups frozen sliced onions
- 2 cups frozen diced potatoes
- 1 cup frozen peas
- 2 28 oz cans crushed tomatoes
Ingredients for All Recipes (Pantry)
- 1.5 cups long grain rice
- 1 lb dry pasta
- 1 small can tomato paste
- 1 tbsp chicken bullion powder (or cubes)
- 1/2 cup evaporated milk (or shelf-stable milk)
- 1 bottle vegetable oil (or olive oil)
Ingredients for All Recipes (Spices & Seasonings)
- 2 tsp smoked paprika
- 1.5 tsp cumin
- 3 tsp garlic powder
- 1/2 tsp unsweetened cocoa powder
- 1 tsp Italian Seasoning (or Dried Parsley)
- 1-2 tbsp Harissa (or chili paste)
- 2 tsp salt
- 2 tsp black pepper
Ingredients for All Recipes (Dairy & Other)
- 12 oz shredded cheese
- 1 small bottle lemon juice
- 10 flour tortillas

Ingredients are subject to availability at local stores. Unavailable items will be automatically substituted at best-effort.
1-Star Stay Full, Stay Present Meal Plan
2-Star Stay Full, Stay Present Meal Plan