

Homemade Chocolate Ice Cream


The featured TikTok video cannot be embedded. Click here to view.



Why This Homemade Chocolate Ice Cream Is A Creamy Dream
This homemade chocolate ice cream blends cocoa powder, brown sugar, whole milk, heavy cream, and vanilla into a rich, creamy frozen dessert. Serve it directly from the ice cream maker for a soft consistency or freeze it longer for firm, scoopable ice cream.
EBT FRIENDLY: APPROXIMATELY 95% | TOTAL TIME: 3–8 HOURS
ESTIMATED NUTRITION (PER SERVING)
| Calories: 410 | Protein: 4g | Carbs: 35g | Fat: 30g |
Ingredients:
- 3/4 cup cocoa powder (sifted)
- 1/2 cup granulated sugar
- 1/3 cup brown sugar (packed)
- 1 pinch salt
- 2 cups heavy whipping cream
- 1 cup whole milk
- 2 tsp purer vanilla extract

Ingredients are subject to availability at local stores. Unavailable items will be automatically substituted at best-effort.
Directions
- Freeze the bowl: Freeze the KitchenAid ice cream maker bowl for at least 15 hours before beginning the recipe.
- Sift the cocoa: Sift the cocoa powder into a medium mixing bowl to remove any lumps.
- Add the sugars: Add the granulated sugar, packed brown sugar, and a pinch of salt.
- Whisk the dry ingredients: Whisk the dry ingredients until evenly combined.
- Pour in the milk: Pour in the whole milk.
- Dissolve the sugars: Whisk by hand or mix with a hand mixer until the cocoa mixture is smooth and the sugars have completely dissolved.
- Add cream and vanilla: Stir in the heavy whipping cream and vanilla extract.
- Mix gently: Mix gently until fully combined. Avoid whipping excess air into the cream.
- Chill the base: Cover the bowl and refrigerate the chocolate ice cream base for at least 3 hours or overnight, until thoroughly chilled.
- Set up the mixer: Attach the frozen ice cream bowl and dasher to the KitchenAid stand mixer.
- Start the mixer: Set the mixer to Stir or Speed 1 before adding the chilled ice cream base.
- Pour in the base: Slowly pour the chilled chocolate mixture into the frozen bowl while the mixer is running.
- Churn: Churn for approximately 15–20 minutes, or until the ice cream becomes thick, creamy, and softly scoopable.
- Serve soft: Serve immediately for a soft-serve-style consistency.
- Freeze firmer: For firmer ice cream, transfer the churned mixture to a freezer-safe container and smooth the top.
- Freeze again: Cover tightly and freeze for an additional 2–4 hours.
- Scoop and serve: Allow firmly frozen ice cream to rest at room temperature for a few minutes before scooping and serving.
Pro Tips
- Use quality cocoa: A good Dutch-processed cocoa powder gives a deeper, smoother chocolate flavor.
- Chill thoroughly: A cold base churns faster and produces a creamier texture.
- Don’t overwhip the cream: Mix just until combined—whipping air into the cream can make the ice cream icy.
- Freeze for firmer scoops: For scoopable ice cream, freeze for at least 4 hours after churning.
- Serve in chilled bowls: Cold bowls help the ice cream hold its shape at the table.


October 28, 2026
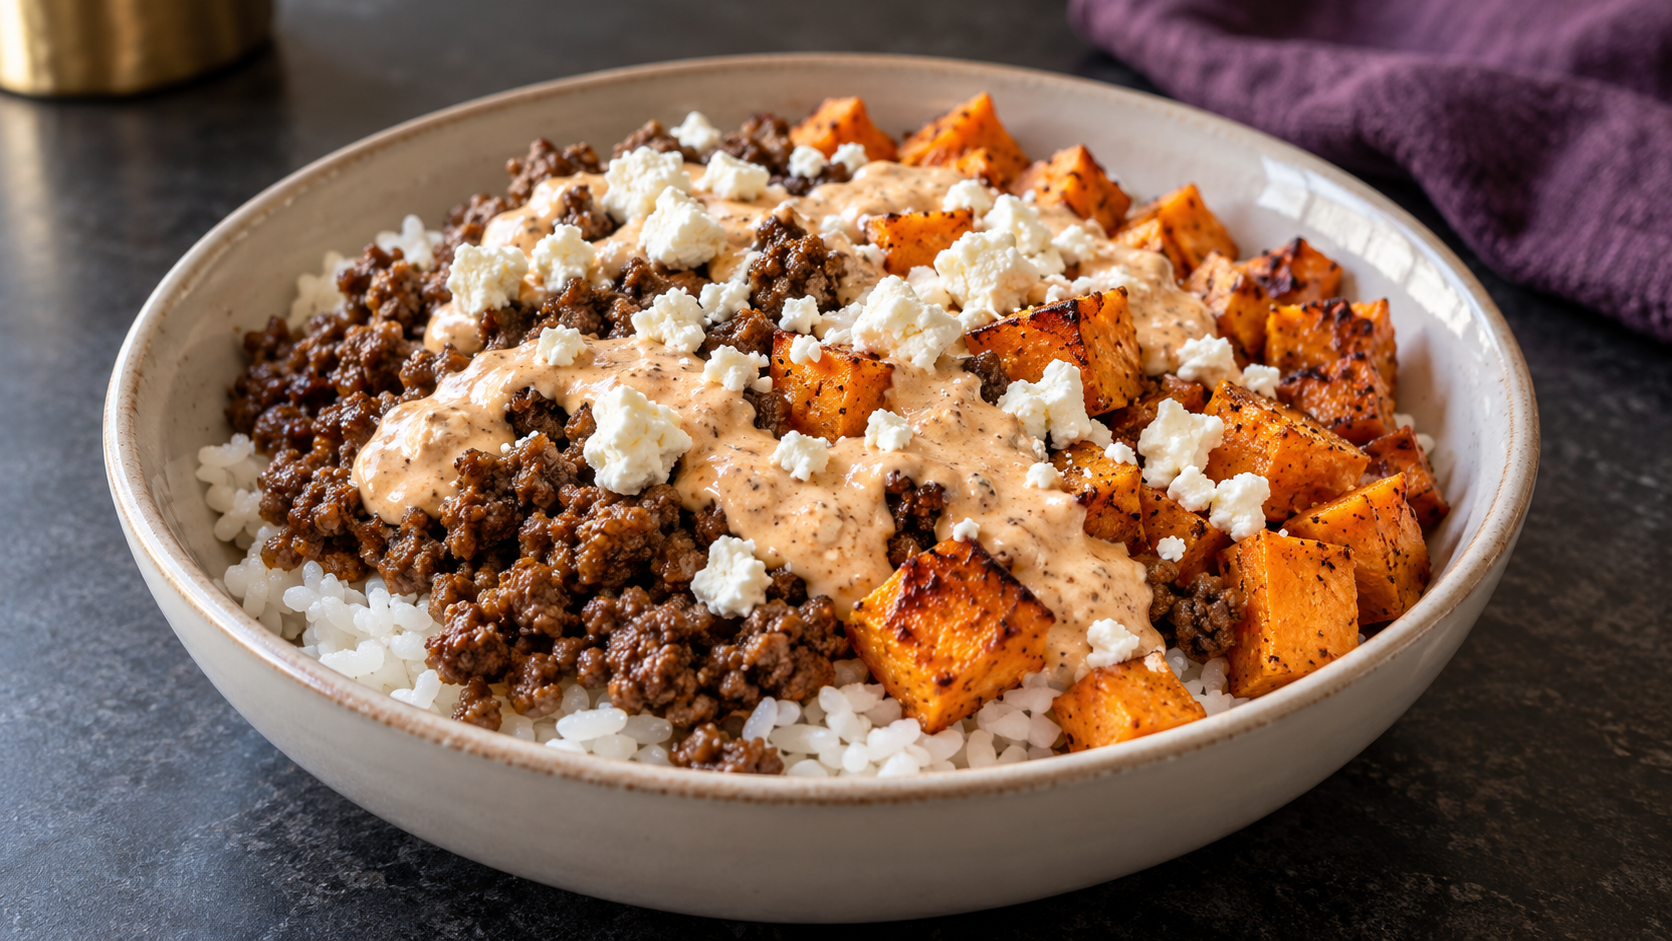
Ground Beef & Sweet Potato Bowl with Tzatziki Dressing
October 28, 2026
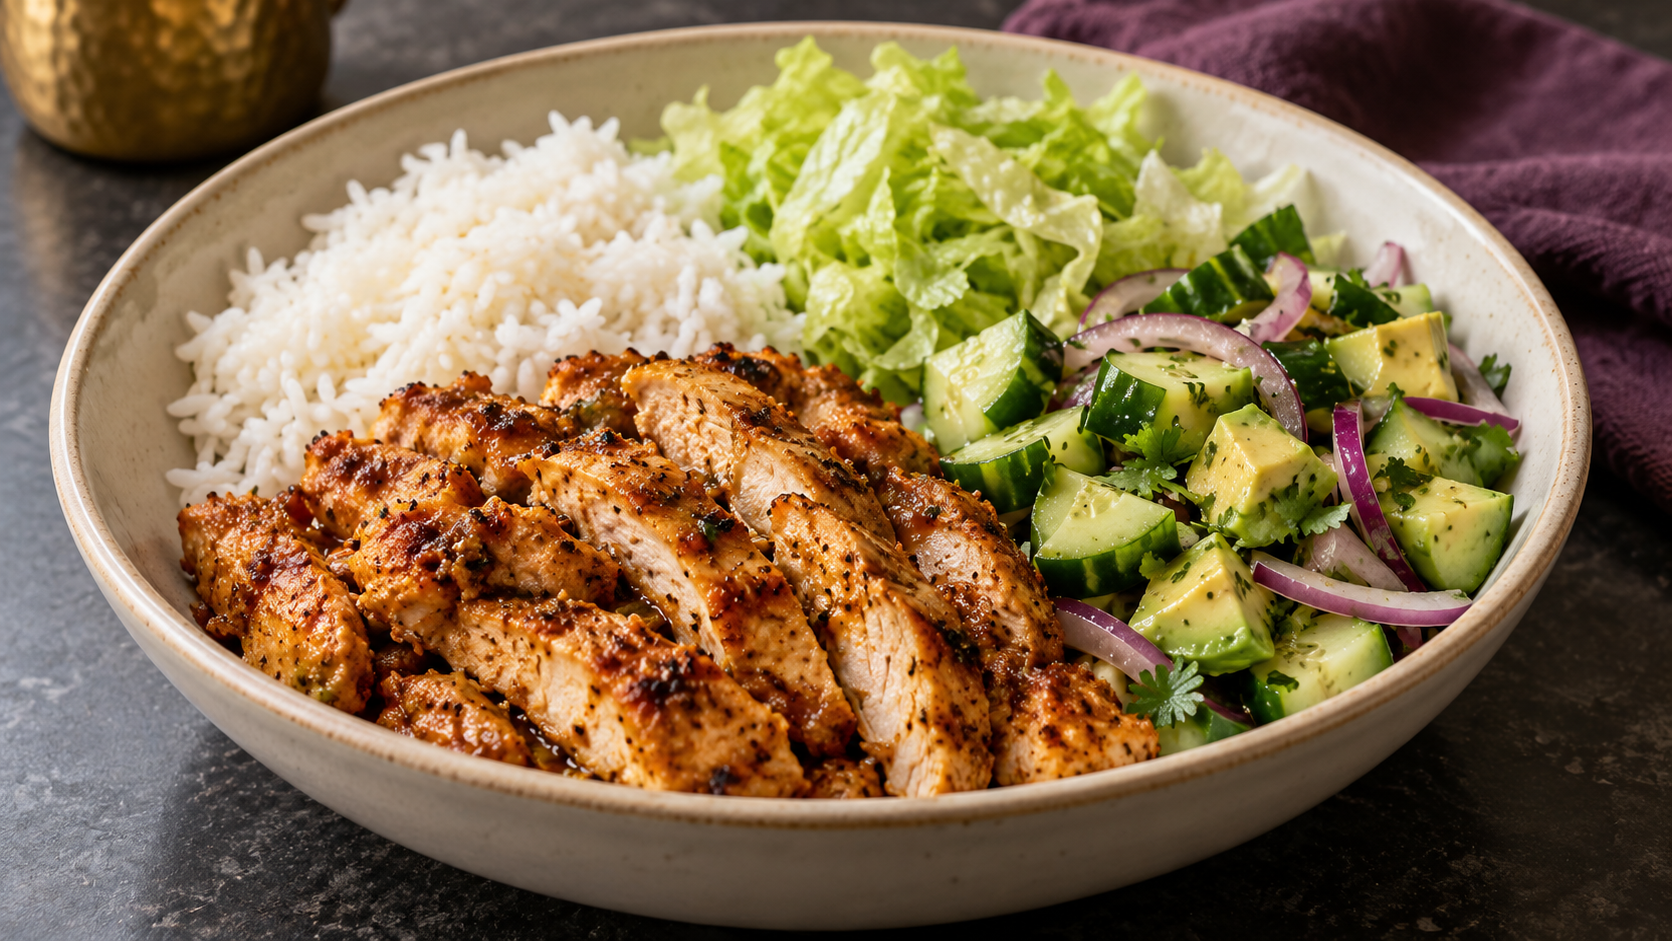
Fit Honey Lime Chicken Bowls
October 28, 2026