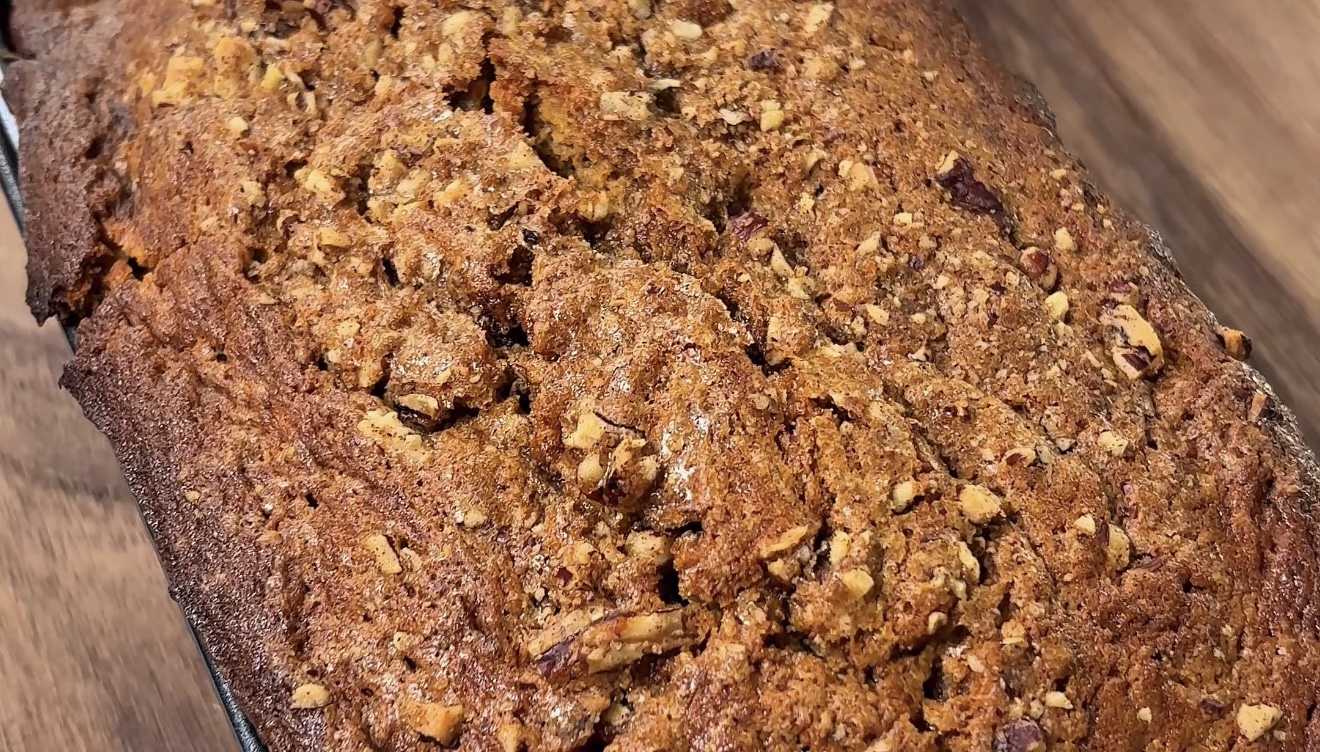

Gluten-Free Sandwich Bread


A homemade gluten-free sandwich loaf made with rice flour, sorghum flour, and tapioca starch. Psyllium husk holds the dough together, while eggs and oil add richness. Let the loaf cool completely before slicing so the middle has time to firm up.
Prep: About 20 minutes | Rest: 15 minutes | Rise: 45–75 minutes
Bake: 60–70 minutes | Cooling: At least 3 hours
Pan: 9 × 5-inch metal loaf pan
Use certified gluten-free flours, starch, psyllium, and other packaged ingredients. Weigh the flour and psyllium for this recipe. Use whole psyllium husk, not psyllium powder, and white rice flour, not sweet rice flour.
Ingredients:
- 180 g white rice flour (not sweet rice flour, finely ground)
- 120 g sorghum flour
- 100 g tapioca starch
- 20 g whole psyllium husk (not psyllium powder)
- 25 g granulated sugar
- 7 g instant yeast
- 8 g salt
- 400 g water (warm, approximately 100-105 degrees F)
- 2 large eggs (room temperature)
- 30 g neutral oil (plus 1 tsp for greasing the pan)
- 10 g apple cider vinegar

Ingredients are subject to availability at local stores. Unavailable items will be automatically substituted at best-effort.
Directions
1. Prepare the pan. Grease a 9 × 5-inch metal loaf pan with the 1 teaspoon oil. Line it with parchment paper, leaving enough overhang on the long sides to lift the bread out.
2. Make the psyllium gel. Whisk the whole psyllium husk into the warm water immediately after combining them. Leave for 5 minutes, until thickened.
3. Combine the dry ingredients. In a large bowl, whisk together the white rice flour, sorghum flour, tapioca starch, sugar, instant yeast, and salt.
4. Add the wet ingredients. Whisk the eggs, 30 g neutral oil, and apple cider vinegar into the psyllium gel. Add this mixture to the dry ingredients.
5. Mix thoroughly. Beat with a stand mixer fitted with a paddle on medium-low speed for 4 minutes, scraping the bowl halfway through. Alternatively, mix firmly with a sturdy spoon for about 5 minutes. The dough should be thick, sticky, and scoopable. It should not feel like a dry dough you can knead on the counter.
6. Rest before shaping. Cover the bowl and leave it for 15 minutes. This gives the flour time to absorb the water. Do not add extra flour to make the dough easier to handle.
7. Fill the pan. Scrape the dough into the prepared pan. With a damp spatula, press it gently into the corners and smooth the top into a slight dome.
8. Let it rise. Cover loosely with lightly oiled plastic wrap. Leave in a warm spot until the dough looks puffy and has increased by about half, approximately 45–75 minutes. Do not wait for it to double. If it starts approaching the pan rim sooner, prepare to bake it.
9. Heat the oven. While the dough rises, preheat the oven to 375°F, using conventional heat. Position a rack in the lower-middle of the oven.
10. Bake the loaf. Remove the plastic wrap and bake for 30 minutes. Loosely tent with foil if the top is already well browned. Continue baking for another 30–40 minutes.
11. Check the middle. Begin checking at 60 minutes. Remove the loaf when the center reaches 205–210°F, the top is browned, and the sides feel set. Insert the thermometer into the center without touching the pan. Color alone does not tell you whether the middle is baked.
12. Cool before slicing. Leave in the pan for 10 minutes, then carefully lift it out. Remove the parchment and place the loaf on a wire rack. Cool for at least 3 hours, and longer if the center still feels warm. Slice with a serrated knife only when completely cool.
Texture Fix: Keep the Moisture, Give It Time
The dough is supposed to be sticky. Adding flour until it feels like wheat bread dough can leave you with a dry loaf.
Psyllium is the binder. It forms a gel that holds water and helps the dough stay together. Use whole husk as listed. Psyllium powder and xanthan gum are not equal-amount replacements.
The rest and cooling both matter. The 15-minute rest lets the flour absorb moisture. Cooling after baking lets the middle settle before the knife goes through it.
When to pull it: Look for a center temperature of 205–210°F alongside a browned top and set sides. Do not rely on crust color alone.
Day 2: Store It, Then Warm What You Need
Once completely cool, wrap the loaf tightly or place it in an airtight bread bag. Keep only what you expect to eat within 24 hours at room temperature. Slice and freeze the rest, separating slices with parchment.
For a softer warm slice: Wrap one or two room-temperature slices in a barely damp paper towel and microwave for 10 seconds, then check. Add 5 seconds if needed and eat promptly. Microwave strength varies, so warm in short bursts.
For toast: Place a slice directly in the toaster, including from frozen, and toast to your preference. Use a clean toaster reserved for gluten-free bread when avoiding cross-contact.
Gluten-free note: Readers with celiac disease should use certified gluten-free ingredients, check labels, and avoid cross-contact from equipment and preparation surfaces.


The Diabetes Grocery Shortlist Shopping Guide
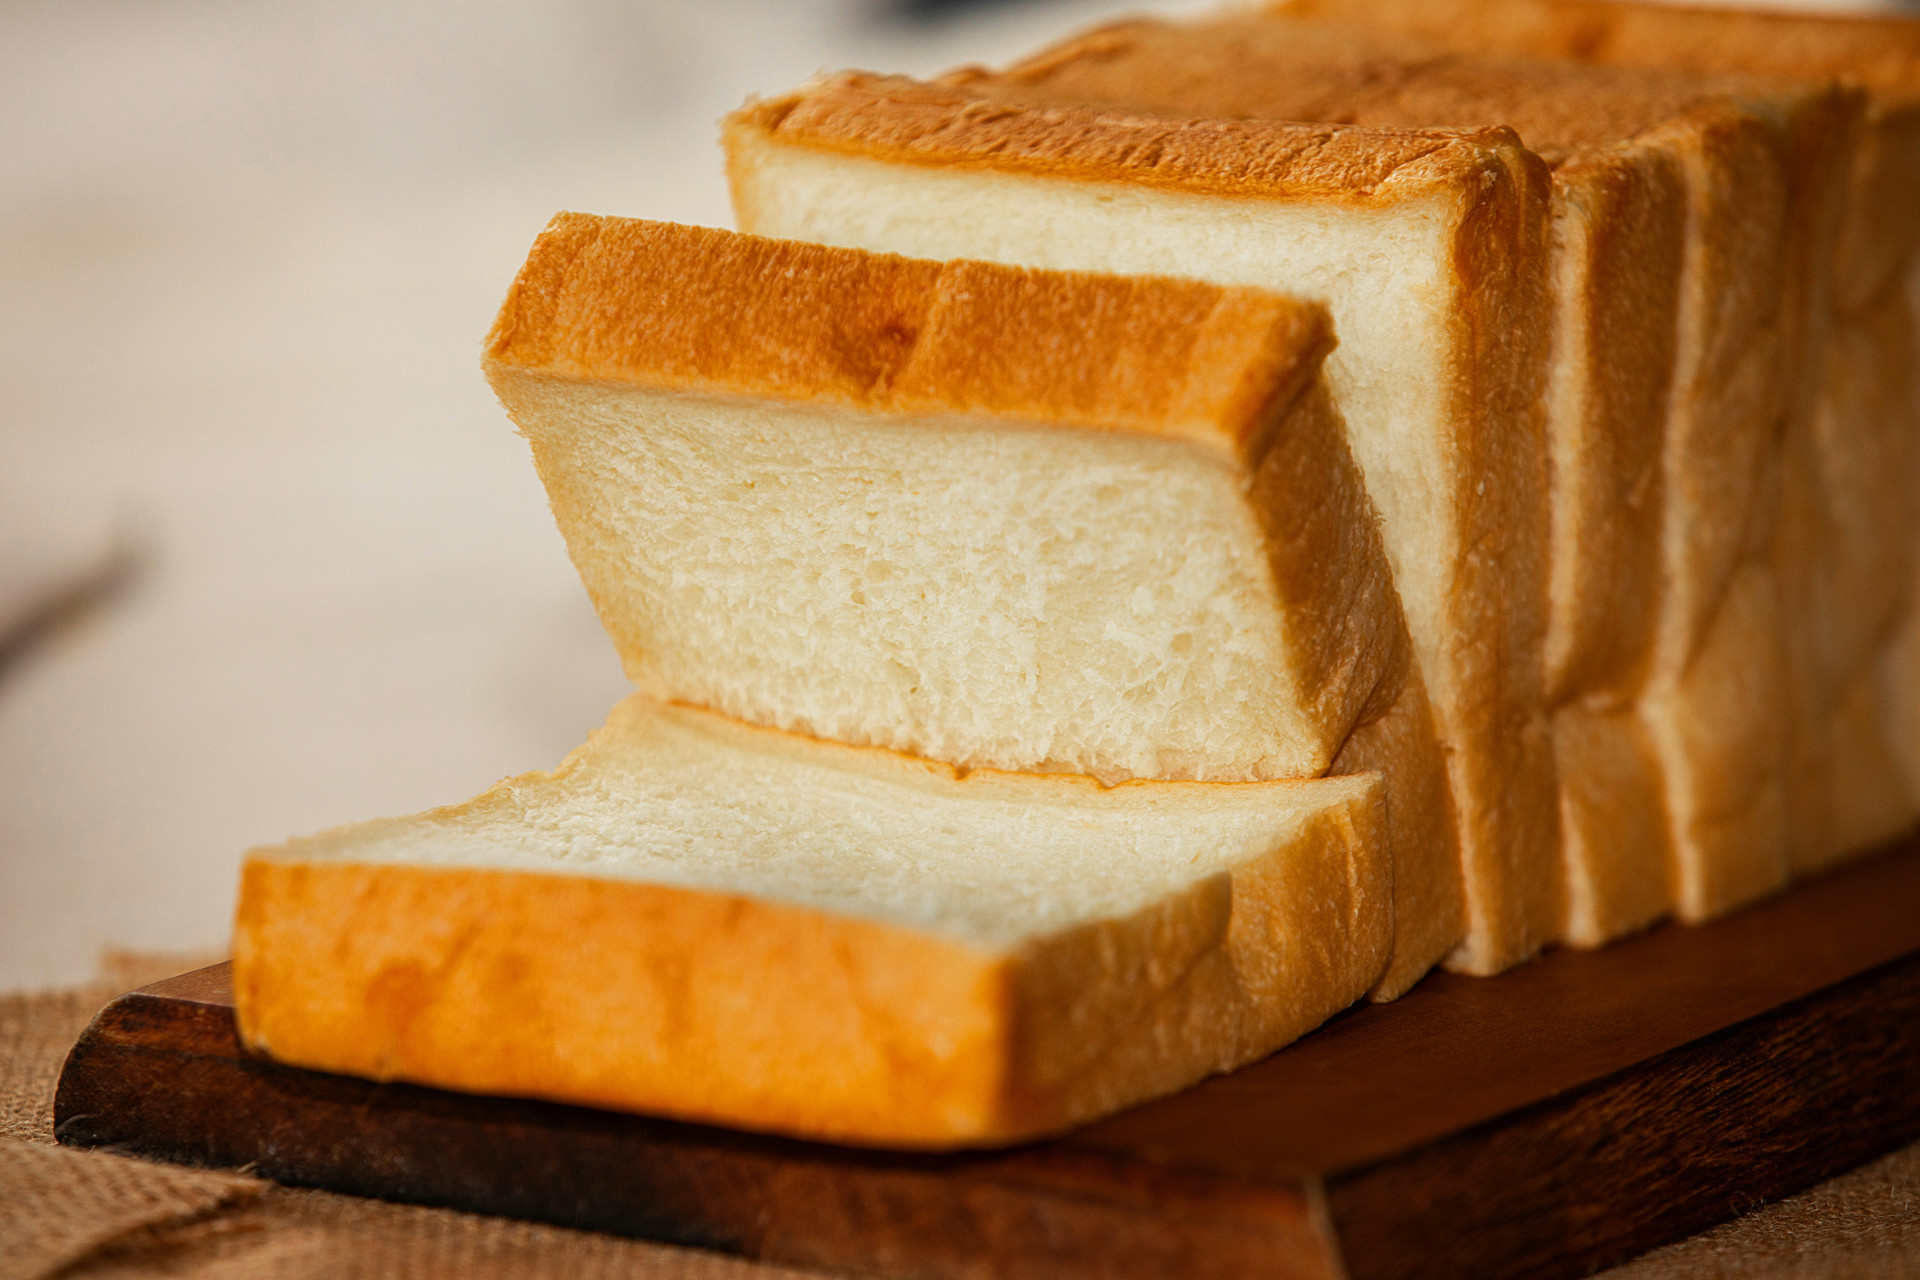
3 Perfect Gluten-Free Bakes To Try Today