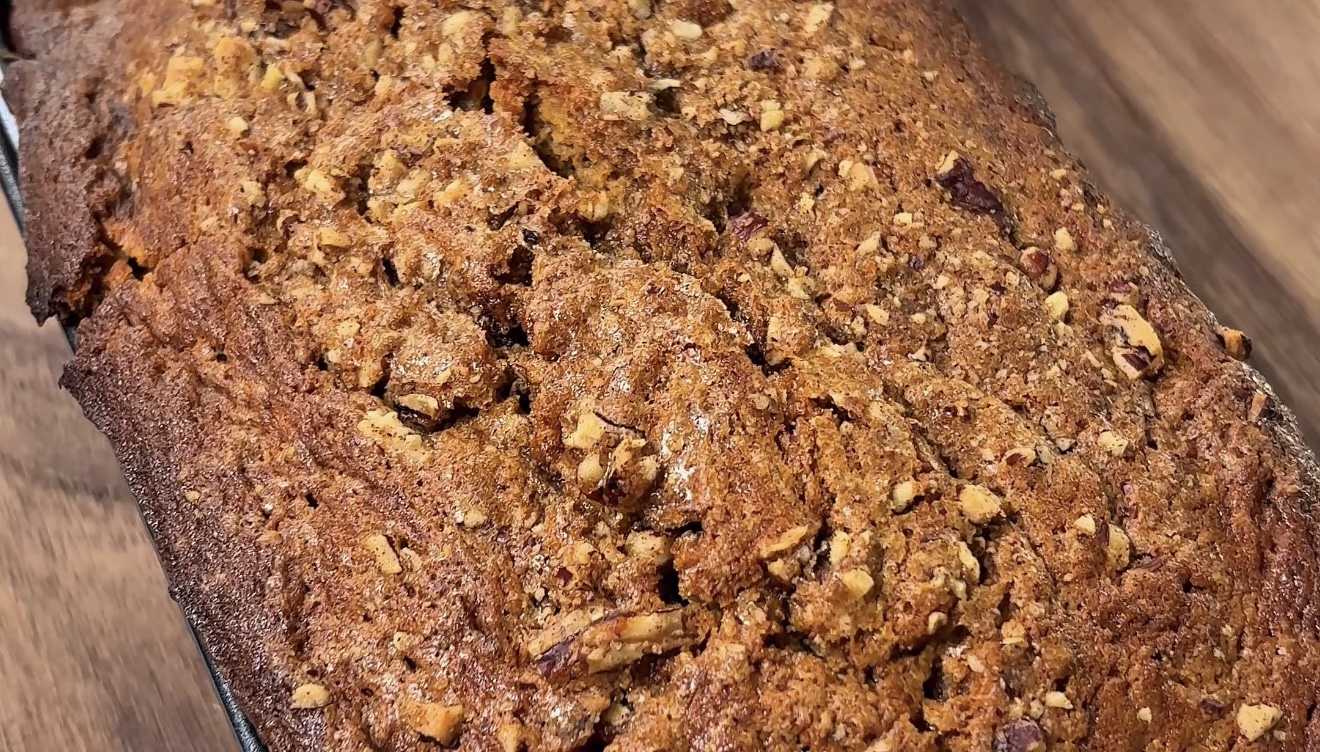

Gluten-Free Pizza Crust


A homemade gluten-free pizza crust made with rice flour, tapioca starch, and sorghum flour. Psyllium husk helps hold the dough together. Bake the crust before adding toppings so the middle gets a head start.
Prep: About 20 minutes | Rest: 15 minutes | Rise: 45–60 minutes
Bake: About 20–27 minutes per pizza | Cool: 5 minutes before slicing
Use certified gluten-free flours, starch, psyllium, and other packaged ingredients. Weigh the flour and psyllium. Use whole psyllium husk, not psyllium powder, and white rice flour, not sweet rice flour.
Ingredients:
- 150 g white rice flour (finely ground, not sweet rice flour)
- 100 g tapioca starch
- 50 g sorghum flour
- 12 g whole psyllium husk (not psyllium powder)
- 7 g instant yeast
- 10 g granulated sugar
- 6 g salt
- 300 g water (warm, approximately 100-105 degrees F)
- 20 g olive oil (plus 2 tsp for shaping)
- 5 g apple cider vinegar

Ingredients are subject to availability at local stores. Unavailable items will be automatically substituted at best-effort.
Directions
1. Make the psyllium gel. Whisk the whole psyllium husk into the warm water immediately after combining them. Leave for 5 minutes, until thickened.
2. Mix the dry ingredients. In a large bowl, whisk together the white rice flour, tapioca starch, sorghum flour, instant yeast, sugar, and salt.
3. Bring the dough together. Stir the 20 g olive oil and apple cider vinegar into the psyllium gel. Add to the dry ingredients and mix firmly with a sturdy spoon for 3–4 minutes, until evenly combined. Scrape the bottom and sides of the bowl so no dry flour remains.
4. Rest the dough. Cover and leave for 15 minutes so the flour can absorb the water. The dough should be soft and slightly sticky. Do not add flour just to make it feel like wheat dough.
5. Let it rise. Cover the bowl and leave in a warm spot for approximately 45–60 minutes, until the dough looks puffy and has increased by about half. It does not need to double.
6. Heat the oven and baking surface. Place a heavy, uncoated metal baking sheet upside down on the lower-middle rack. Preheat the oven to 450°F, using conventional heat, and allow the sheet to heat for at least 30 minutes. Prepare two pieces of parchment rated for this temperature and trim them close to the eventual crust size.
7. Shape the crusts. Divide the dough into two equal portions. Place each portion on its own piece of parchment. Use 1 teaspoon olive oil per crust to lightly oil your hands and press each portion into a 10-inch circle. Keep the center approximately ¼ inch thick and leave the edge slightly thicker. Press out any thick patches in the middle.
8. Bake without toppings. Prick the center of the first crust several times with a fork, leaving the raised edge alone. Use a second baking sheet or a pizza peel to slide the crust and its parchment onto the hot baking sheet. Bake for 12–15 minutes, until the surface looks dry and set, the underside has begun to color, and the crust can be lifted without sagging. Keep the second dough portion covered while the first pizza cooks.
9. Add toppings. Carefully transfer the crust to a board or spare baking sheet and remove the parchment. If using the suggested toppings, spread with up to ¼ cup thick gluten-free pizza sauce and scatter over 75 g shredded mozzarella. Keep extra toppings light. Drain wet vegetables and cook raw meat before adding it.
10. Finish baking. Slide the pizza directly onto the hot metal baking sheet. Bake for another 8–12 minutes, until the cheese is melted, the edges are lightly golden, and the underside is browned. Lift an edge with a spatula to check that the middle is firm underneath. If it is still pale and soft, continue baking in 2-minute intervals. Repeat with the second crust.
11. Rest before cutting. Move the finished pizza to a wire rack for 5 minutes so steam can escape underneath. Transfer to a cutting board, slice, and serve.
Texture Fix: Rest the Dough, Bake the Base First
Let the binder do its job. Psyllium husk forms a gel that helps hold the dough together. The rest gives the flour time to absorb moisture. Do not replace the whole husk with the same amount of psyllium powder or xanthan gum.
Keep the middle even. A thick patch in the center takes longer to cook. Press the base to an even thickness and bake it before adding sauce.
Go lightly with wet toppings. Thick sauce and drained toppings put less moisture onto the crust. A hot baking sheet gives the underside direct heat.
When to pull it: Look for lightly golden edges, a browned underside, and a center that feels firm underneath. Do not keep baking just to get dark edges. Rest on a rack for 5 minutes before slicing.
Day 2: Warm the Base Without Drying the Edges
Store: Refrigerate leftover topped pizza in an airtight container within 2 hours of baking. Use within 3–4 days, or freeze individual portions for longer storage.
Reheat a slice: Place refrigerated pizza in a skillet over medium-low heat. Heat for 2–3 minutes, then add 1 teaspoon water to an empty area of the pan, away from the pizza. Cover, reduce the heat to low, and warm for another 1–2 minutes. Uncover briefly if the bottom needs to crisp. Continue as needed until the leftovers reach 165°F.
Freeze an untopped base: Complete the first bake, then cool the crust completely on a rack. Wrap tightly and freeze flat. Add toppings while frozen and bake on a preheated metal baking sheet at 450°F, checking after 12 minutes and continuing until the center is hot and the underside is browned.
Gluten-free note: Readers with celiac disease should use certified gluten-free ingredients, check topping labels, and avoid cross-contact from equipment and preparation surfaces.


The Diabetes Grocery Shortlist Shopping Guide
3 Perfect Gluten-Free Bakes To Try Today