No Oven? No Money? No Motivation? No Problem.
 by Max Knutson.
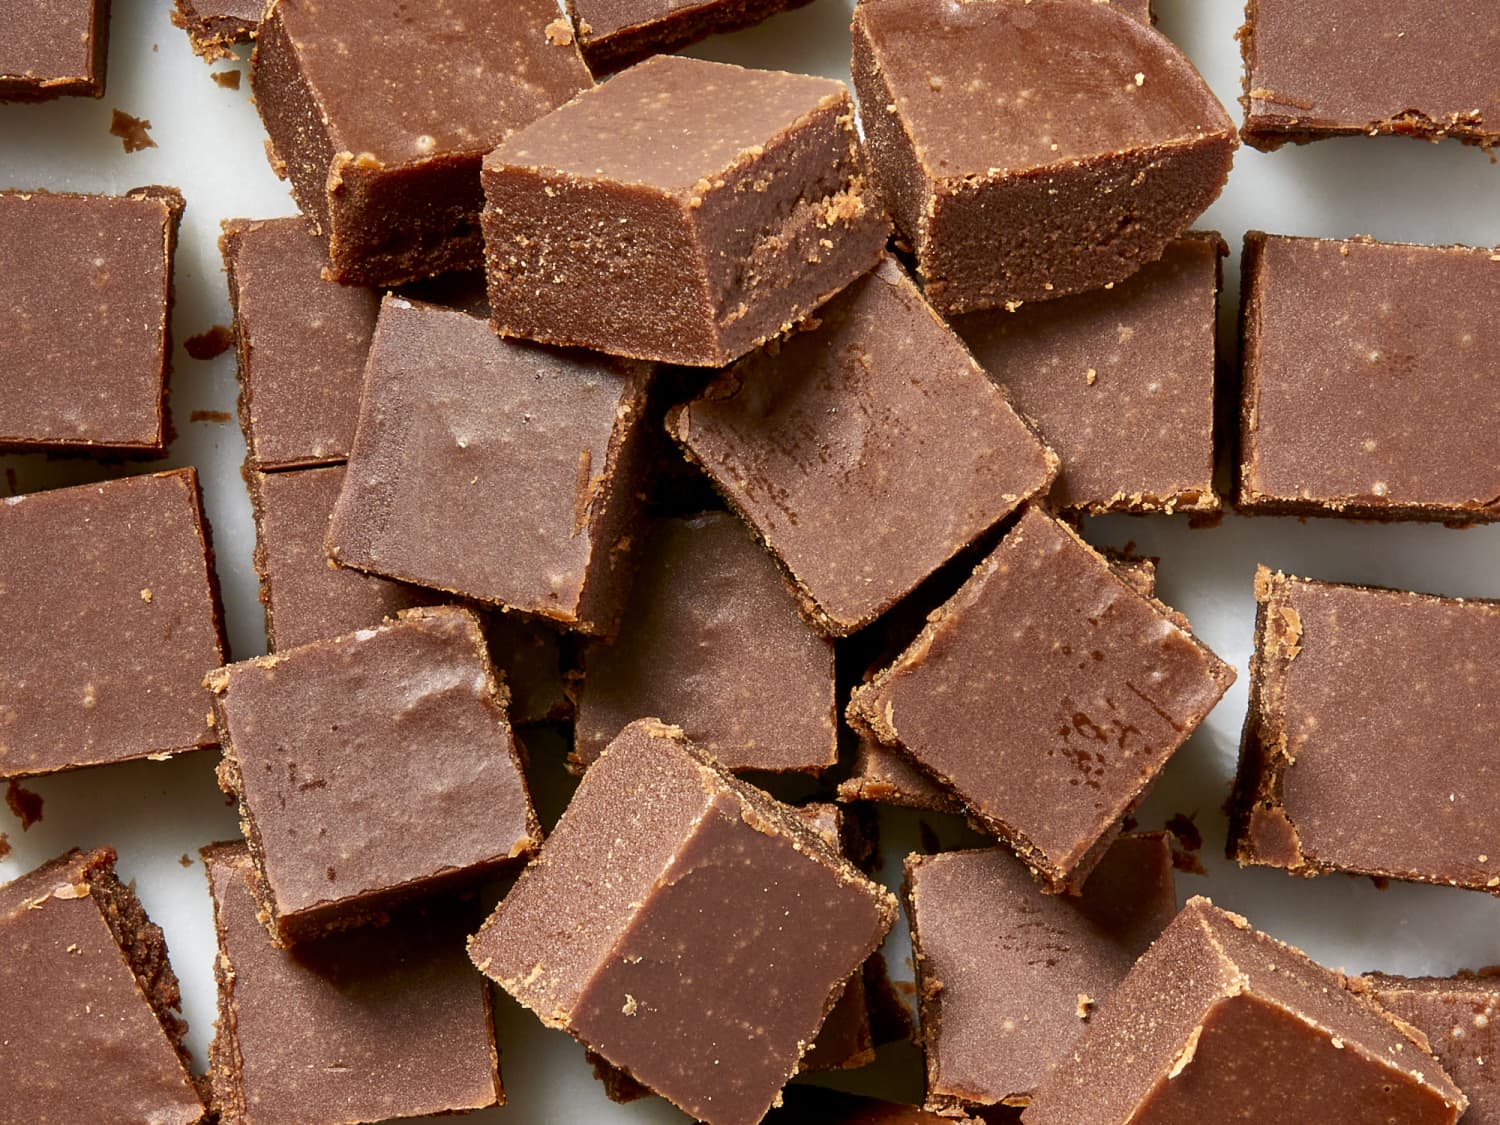
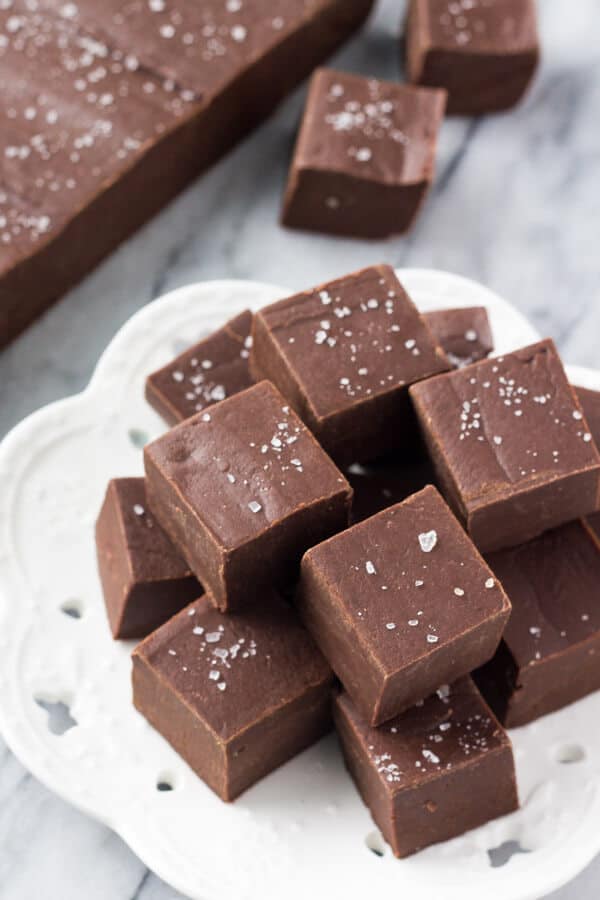
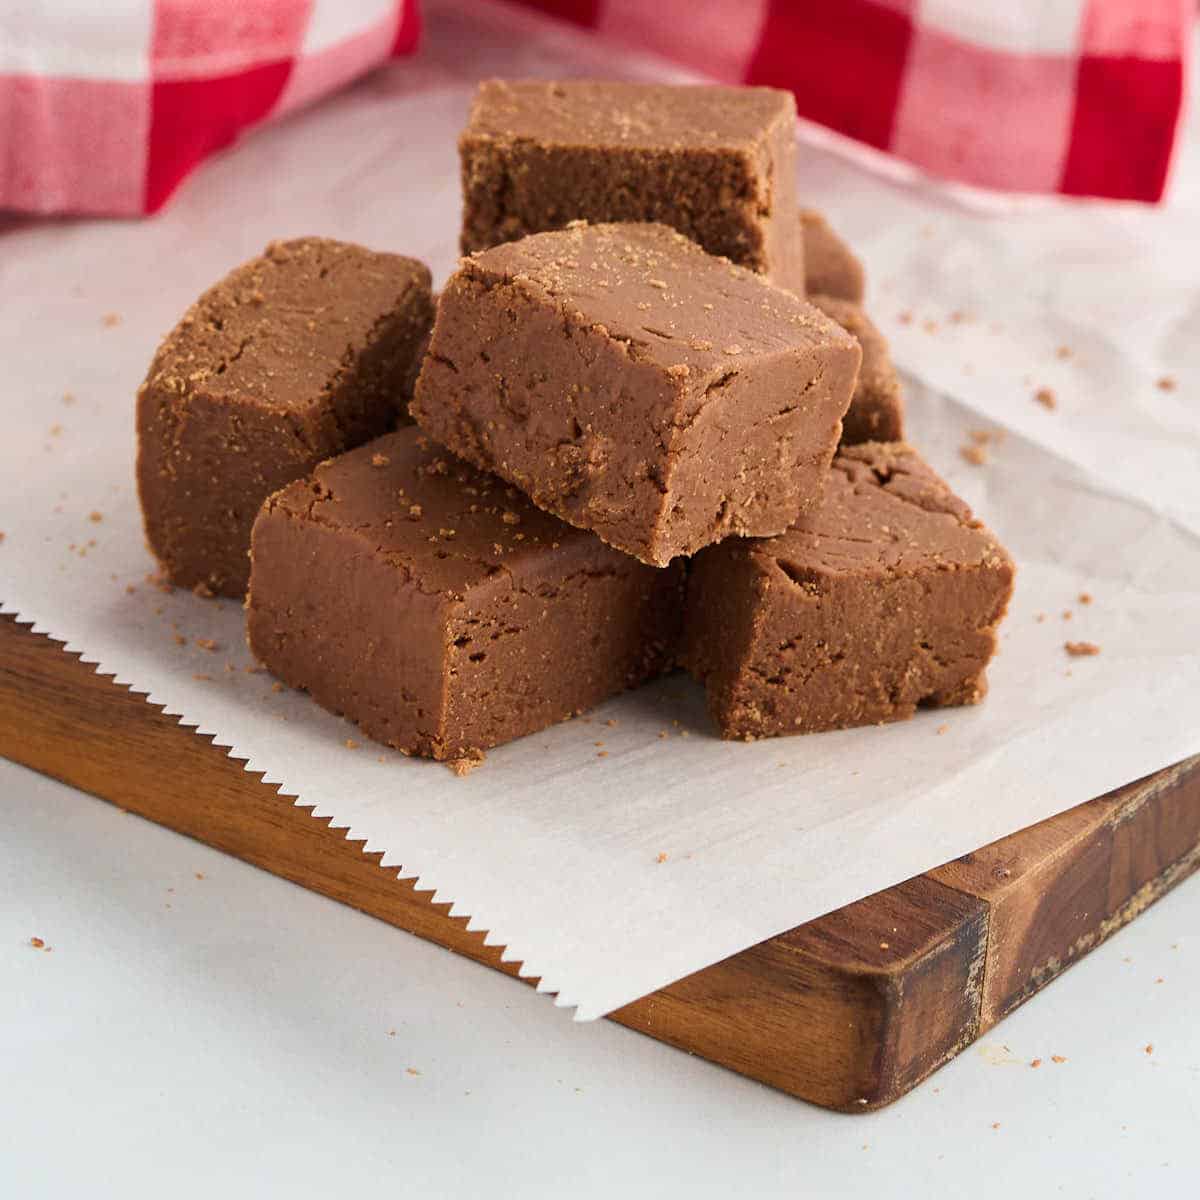
Stovetop Fudge That Deserves a Standing Ovation
Rich. Silky. Secretly effortless. No thermometer. No nonsense.
This fudge is proof that you can achieve peak dessert elegance with pantry staples and zero fancy equipment. It’s indulgent, velvety, and suspiciously easy. If you can stir a pot, you can make this. Honestly, your spoon is about to receive a standing ovation of its own.
Ingredients
- 2 cups granulated sugar
½ cup whole milk (or whatever you’ve got—even oat or almond milk works in a pinch) - ½ cup unsweetened cocoa powder
- ½ cup (1 stick) butter
- 1 teaspoon vanilla extract
- Pinch of salt
- Optional: ½ cup chopped nuts, crushed pretzels, or mini marshmallows
Instructions
- Prepare your pan. Lightly grease or line an 8×8-inch square baking dish with parchment paper. This makes it easier to lift out the fudge once it’s set, and helps with a clean cut.
- Mix the base. In a medium saucepan, combine the sugar, cocoa powder, and milk. Stir thoroughly until no dry spots remain and everything is well incorporated.
- Heat it up. Turn the heat to medium and bring the mixture to a gentle boil. Stir constantly with a wooden spoon or silicone spatula for about 5 to 7 minutes until the mixture thickens slightly and looks glossy.
- Remove and enrich. Take the pan off the heat. Immediately add the butter, vanilla extract, and a pinch of salt. Stir until the butter melts completely and the mixture becomes smooth and creamy.
- Customize your fudge. If you’re adding mix-ins like chopped nuts, crushed pretzels, or mini marshmallows, fold them in now while the fudge is still warm and pliable.
- Transfer and smooth. Quickly pour the fudge mixture into your prepared pan. Use a spatula to smooth the top evenly. For extra flair, sprinkle a touch of flaky sea salt or swirl in peanut butter.
- Let it firm up. Allow the fudge to cool at room temperature for 1–2 hours, or pop it in the fridge for about 30–45 minutes for faster results.
- Slice and enjoy. Once set, lift the fudge out of the pan and slice into squares. Store leftovers in an airtight container in the fridge for up to a week—or freeze for longer indulgence.
:max_bytes(150000):strip_icc()/stovetop-fudge-Rachelle-Yingling-EyeEm-Getty-Images-58ae00ae3df78c345b16b8b3.jpg)
Tips for Glory
- Add 1 tablespoon of peanut butter while stirring in butter for a Reese’s twist.
- Don’t overcook. Stop once the mixture turns glossy and starts to thicken. Overheating can make it grainy.
- Want it firmer? Add an extra ¼ cup of sugar and boil for a few more minutes.
- Double the recipe for a crowd and use a 9×13-inch pan instead.
Lazy Lemon Icebox Bars
Bright, tangy, creamy—and made entirely with shelf-stable ingredients.
This dessert is what happens when sunshine meets simplicity. No zest. No oven. No stress. Just a silky lemon cream layered with crispy grahams that magically morph into cake. Perfect for hot afternoons, potlucks, or any time you’re craving citrus bliss with zero baking.

Ingredients
- 1 can (14 oz) sweetened condensed milk
- ½ cup lemon juice (fresh is ideal, but bottled will still give you that sunny kick)
- 1 sleeve graham crackers
- Optional: Lemon zest, whipped topping, or fresh berries for garnish

Instructions
- Whip up the lemon filling. In a large mixing bowl, combine the sweetened condensed milk and lemon juice. Stir vigorously for 1–2 minutes using a whisk or spoon until the mixture thickens and looks creamy. This is the magic step that gives your bars their signature texture.
- Start layering with grahams. Break graham crackers to fit and line the bottom of an 8×8″ dish. Don’t worry about gaps—just make an even-ish base layer. These will soften and become cake-like as they chill.
- Spread the lemon cream. Pour half of your lemon mixture over the graham crackers. Use a spatula to smooth it evenly, getting it into every corner. This is your first tangy layer of sunshine.
- Repeat for max lemony impact. Add a second layer of graham crackers over the lemon cream, followed by the remaining filling. Smooth the top so it’s nice and level. It’s okay if a few crackers poke through.
- Dress it up (if you’re feeling fancy). Add a sprinkle of lemon zest, a dollop of whipped topping, or a scattering of fresh berries. Totally optional—but highly recommended.
- Chill and transform. Cover the dish and refrigerate for at least 4 hours or overnight. During this time, the graham crackers will absorb moisture and become soft like sponge cake, while the lemon layer firms up perfectly.
- Slice and savor. Use a sharp knife to cut into bars. Serve chilled for the ultimate refreshing dessert that tastes like summer vacation.

Cool, creamy, citrusy bliss—no oven needed.
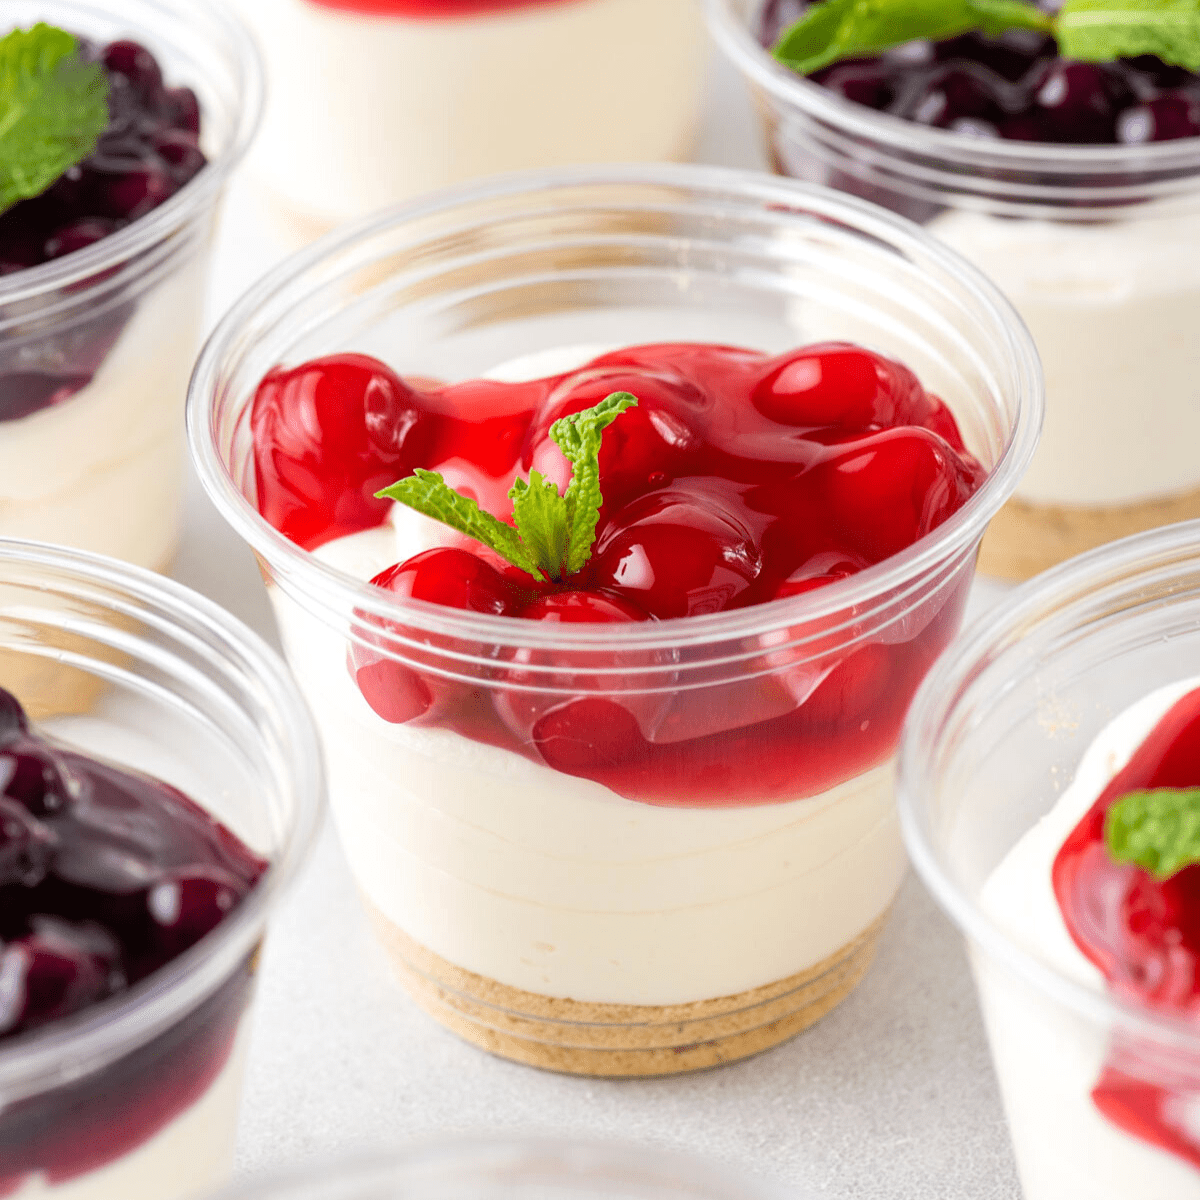
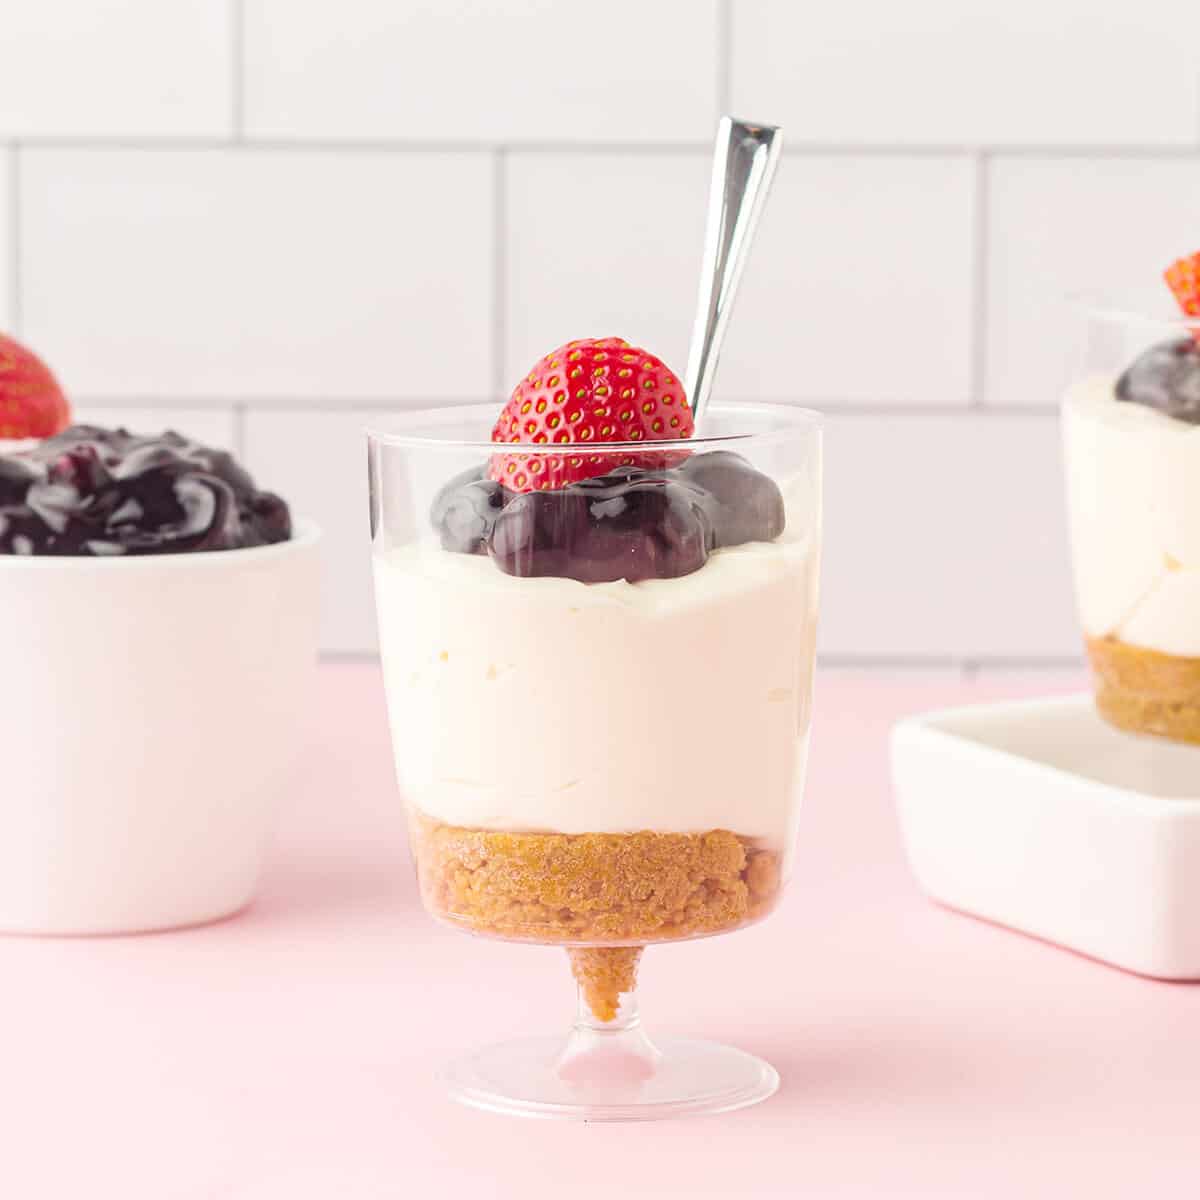
3-Ingredient Cheesecake Cups
Creamy, dreamy, and dangerously customizable.
These individual cheesecake cups are the minimalist’s answer to full-blown cheesecake—with none of the drama, baking, or water baths. They’re ideal for quick cravings, last-minute guests, or solo indulgence while watching trash TV.

Ingredients
- 8 oz cream cheese (softened to room temp)
- ½ cup powdered sugar (or ¼ cup honey or maple syrup)
- 1 teaspoon vanilla extract
- Optional toppings: jam, crushed cookies, fresh fruit, or melted chocolate
Instructions
- Soften your cream cheese perfectly. Let it come to room temperature or microwave briefly in 5-second bursts.
- Whip until silky smooth. Beat for 2–3 minutes with a whisk or mixer until fluffy.
- Add your sweetener and vanilla extract. Mix well and adjust sweetness to taste.
- Choose your serving vessels wisely. Use jars, ramekins, or teacups.
- Fill each cup evenly. Spoon or pipe and smooth the tops.
- Get creative with toppings. Use berries, jam, chocolate, or crushed cookies.
- Chill for best results. Refrigerate for at least 30 minutes, or overnight.
- Serve and savor. Dig in and enjoy every creamy bite!
Tips for Glory
- Add lemon juice for brightness.
- Add a cookie crust with crushed cookies + melted butter.
- Try vegan swaps with plant-based cream cheese and maple syrup.
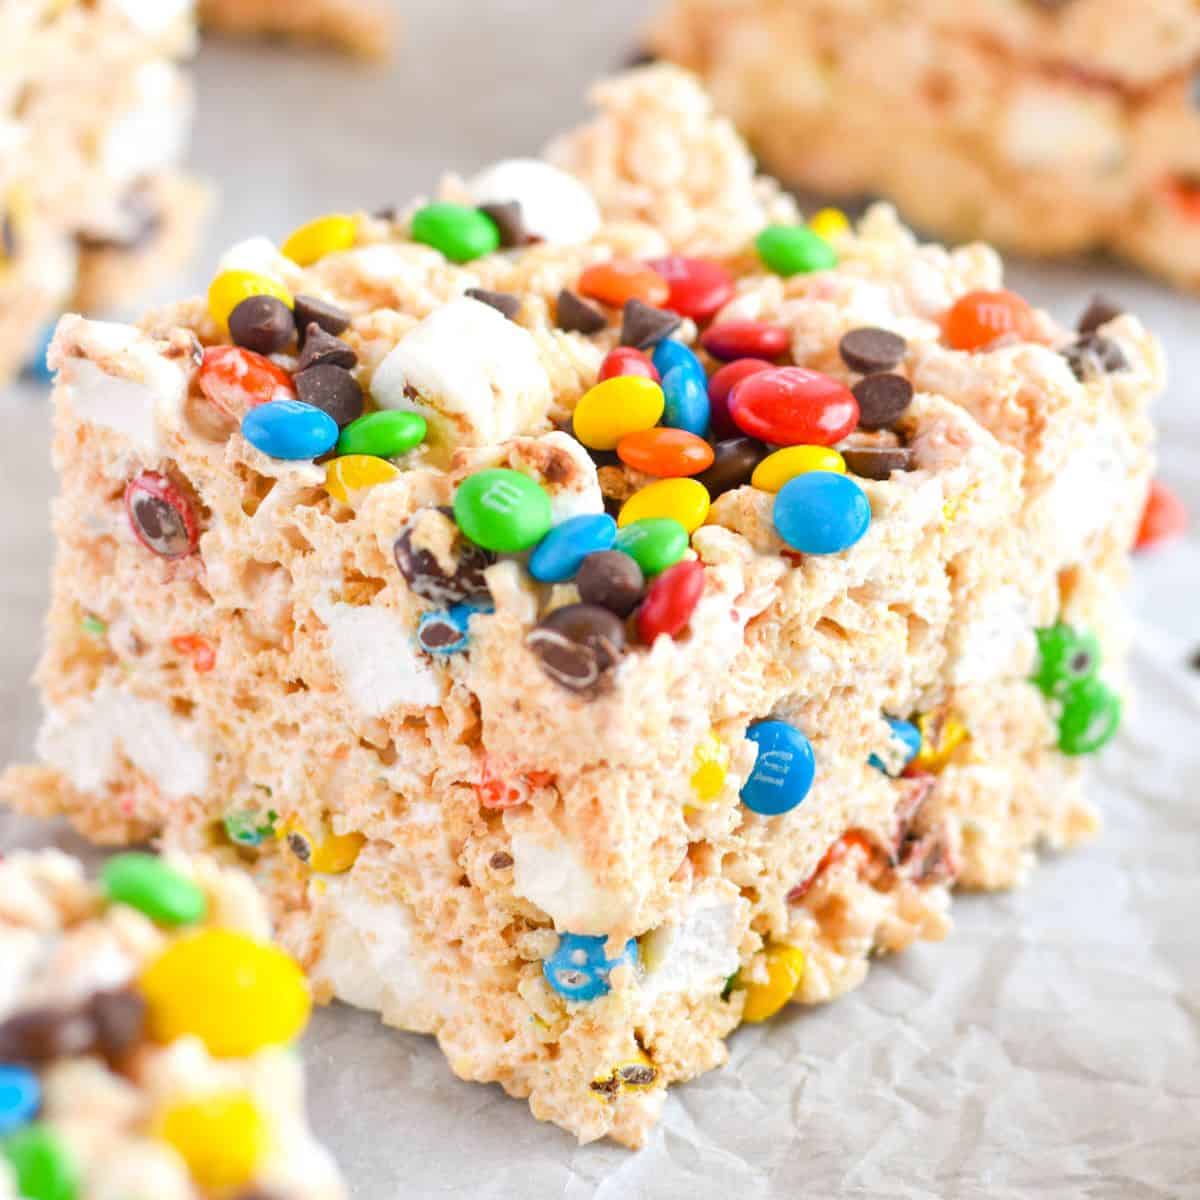
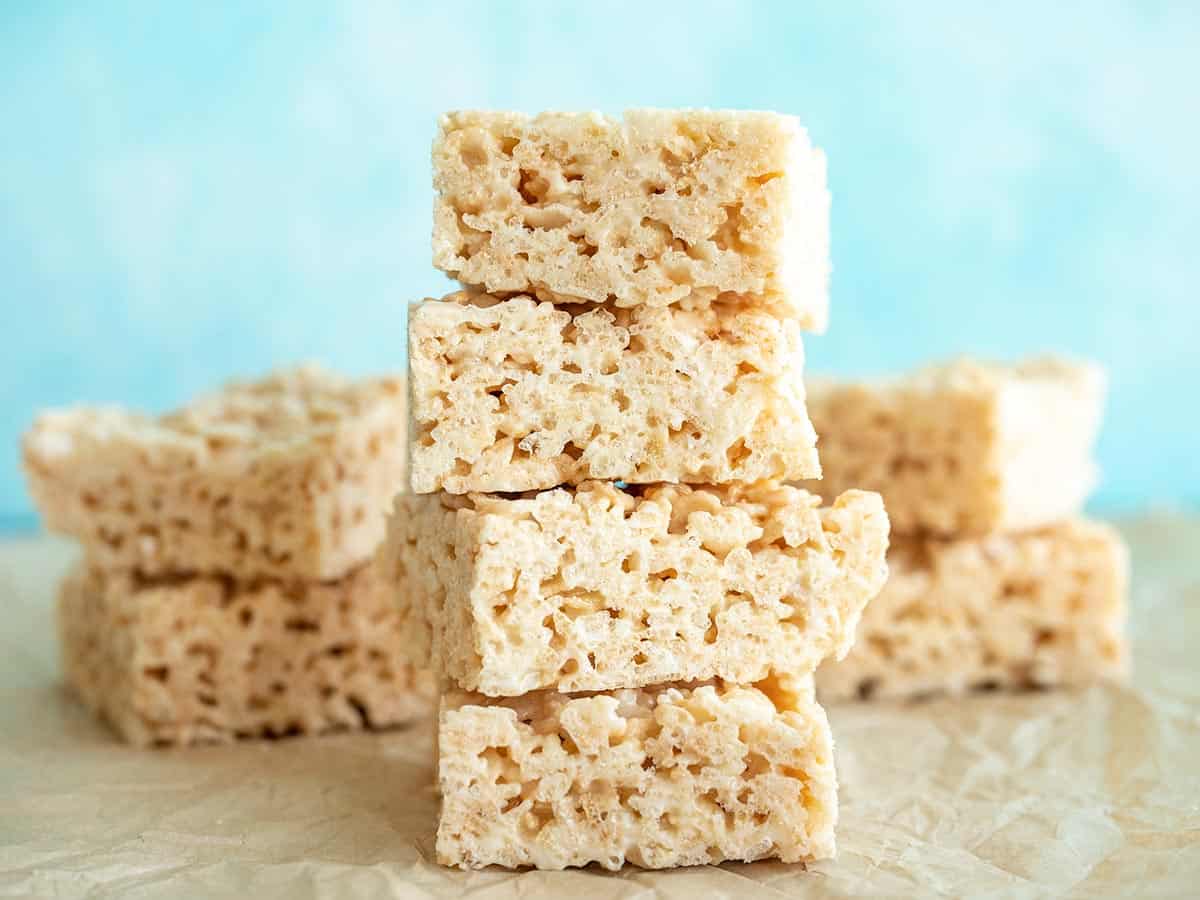
Pan-Free Rice Krispy Treats
No stove. No baking dish. No excuses.
These treats skip the stovetop entirely and use the microwave—or even just warm water and elbow grease.
:max_bytes(150000):strip_icc()/9959-marshmallow-treats-DDMFS-4x3-66d2f29f5f6e45c2a28db5be04fa80ac.jpg)
Ingredients
- 3 tablespoons butter (or margarine)
- 1 package (10 oz) marshmallows
- 6 cups Rice Krispies
Instructions
- Melt your base perfectly. Microwave butter + marshmallows or melt with hot water.
- Stir in your cereal fast. Mix quickly for even coating and no clumps.
- Shape your treat. Press firmly into your chosen container.
- Cool it down and enjoy. Let sit 20–30 minutes before slicing and serving.
Tips for Glory
- Add salt or vanilla for extra depth.
- Mix in chocolate chips, cookies, or sprinkles.
- Use flavored cereals to switch things up.
Ingredient Price Comparison — Top 3 USA Grocery Chains
Ingredients:
Master Shopping List
- 11 tbsp Butter
- .5 cup Cocoa Powder
- 8 oz Cream Cheese
- 1 sleeve Graham Crackers
- 2 cups Granulated Sugar
- .5 cup Lemon Juice
- Marshmallows
- .5 cup Milk
- 6 cups Rice Krispies Cereal
- 1 can Sweetened Condensed Milk
- 2 tsp Vanilla Extract

Ingredients are subject to availability at local stores. Unavailable items will be automatically substituted at best-effort.
Estimated total ingredient costs per recipe by store brand.
| Recipe | Walmart | Kroger | Costco |
|---|---|---|---|
| Pan-Free Rice Krispy Treats | $4.30 | $4.55 | $3.75 |
| 3-Ingredient Cheesecake Cups | $2.65 | $2.85 | $2.20 |
| Lemon Icebox Bars | $3.40 | $3.60 | $2.90 |
| Stovetop Fudge | $3.85 | $4.10 | $3.30 |
*Prices are approximate and based on typical store brand costs for commonly purchased package sizes.*

4 Healthy High-Protein Cottage Cheese Dessert Dips

3 Star Steady Blood Sugar Meal Plan For Feel Good Days