

BEST Chocolate Chip Banana Bread


Made by Jenna
Follow her on:




Ripe banana, Greek yogurt, and mini chocolate chips make this a rich, comforting banana bread. For the gluten-free version, use 1⅓ cups 1-to-1 gluten-free baking flour and keep the banana and yogurt amounts as written.
Pan: 9 × 5-inch loaf pan | Cooling: Completely in the pan before removing
Choose the gluten-free option: The original recipe lists all-purpose flour as the default and 1-to-1 gluten-free baking flour as an alternative. This version uses 1⅓ cups 1-to-1 gluten-free baking flour. Plain rice flour, oat flour, or almond flour is not an equal replacement for that blend.
Ingredients:
- 1 1/2 cups banana (ripe and mashed (3-4 bananas))
- 1/2 cup light brown sugar (packed)
- 1/2 cup granulated sugar
- 1/2 cup unsalted butter (melted)
- 2 large eggs
- 1 tsp vanilla extract
- 1/2 cup 2% Greek yogurt (sour cream also works)
- 1 1/3 cups all-purpose flour (or 1-to-1 gluten-free baking flour)
- 1 tsp baking soda
- 1/2 tsp salt
- 3/4 cup mini chocolate chips (+ a handful more for sprinkling on top)

Ingredients are subject to availability at local stores. Unavailable items will be automatically substituted at best-effort.
Directions
1. Prepare the oven and pan. Preheat your oven to 325°F (160°C). Grease a 9 × 5-inch loaf pan and line it with parchment paper.
2. Mix the dry ingredients. Whisk together the 1⅓ cups 1-to-1 gluten-free baking flour, baking soda, and salt. Set aside.
3. Combine the butter and sugars. In a separate bowl, mix the melted butter, light brown sugar, and granulated sugar until a paste-like consistency forms. Whisk vigorously for a minute or two, or use an electric mixer fitted with the paddle attachment.
4. Add the remaining wet ingredients. Mix in the 1½ cups mashed ripe banana, followed by the eggs, ½ cup Greek yogurt, and vanilla extract. Mix until well combined. The original recipe also allows sour cream in place of the yogurt.
5. Combine the mixtures. Fold the dry ingredients into the wet ingredients until just combined. Do not overmix.
6. Add the chocolate. Gently fold in the mini chocolate chips.
7. Fill the pan. Pour the batter into the prepared loaf pan and spread evenly. Sprinkle extra mini chocolate chips on top if desired.
8. Bake and check the center. Bake for 1 hour to 1 hour 15 minutes. Begin checking at 1 hour. Remove when a toothpick inserted into the center comes out with a few moist crumbs rather than wet batter. Melted chocolate may mark the toothpick, so check another spot if needed.
9. Cool completely. Leave the bread in the pan until completely cool before removing and slicing. Check that the middle no longer feels warm. Store cooled bread in an airtight container.
Texture Fix: Keep the Banana and Yogurt
Measure the moisture. Use 1½ cups mashed banana and ½ cup Greek yogurt. Banana sizes vary, so measure the mashed fruit rather than relying only on the number of bananas.
Keep the flour amount steady. Use 1⅓ cups of the 1-to-1 gluten-free blend. Spoon it into the measuring cup and level without packing. Do not add extra flour just because the batter looks moist.
When to pull it: Look for a few moist crumbs on the toothpick. Do not keep baking until the center is completely dry.
Cool before cutting. Let the loaf cool completely in its pan. Cutting while hot can leave the middle looking compressed or gummy.
Day 2: Your Coffee Break Is Ready
Once the loaf is completely cool, keep tomorrow’s portion in an airtight container at room temperature. Slice and freeze the extra portions with parchment between them, then seal in a freezer bag or container.
Warm a slice: Microwave a room-temperature slice for 10 seconds, then check. Add 5 seconds at a time if needed. For a frozen slice, thaw while wrapped before warming.
Warm only what you plan to eat. Short bursts let you warm the slice without continuing to heat the whole loaf.
Gluten-free note: Readers with celiac disease should use certified gluten-free ingredients, check labels, and avoid cross-contact from equipment and preparation surfaces.
Get Jenna’s Book


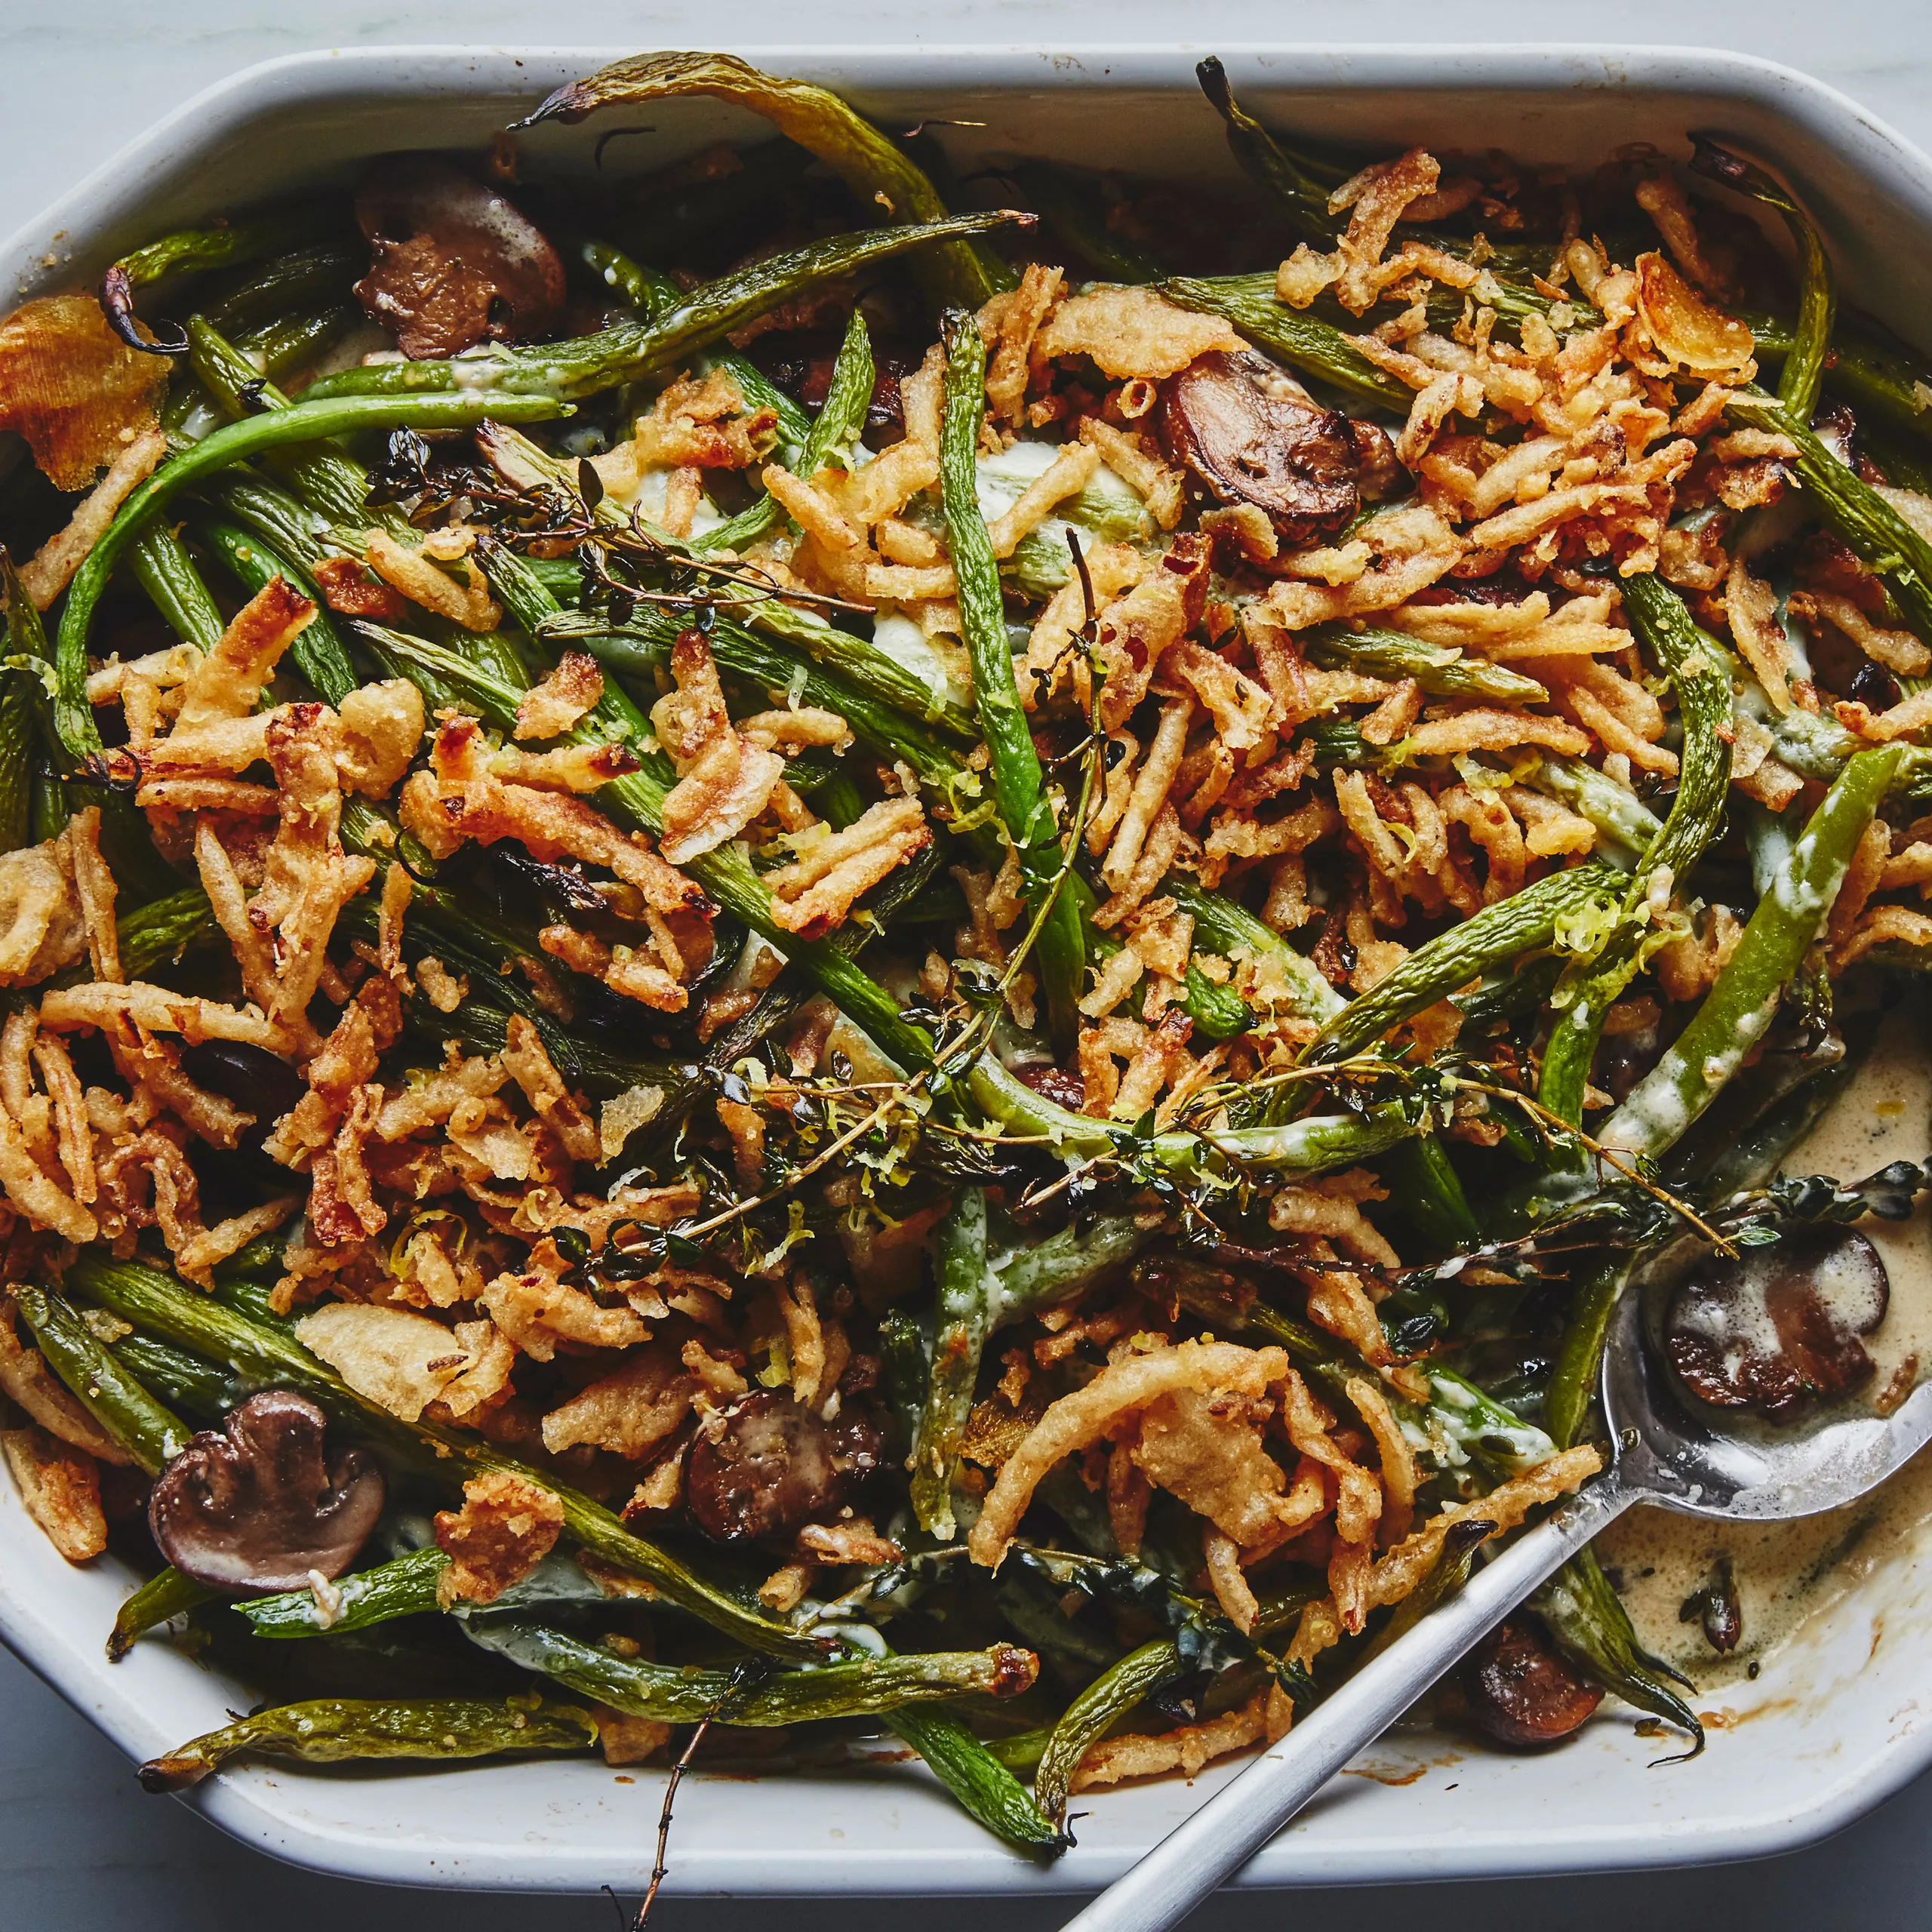
Thanksgiving Green Bean Casserole from Scratch
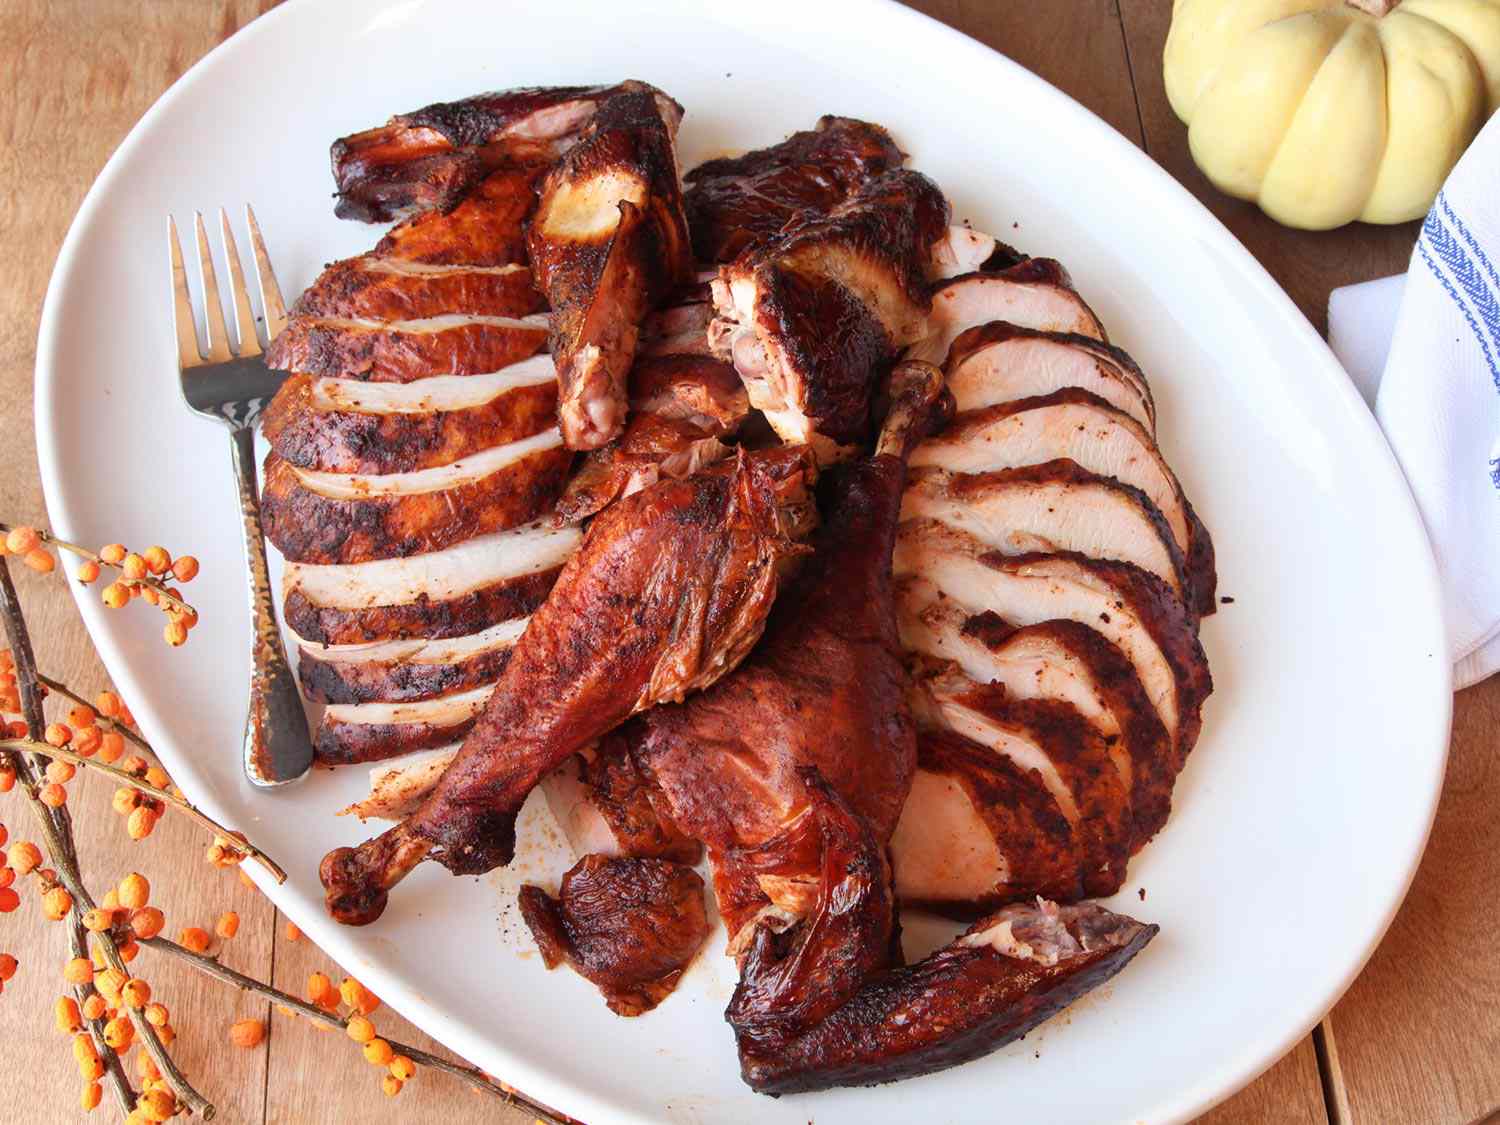
Smoked Whole Turkey with Herb Butter for Thanksgiving