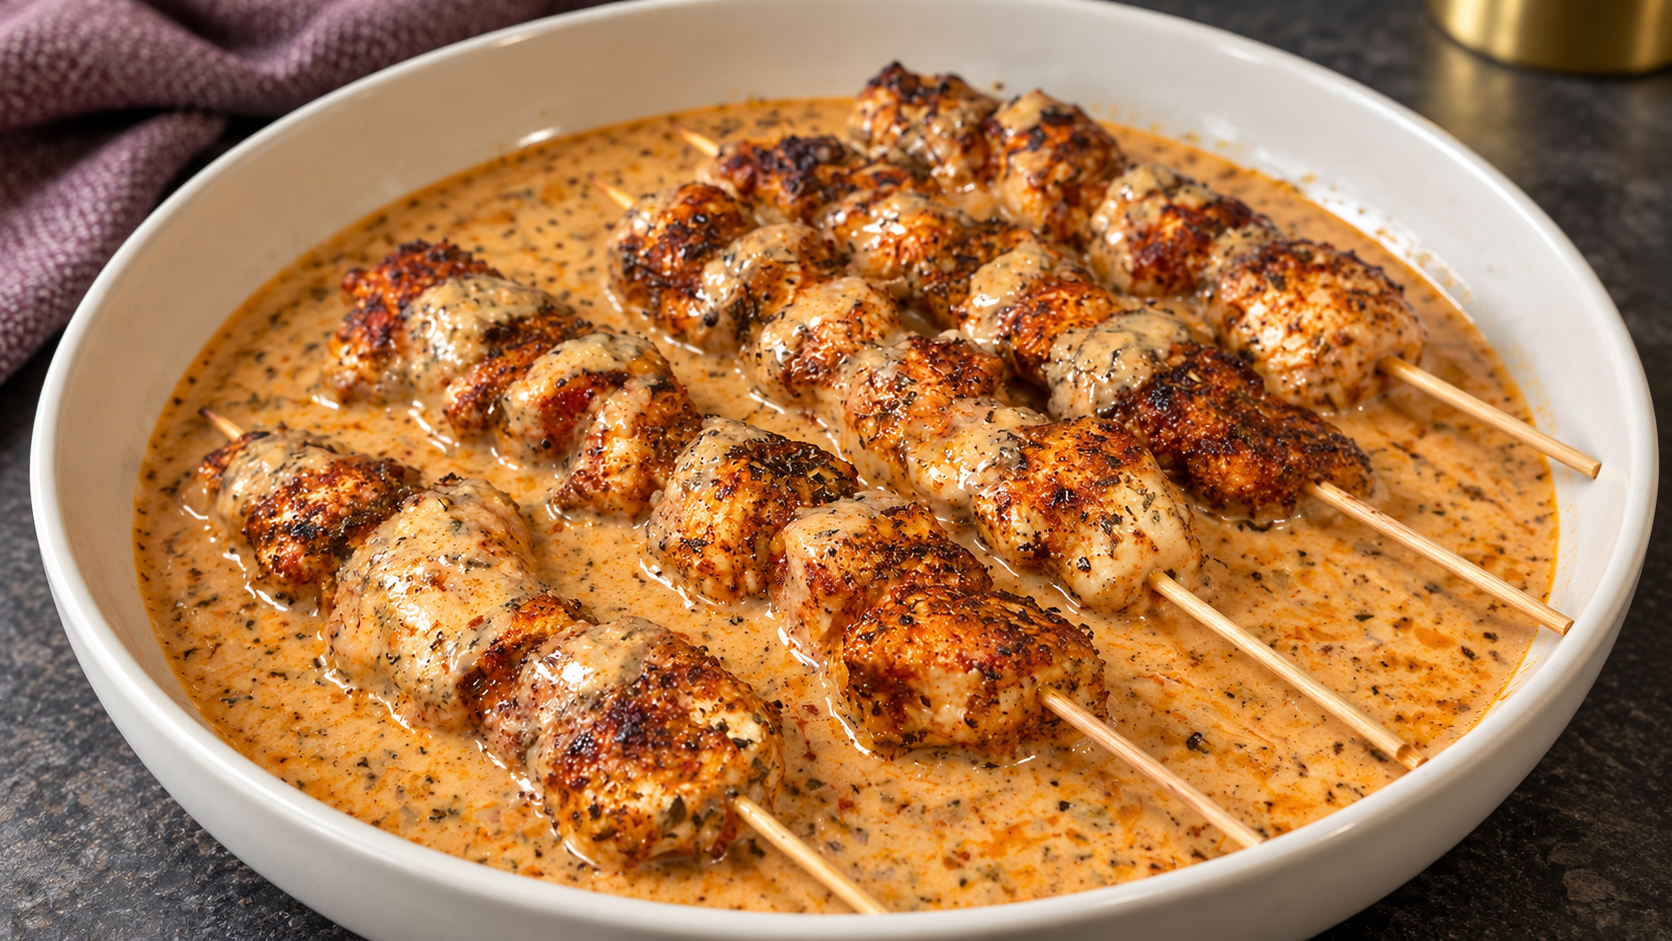

3 Star High-Protein Comfort Food Meal Plan


Inside this plan, you can expect:
- 15 elevated comfort meals including 5 breakfasts, 5 lunches, and 5 dinners
- Protein-forward meals that actually keep you satisfied
- Real comfort food—creamy, crispy, cheesy, saucy & hearty
- One streamlined grocery shop with ingredients intentionally reused
- Meals that feel restaurant-worthy without being complicated
The goal: five days where eating high-protein feels less like something you have to do and more like something you genuinely want to do.
Scroll to the bottom to order ingredients for this plan for the week.

Monday — Breakfast
Steak, Egg & Crispy Potato Breakfast Hash
Crispy potatoes, tender steak, sautéed peppers and onions, eggs, melted cheddar and fresh scallions. Everything you want from a diner-style breakfast hash, but balanced.
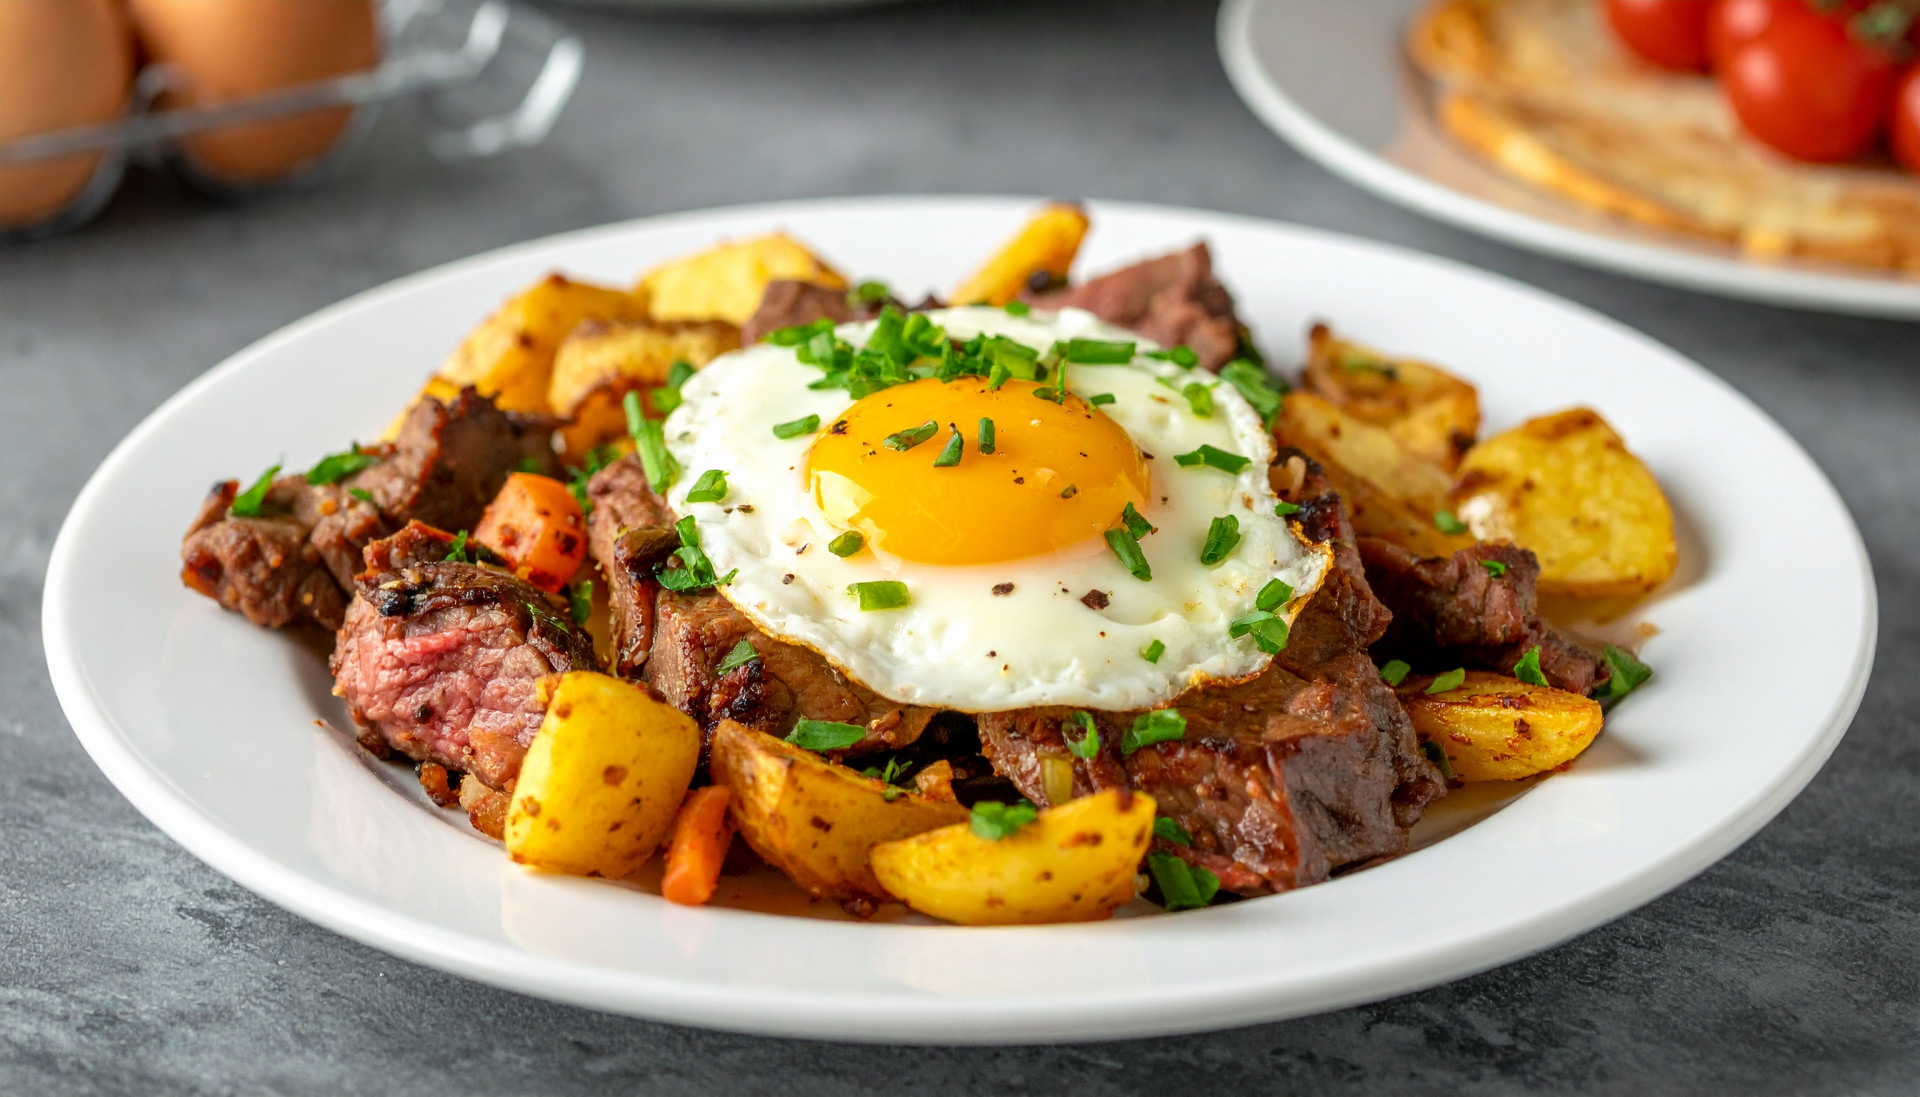
Prep: 10 min | Cook: 20 min | Servings: 1 | Macros: 610 cal | 48g protein | 38g carbs | 29g fat | 4g fiber
Ingredients:
- 4 oz lean sirloin steak
- 5 oz Yukon Gold or russet potato
- 2 large eggs
- ½ bell pepper, diced
- ¼ small yellow onion, diced
- ¼ cup shredded sharp cheddar
- 1 tsp olive oil
- 1 scallion, thinly sliced
- ¼ tsp garlic powder
- ¼ tsp smoked paprika
- Salt and black pepper
- Hot sauce or salsa, optional
Instructions:
- Wash the potato and cut it into small ½-inch cubes. You can leave the skin on. Place the cubed potato in a microwave-safe bowl with about 1 tablespoon of water. Cover loosely and microwave for 2–3 minutes, until beginning to soften but not completely cooked. Carefully drain any remaining water.
- Pat the steak dry with a paper towel. Season both sides with salt, pepper, garlic powder and smoked paprika. Heat a skillet over medium-high heat. Add ½ teaspoon olive oil. Add the steak and cook approximately 3–4 minutes per side, depending on thickness. Transfer it to a cutting board and let it rest.
- Add the remaining ½ teaspoon oil to the same skillet. Add the potatoes and spread them into one layer. Let them sit for a couple of minutes before stirring—that’s how you develop those crispy golden edges. Cook for about 5–7 minutes.
- Add the diced pepper and onion. Cook another 3–4 minutes, stirring occasionally, until softened. Push everything toward the edges of the pan, leaving an open space in the center. Crack in the two eggs and scramble them gently with your spatula. Once they’re almost cooked, mix everything together.
- Slice your rested steak into bite-size pieces and return it to the skillet. Sprinkle the cheddar over everything. Turn off the heat and let the residual heat melt the cheese. Finish with scallions and, if you like, salsa or hot sauce.
Why it made the plan: The combination of protein, carbohydrates and fat gives this breakfast staying power. Instead of relying on a giant portion of potatoes, cheese and breakfast meat, much of that satisfaction comes from the steak, eggs, crispy texture and strong seasoning.
Storage: Hash keeps 3 days refrigerated.
Monday — Lunch
Crispy Buffalo Chicken Ranch Wrap
Crispy seasoned chicken, crunchy romaine, juicy tomato, sharp cheddar and creamy ranch tossed with tangy Buffalo sauce and wrapped in a warm tortilla.
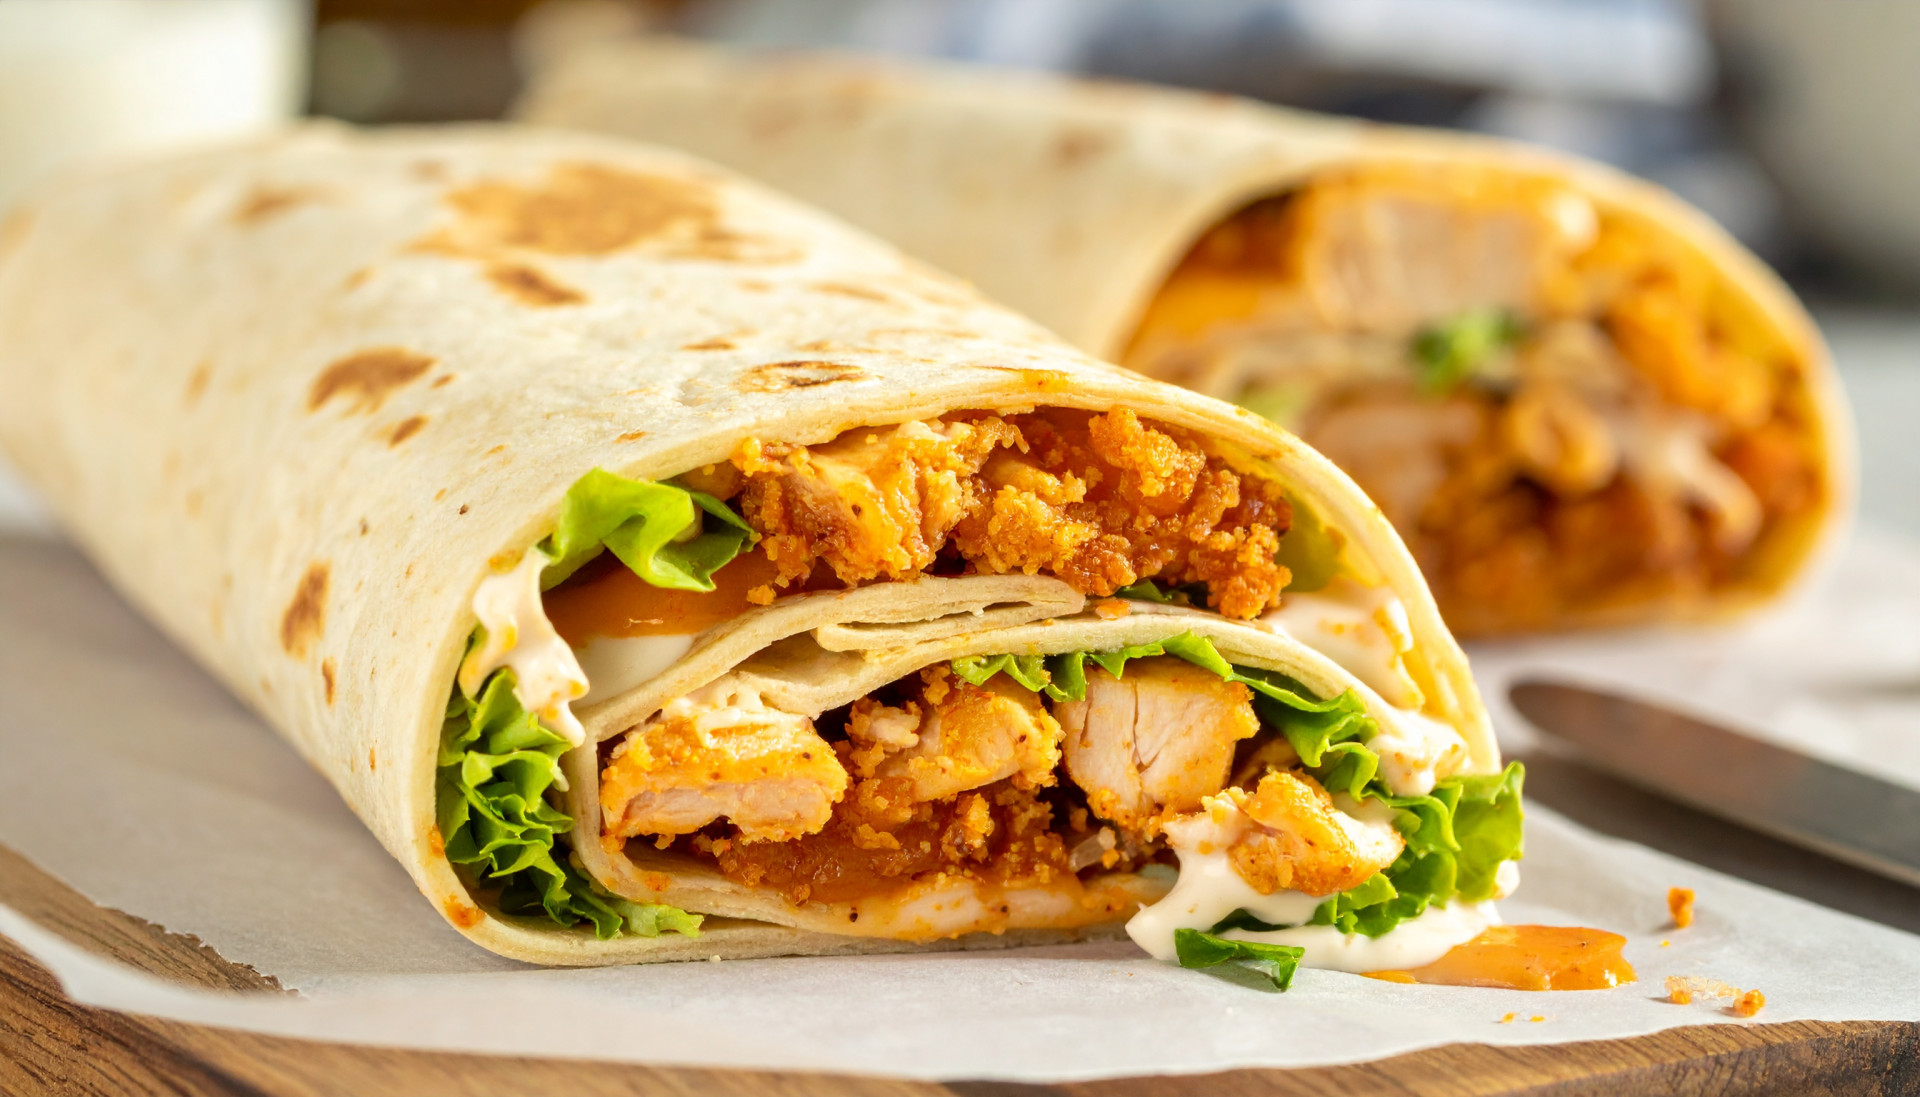
Prep: 15 min | Cook: 12 min | Servings: 1 | Macros: 520 cal | 49g protein | 52g carbs | 14g fat | 5g fiber
Ingredients:
- 5 oz boneless, skinless chicken breast
- 2 tbsp panko breadcrumbs
- 1 tbsp grated Parmesan
- 1 tbsp flour
- 1 tbsp beaten egg or egg white
- ¼ tsp garlic powder
- ¼ tsp paprika
- Salt and pepper
- Cooking spray
- 1 large flour tortilla
- 1½ cups chopped romaine
- ½ small Roma tomato, diced
- 2 tbsp shredded sharp cheddar
- 1½ tbsp Buffalo sauce
- 2 tbsp plain nonfat Greek yogurt
- ½ tsp ranch seasoning
- 1–2 tsp water
Instructions:
- Mix Greek yogurt and ranch seasoning in a small bowl. Add water 1 teaspoon at a time until it reaches a drizzle-able ranch consistency. Put it aside.
- Cut the chicken into strips about 1 inch wide. Pat them dry. Season lightly with salt and pepper. Combine the panko, Parmesan, garlic powder and paprika on a plate. Put the flour on another small plate and the beaten egg in a shallow bowl. Take each piece through this order: Flour → egg → panko mixture. Press the panko onto the chicken with your fingers so it sticks.
- Lightly spray both sides with cooking spray. Air fry at 400°F for about 9–12 minutes, flipping halfway through, until golden and the center reaches 165°F. No air fryer? Bake at 425°F for approximately 15–18 minutes, flipping once.
- Put the cooked chicken in a bowl and drizzle with Buffalo sauce. Toss gently. Don’t completely soak the breading—we want some crunch left.
- Microwave the tortilla for about 10–15 seconds. Place romaine down the center, followed by tomato, cheddar and Buffalo chicken. Drizzle the Greek-yogurt ranch over everything. Fold the left and right sides inward. Fold the bottom over the filling, then roll tightly away from you. For an extra comfort-food touch, put it seam-side down in a dry skillet for 1–2 minutes per side. Cut in half.
Why it made the plan: Chicken provides a large protein anchor, while the tortilla provides enough carbohydrate to keep the meal satisfying. The vegetables add volume and crunch, and the Buffalo sauce gives you a huge flavor payoff without requiring an especially rich sauce.
Storage: Best assembled fresh.
Monday — Dinner
Korean BBQ Beef Bowls
Sweet-savory Korean-inspired beef over fluffy rice with crunchy cucumber, edamame and a creamy-spicy drizzle. A big flavor bomb to end Day 1.
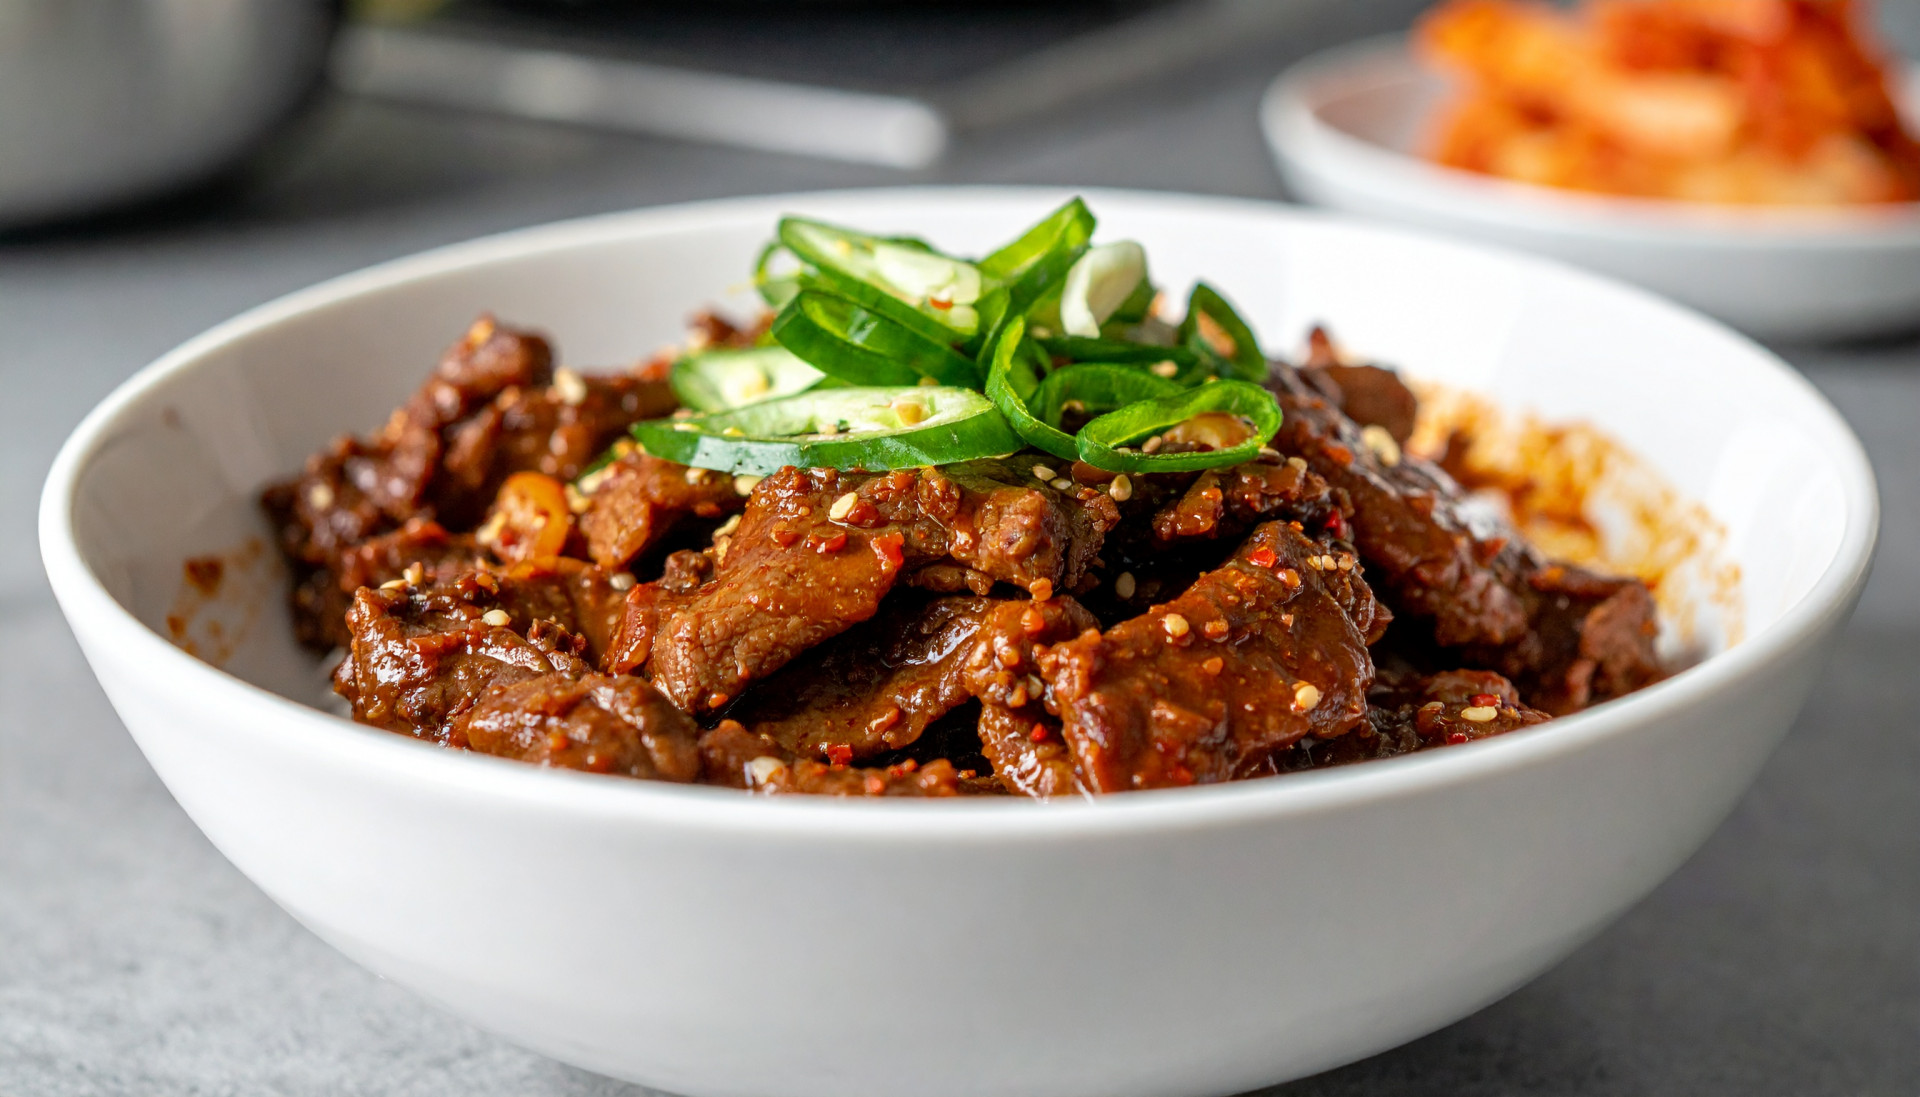
Prep: 15 min | Cook: 20 min | Servings: 1 | Macros: 640 cal | 43g protein | 71g carbs | 20g fat | 7g fiber
Ingredients:
- 5 oz 93% lean ground beef
- 1 tbsp low-sodium soy sauce
- 2 tsp gochujang
- 2 tsp honey
- 1 tsp rice vinegar
- 1 garlic clove, minced
- ½ tsp grated fresh ginger
- ½ tsp sesame oil
- ¾ cup cooked jasmine rice
- ½ cup shelled edamame
- ½ cup thinly sliced cucumber
- 1 scallion, sliced
- 1 tsp sesame seeds
- 1 tsp rice vinegar (for cucumber)
- 2 tbsp nonfat Greek yogurt
- ½–1 tsp gochujang (for crema)
- 1 tsp water
Instructions:
- Thinly slice your cucumber and put it in a small bowl. Add rice vinegar, a small pinch of salt and sesame seeds. Toss and set aside. In another small bowl, combine soy sauce, gochujang, honey, rice vinegar, garlic, ginger and sesame oil. Stir until smooth.
- Place a skillet over medium-high heat. Add the ground beef and break it into small pieces with a wooden spoon or spatula. Cook for approximately 5–7 minutes, until browned and cooked through. If there’s a noticeable amount of excess grease, carefully drain it.
- Turn the heat down to medium. Pour the Korean BBQ sauce over the beef and stir. Cook another 1–2 minutes. The sauce should become glossy and coat the beef rather than sitting at the bottom of the pan.
- If you’re using frozen shelled edamame, microwave according to the package instructions. Mix Greek yogurt, gochujang and water. Taste it. Want more heat? Add more gochujang. Want it sweeter? Add a tiny drizzle of honey.
- Assemble your bowl: ¾ cup rice → Korean BBQ beef → edamame → cucumber salad. Finish with spicy crema, scallions and remaining sesame seeds.
Why it made the plan: Dinner is the most substantial carbohydrate meal of Day 1, which makes sense here—we don’t have to worry as much about an afternoon slump, and the rice works beautifully with the intensely flavored beef. Cucumber and edamame keep the bowl from becoming one-dimensional and heavy.
Storage: Beef and rice keep 3 days.

Tuesday — Breakfast
Hot Honey Chicken Biscuit Breakfast Sandwich
Crispy chicken, fluffy egg, melted cheddar and a sweet-spicy drizzle of hot honey tucked inside a warm, flaky biscuit.
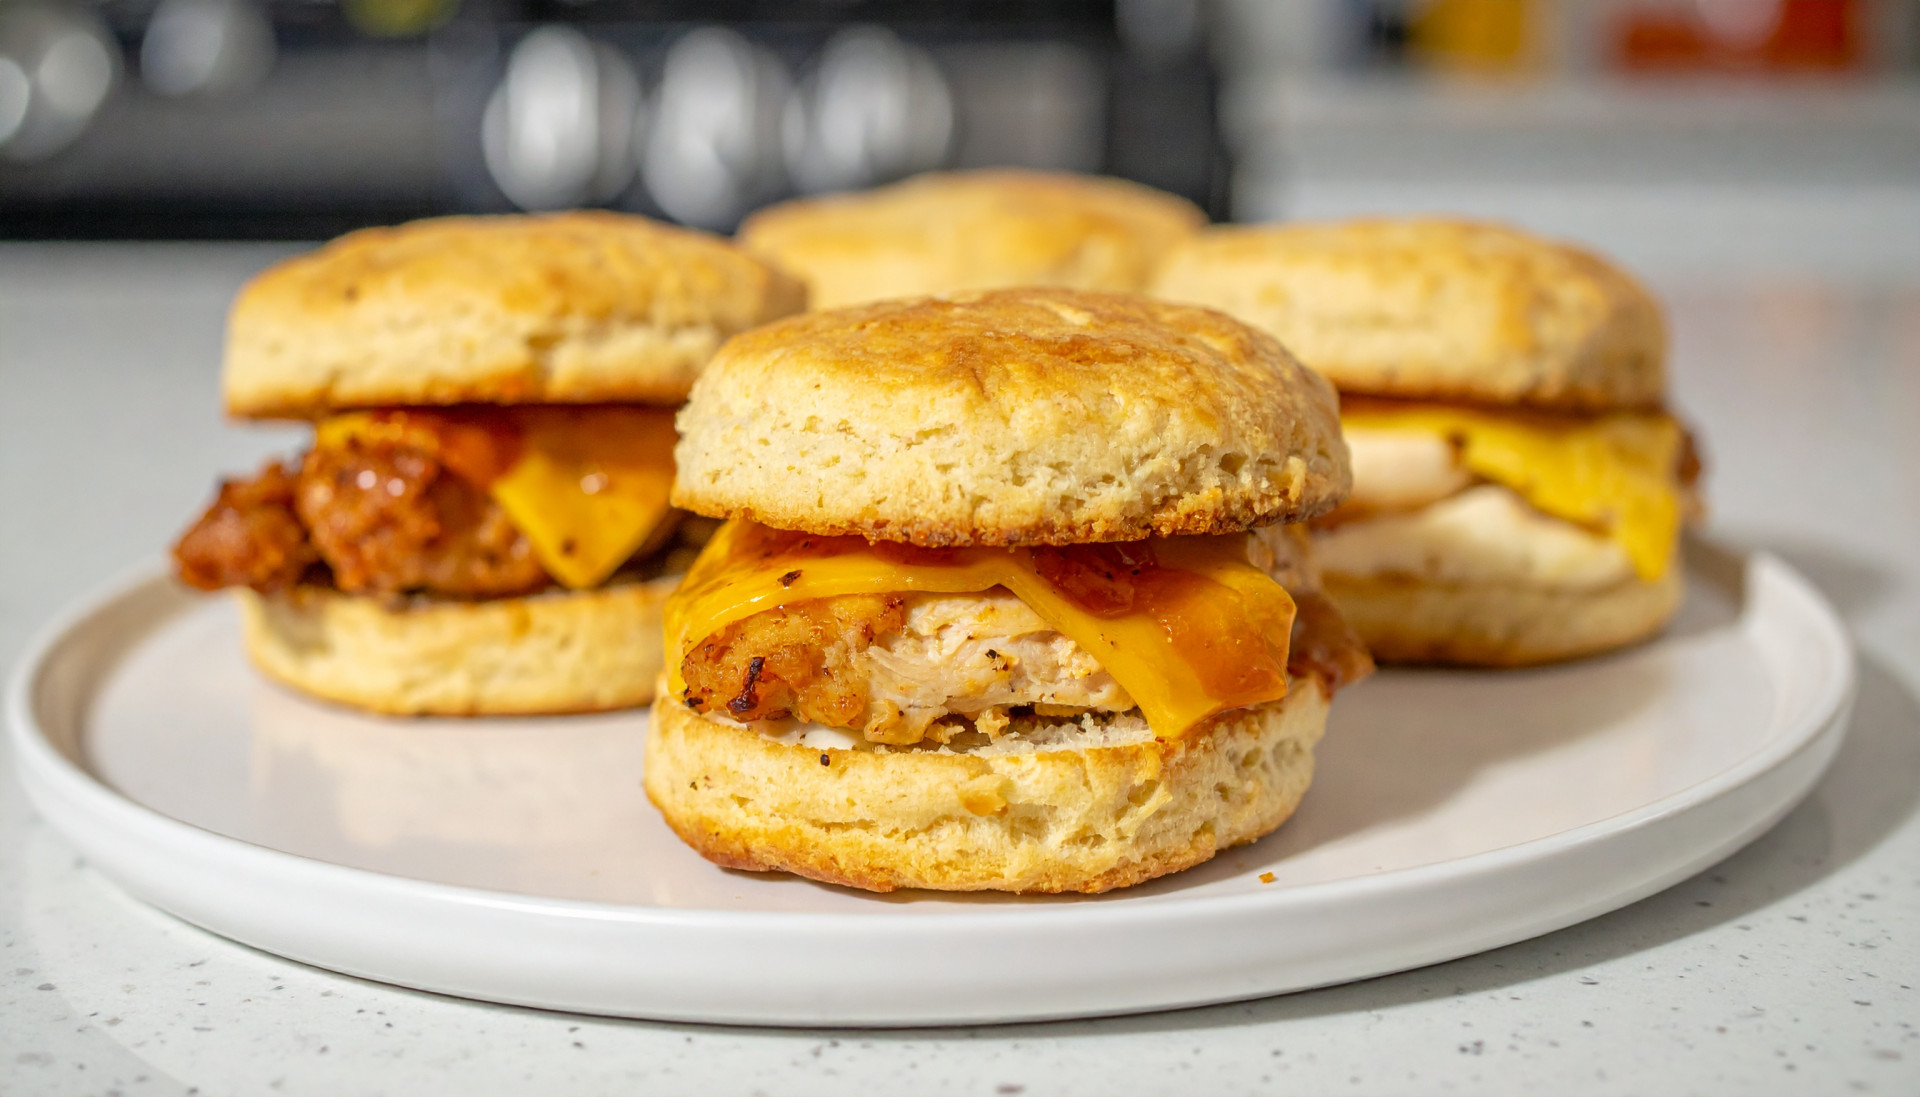
Prep: 12 min | Cook: 15 min | Servings: 1 | Macros: 500 cal | 38g protein | 43g carbs | 20g fat
Ingredients:
- 1 medium refrigerated or frozen biscuit
- 3 oz boneless, skinless chicken breast
- 1 large egg
- 1 slice sharp cheddar, about ¾ oz
- 1 tbsp panko breadcrumbs
- 1 tsp flour
- 1 tbsp beaten egg white or milk
- 1 tsp hot honey
- ¼ tsp smoked paprika
- ¼ tsp garlic powder
- Pinch of cayenne, optional
- Salt and black pepper
- Cooking spray
Instructions:
- Bake your biscuit according to the package directions. When it’s golden brown, remove it from the oven and let it cool for a few minutes before cutting it open.
- If the chicken breast is very thick, place it between two pieces of parchment paper or plastic wrap and gently pound it until it’s about ½ inch thick. Season both sides with salt, pepper, paprika and garlic powder.
- Put the flour on one small plate and panko on another. Dip the chicken lightly into: Flour → egg white/milk → panko. Press the breadcrumbs onto the chicken. Spray both sides lightly with cooking spray. Air fry at 400°F for approximately 8–10 minutes, flipping halfway through, until the chicken reaches 165°F internally.
- Heat a small nonstick skillet over medium-low heat. Crack in the egg and gently break the yolk with your spatula. Fold the edges inward as it cooks so the egg fits your biscuit. Cook until set. Place cheddar over the egg during the final 30 seconds and cover the skillet briefly. The trapped heat will melt it.
- Slice your biscuit. Layer: Bottom biscuit → crispy chicken → cheesy egg → hot honey → top biscuit. Add an extra pinch of cayenne if you want more heat.
Why it made the plan: You still get a real biscuit, crispy chicken, egg and melted cheese. The difference is proportion. Protein is the centerpiece rather than an enormous biscuit or piles of cheese, helping this breakfast have staying power without requiring a gigantic portion.
Storage: Best assembled fresh.
Tuesday — Lunch
Crispy Chicken Caprese Pesto Melt
Golden crispy chicken, melted fresh mozzarella, juicy tomato, basil pesto and balsamic glaze on toasted sourdough, with a lemon-arugula salad alongside.
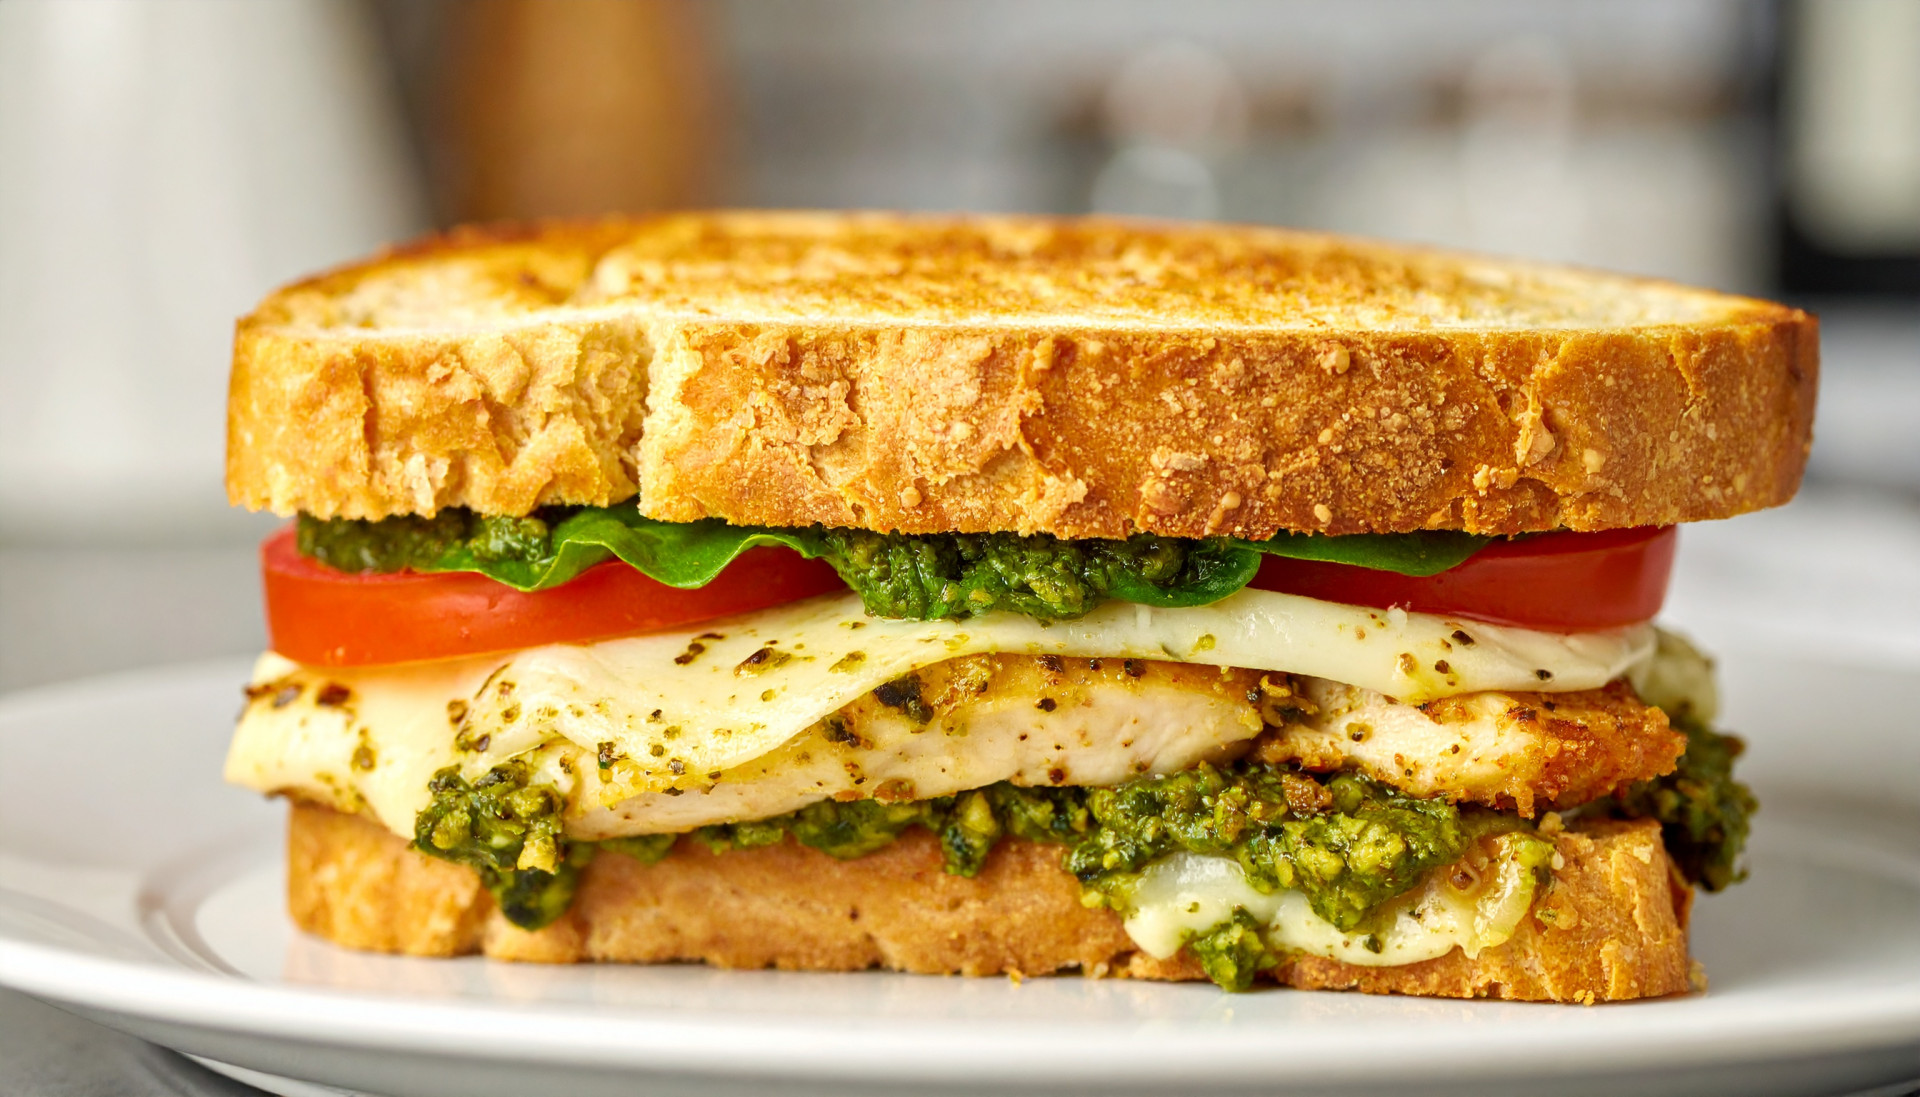
Prep: 15 min | Cook: 15 min | Servings: 1 | Macros: 560 cal | 45g protein | 52g carbs | 20g fat | 5g fiber
Ingredients:
- 4 oz chicken breast
- 2 slices sourdough
- 1 oz fresh mozzarella, sliced
- 2 tomato slices
- 1 tbsp basil pesto
- 1 tbsp panko
- 1 tbsp grated Parmesan
- 1 tsp flour
- 1 tbsp beaten egg white
- 1 tsp balsamic glaze
- Salt and pepper
- Cooking spray
- 1½ cups arugula
- ½ cup cherry tomatoes, halved
- 1 tsp olive oil
- 1–2 tsp fresh lemon juice
Instructions:
- Pound the chicken to about ½ inch thick. Season both sides with salt and pepper. Mix panko and Parmesan together on a plate. Set up: Flour → beaten egg white → panko-Parmesan. Coat the chicken in that order.
- Lightly spray with cooking spray. Air fry at 400°F for about 8–10 minutes, flipping halfway through, until the chicken reaches 165°F.
- Lightly toast both slices of sourdough. Spread pesto over one slice. Top with crispy chicken, sliced tomato and mozzarella. Drizzle with balsamic glaze. Add the second piece of sourdough.
- Put the sandwich in a skillet over medium-low heat. Cover and cook for approximately 2 minutes per side, pressing gently with your spatula, until the bread is golden and the mozzarella is melted. Keep the heat moderate.
- Put arugula and cherry tomatoes in a bowl. Add olive oil, lemon juice and a small pinch of salt and pepper. Toss. Cut the melt in half and pile the arugula salad alongside.
Why it made the plan: You’ve got enough carbohydrate from the sourdough for energy and substantial protein from the chicken, while the salad provides volume and freshness. The lemon, tomatoes, balsamic and arugula also keep the meal from tasting overly rich.
Storage: Best assembled fresh.
Tuesday — Dinner
Creamy Cajun Chicken Pasta
Blackened Cajun chicken and pasta tossed in a silky Parmesan cream sauce with peppers and roasted broccoli. Unapologetic comfort food.
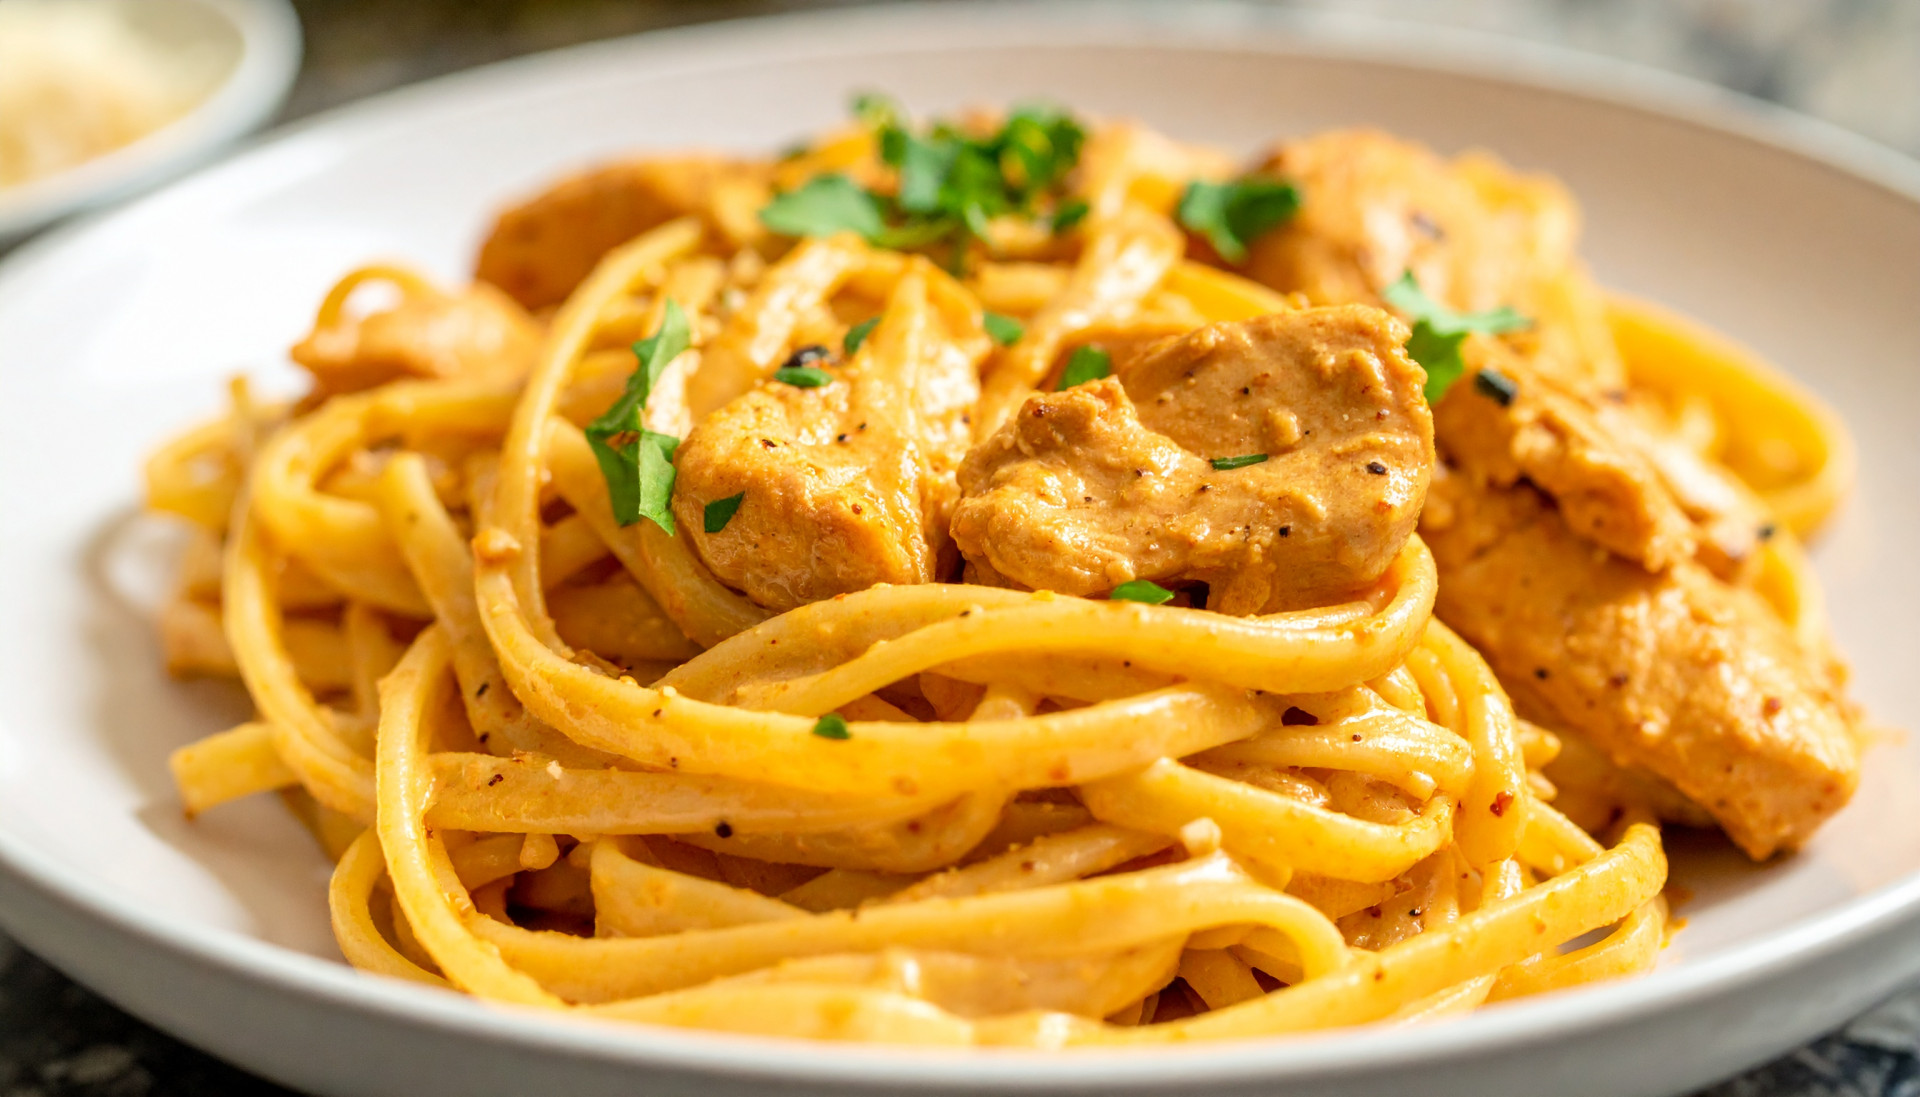
Prep: 15 min | Cook: 30 min | Servings: 1 | Macros: 650 cal | 58g protein | 65g carbs | 18g fat | 7g fiber
Ingredients:
- 5 oz boneless, skinless chicken breast
- 2 oz dry pasta
- ½ bell pepper, thinly sliced
- 1 cup broccoli florets
- 1 tsp olive oil
- 1 tsp Cajun seasoning, divided
- ¼ tsp garlic powder
- Salt and black pepper
- ⅓ cup 2% milk
- 2 tbsp light cream cheese
- 2 tbsp freshly grated Parmesan
- 1 garlic clove, minced
- 2–4 tbsp reserved pasta water
- Squeeze of lemon
Instructions:
- Preheat your oven to 425°F. Place broccoli on a baking sheet. Toss with ½ teaspoon olive oil, salt, pepper and a small sprinkle of Cajun seasoning. Spread it out rather than piling it together. Roast for 15–20 minutes, until browned around the edges.
- Bring a pot of salted water to a boil. Add pasta and cook according to the package directions until al dente. Before draining, scoop out about ½ cup of pasta water. Then drain your pasta.
- Pat chicken dry. Season with approximately ¾ teaspoon Cajun seasoning, garlic powder and a little black pepper. Go easy on additional salt. Heat the remaining ½ teaspoon olive oil in a skillet over medium-high heat. Cook chicken approximately 4–6 minutes per side, until it reaches 165°F. Transfer to a plate and let it rest.
- Turn the skillet down to medium. Add your sliced bell pepper and cook for approximately 3 minutes. Add minced garlic and cook another 30 seconds. Reduce heat to low. Add milk and cream cheese. Stir gently until the cream cheese melts into the milk. Add Parmesan and remaining Cajun seasoning. Start with 2 tablespoons pasta water and stir. If it’s still too thick, add another tablespoon.
- Add drained pasta directly into the skillet. Toss until every piece is coated. Add a small squeeze of lemon. Slice the rested chicken into strips. Spoon the creamy Cajun pasta into your bowl. Top with sliced chicken and roasted broccoli. Finish with black pepper and Parmesan.
Why it made the plan: Dinner is allowed to be richer than lunch. But because the meal has a significant protein anchor, a measured pasta portion and a full serving of broccoli, you’re getting more than a bowl of refined carbohydrates swimming in cream.
Storage: Keeps 3 days refrigerated.

Wednesday — Breakfast
Loaded Bacon, Egg & Crispy Potato Breakfast Bowl
Golden potatoes, fluffy eggs, crispy turkey bacon, melted cheddar, avocado, fresh salsa and scallions.
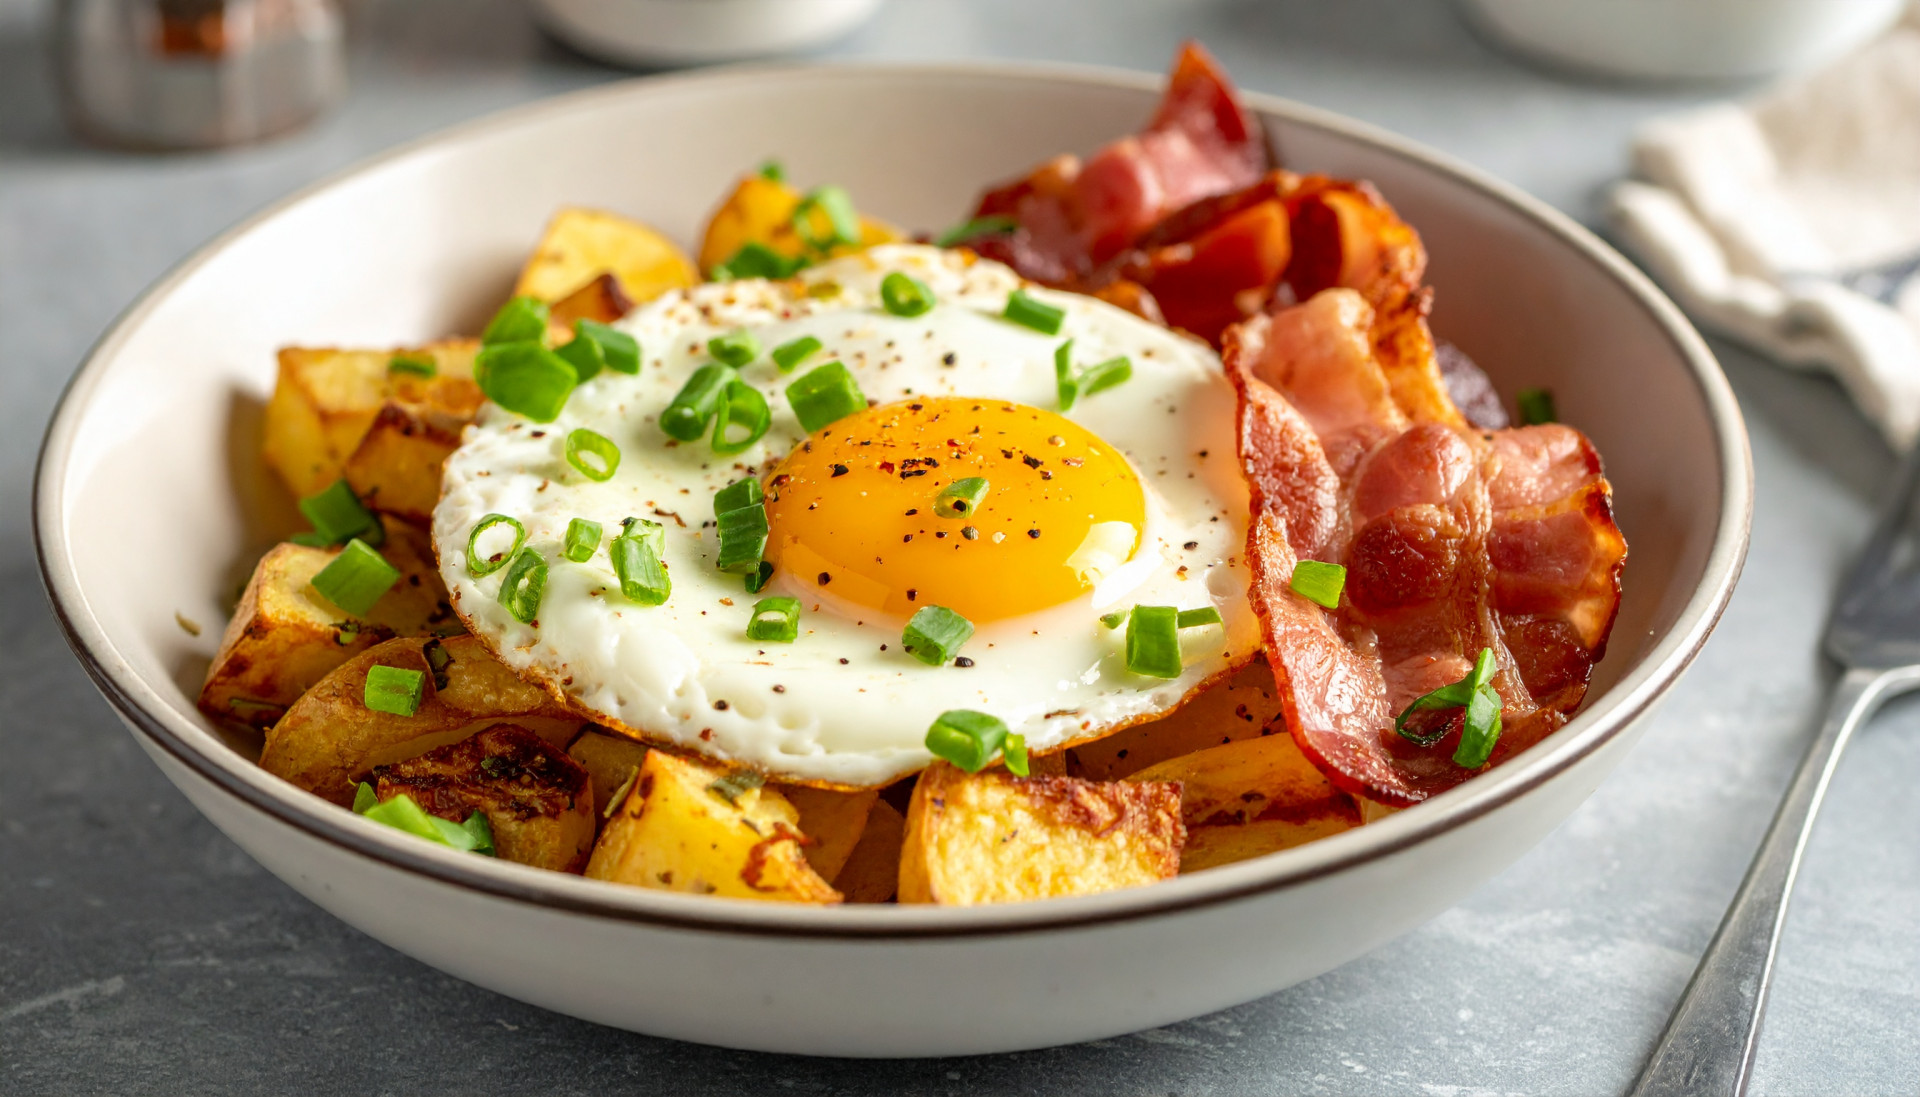
Prep: 10 min | Cook: 20 min | Servings: 1 | Macros: 480 cal | 27g protein | 39g carbs | 25g fat | 6g fiber
Ingredients:
- 5 oz Yukon Gold or russet potato, diced
- 2 large eggs
- 2 slices turkey bacon
- ¼ avocado, diced
- 2 tbsp shredded sharp cheddar
- ¼ cup fresh salsa
- 1 scallion, sliced
- ½ tsp olive oil
- ¼ tsp smoked paprika
- ¼ tsp garlic powder
- Salt and black pepper
- Hot sauce, optional
Instructions:
- Wash the potato and cut it into small ½-inch cubes. Place the cubes in a microwave-safe bowl with 1 tablespoon of water. Cover loosely and microwave for 2–3 minutes, until they’re beginning to soften. Drain any remaining water.
- Toss the potatoes with smoked paprika, garlic powder, salt and pepper. Heat olive oil in a skillet over medium-high heat. Add the potatoes in one layer. Let them cook undisturbed for about 2 minutes before stirring. Continue cooking for 5–7 minutes, turning occasionally, until golden and crispy. Transfer them to your bowl.
- Using the same skillet, cook the turkey bacon according to the package directions until browned and crisp. Transfer to a cutting board and roughly chop.
- Turn the heat to medium-low. Crack the eggs into a small bowl, add a pinch of salt and pepper and whisk with a fork. Pour into the skillet. Use your spatula to slowly move the eggs around the pan until they’re softly scrambled.
- Layer: Crispy potatoes → scrambled eggs → turkey bacon → cheddar → avocado → salsa. Finish with scallions and hot sauce if desired.
Why it made the plan: The potatoes give you a substantial carbohydrate source, while eggs and turkey bacon bring protein and fat for staying power. Salsa, scallions and avocado make the bowl feel loaded without needing huge amounts of cheese or breakfast meat.
Storage: Keeps 3 days.
Wednesday — Lunch
Hot Honey Chicken Caesar Wrap
Crispy seasoned chicken, crunchy romaine, Parmesan, creamy Caesar and a drizzle of hot honey wrapped in a warm tortilla.
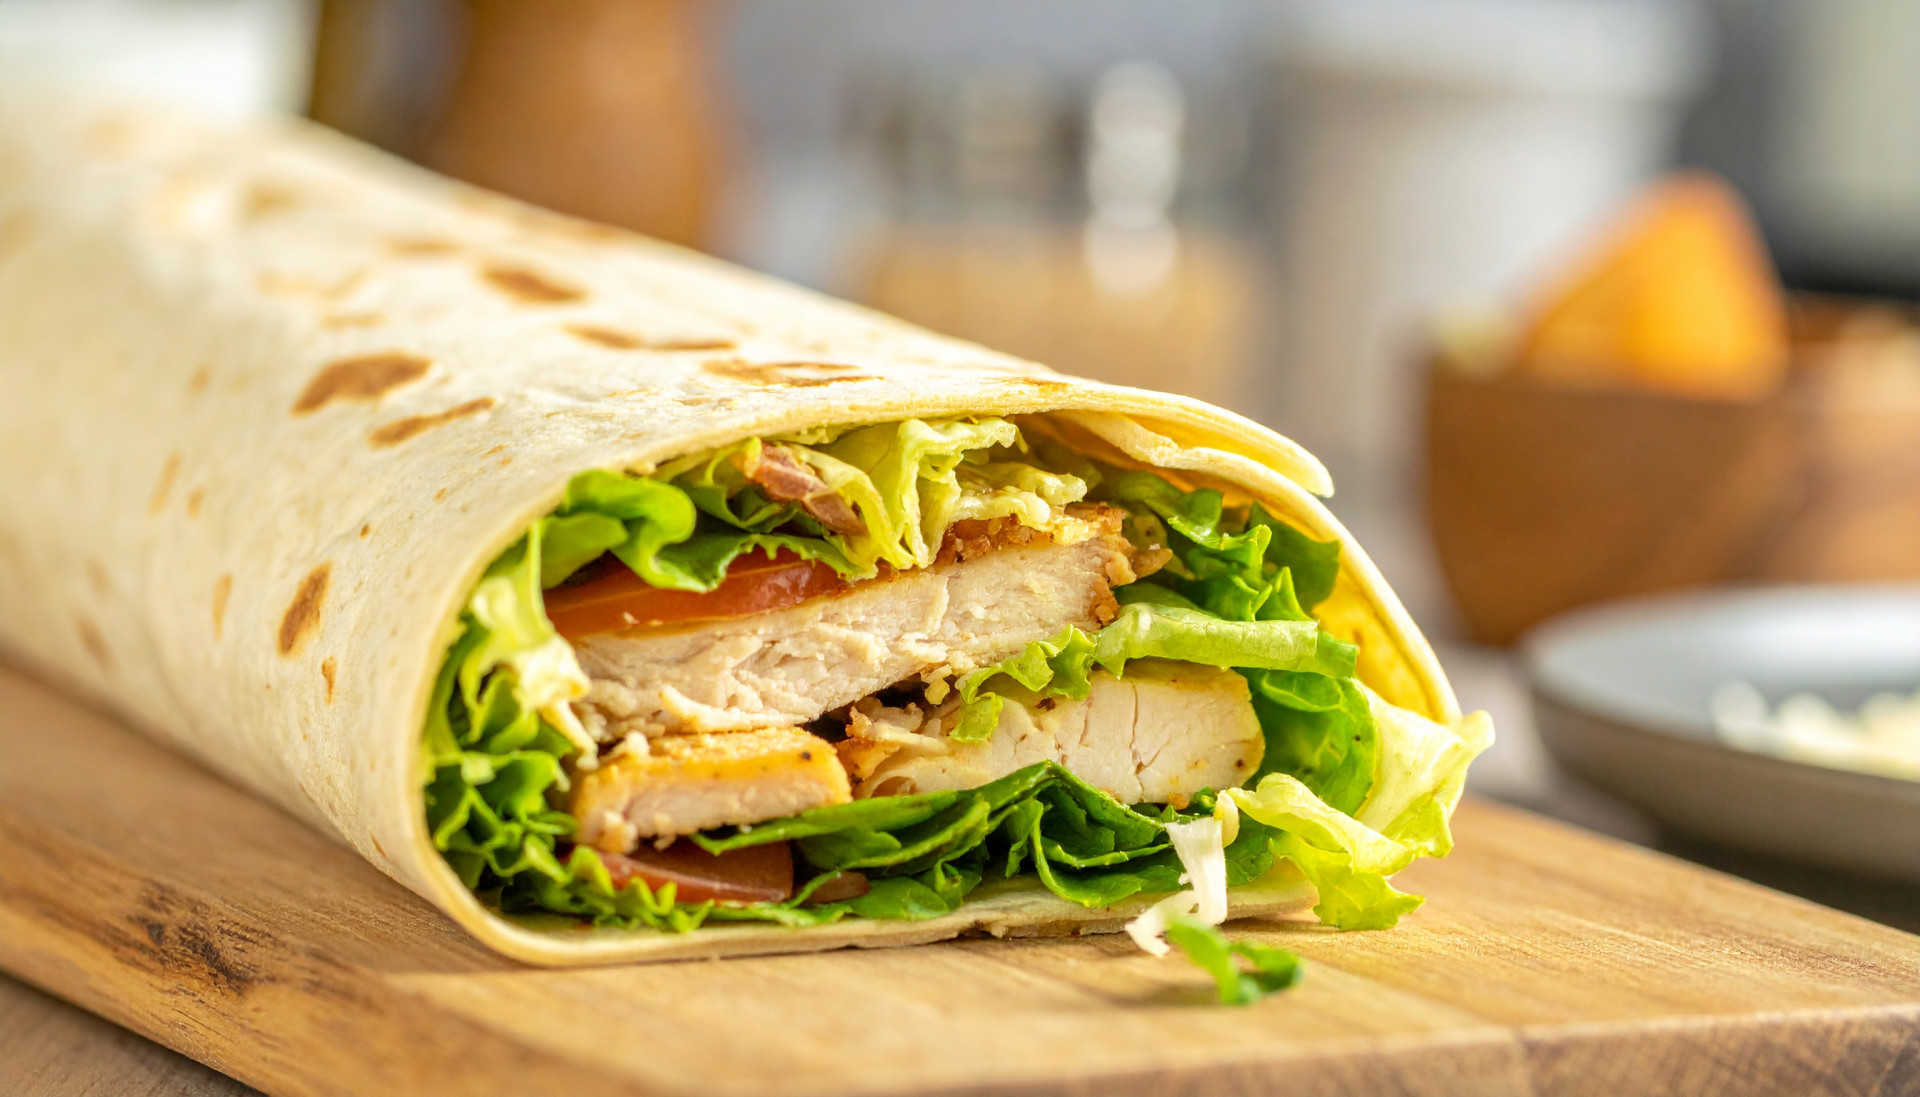
Prep: 15 min | Cook: 12 min | Servings: 1 | Macros: 540 cal | 48g protein | 55g carbs | 16g fat | 5g fiber
Ingredients:
- 5 oz boneless, skinless chicken breast
- 2 tbsp panko breadcrumbs
- 1 tbsp grated Parmesan
- 1 tbsp flour
- 1 tbsp beaten egg white
- ¼ tsp garlic powder
- ¼ tsp paprika
- Salt and black pepper
- Cooking spray
- 1 large flour tortilla
- 2 cups chopped romaine
- 1 tbsp grated Parmesan
- 1½ tbsp Caesar dressing
- 1½ tsp hot honey
- 1 tsp fresh lemon juice
- Black pepper
Instructions:
- Cut the chicken into strips. Pat them dry with a paper towel and season with salt, pepper, garlic powder and paprika. Set up your breading station: flour, beaten egg white, and panko mixed with Parmesan. Take each chicken strip through all three. Press the panko onto the chicken so you get a good coating.
- Lightly spray both sides with cooking spray. Air fry at 400°F for 9–12 minutes, flipping halfway through. The chicken should be golden outside and reach 165°F internally. If using an oven, bake at 425°F for approximately 15–18 minutes, flipping once.
- Put romaine in a bowl. Add Caesar dressing, Parmesan, lemon juice and several cracks of black pepper. Toss until lightly coated. Don’t drown the lettuce in dressing.
- Microwave the tortilla for 10–15 seconds so it’s soft and flexible. Place the dressed romaine down the center. Top with crispy chicken. Drizzle 1½ teaspoons hot honey over the chicken.
- Fold both sides inward, bring the bottom over the filling and roll tightly. For a crispy exterior, place the wrap seam-side down in a dry skillet over medium heat for 1–2 minutes, then flip. Cut diagonally and serve.
Why it made the plan: There’s a substantial amount of chicken and romaine relative to the richer ingredients. Parmesan, Caesar dressing and hot honey provide strong flavor, while crisp lettuce and lemon keep everything tasting bright.
Storage: Best assembled fresh.
Wednesday — Dinner
Smoky Southern Butter Beans & Turkey Sausage
Creamy butter beans simmered with smoky turkey sausage, aromatics and greens, served with warm garlic-brushed cornbread.
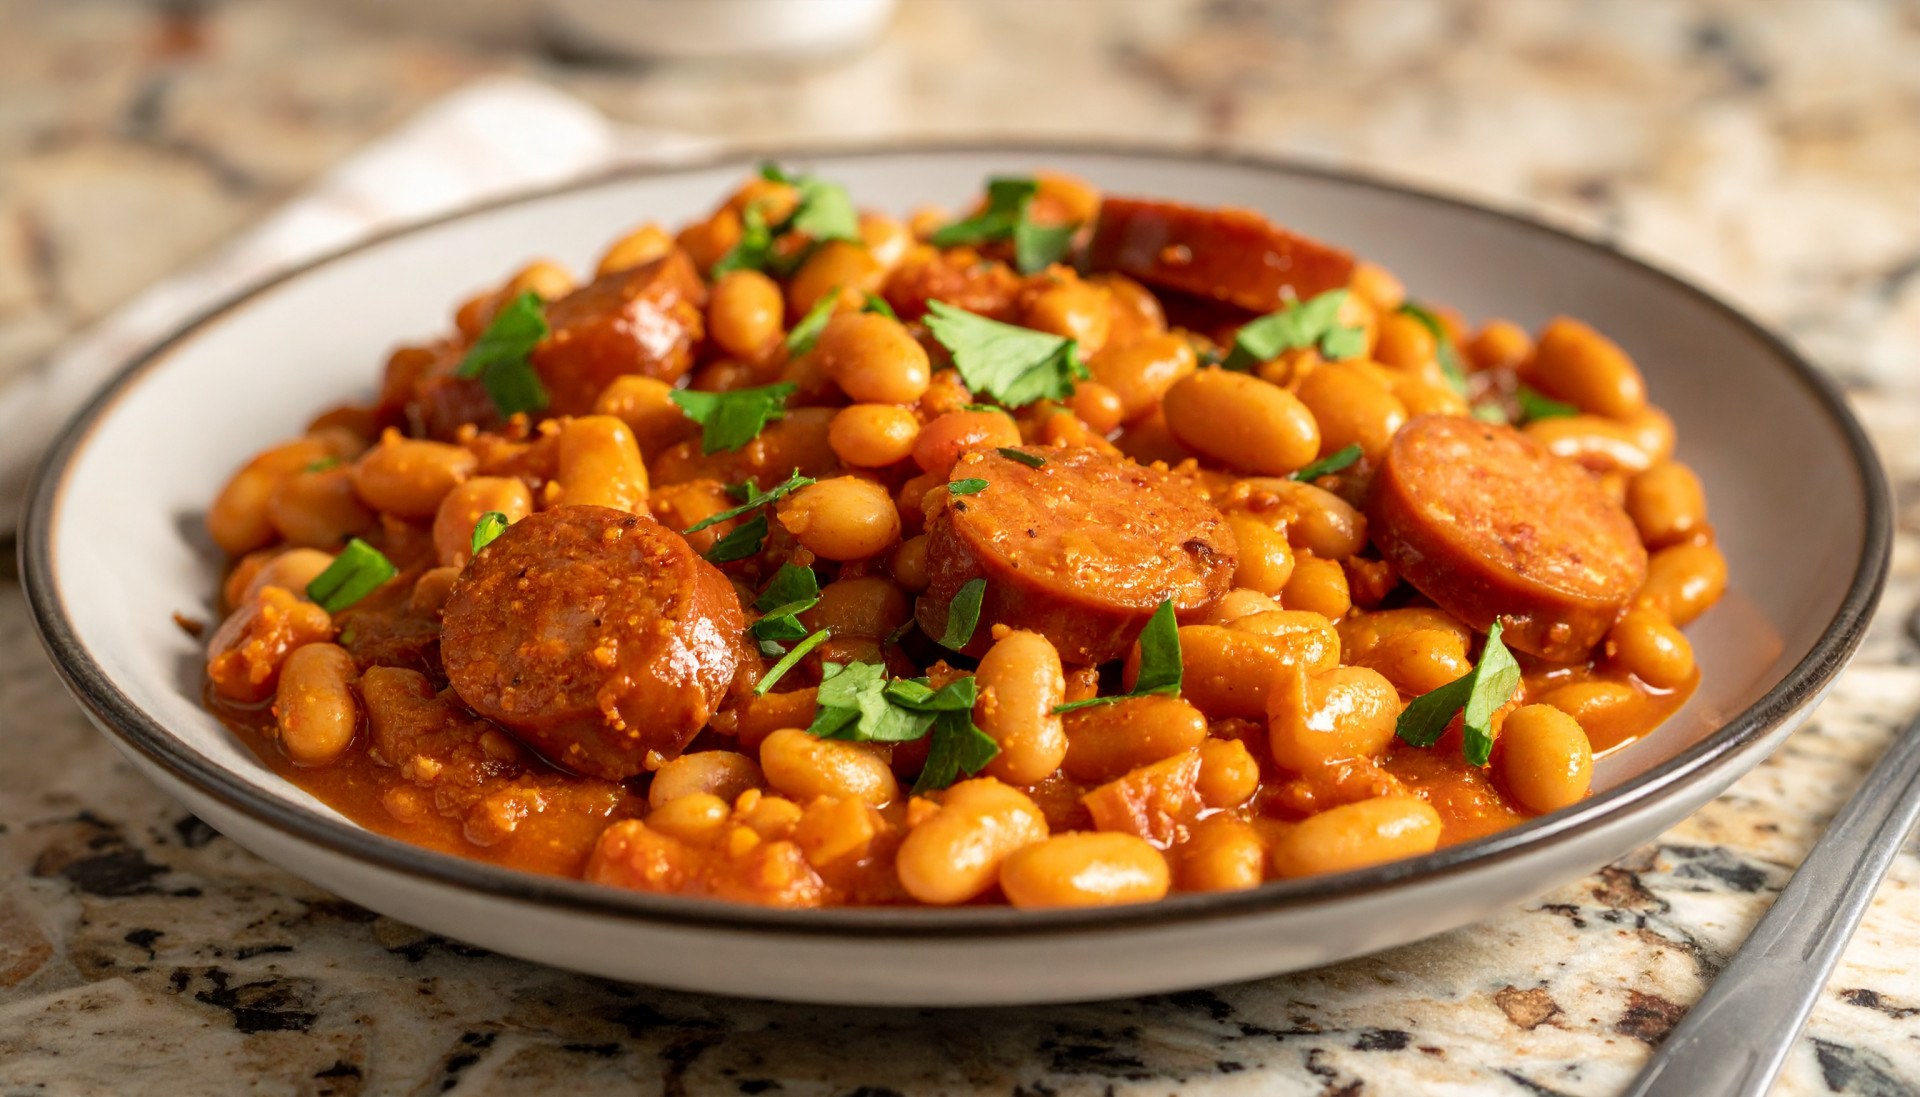
Prep: 15 min | Cook: 30 min | Servings: 1 | Macros: 680 cal | 40g protein | 76g carbs | 25g fat | 14g fiber
Ingredients:
- 4 oz smoked turkey sausage, sliced into rounds
- ¾ cup canned butter beans, drained and rinsed
- 1 cup chopped collard greens or kale
- ¼ small yellow onion, diced
- ½ celery stalk, diced
- 1 garlic clove, minced
- ¾ cup low-sodium chicken broth
- ¼ cup 2% milk
- 1 tsp olive oil
- ½ tsp smoked paprika
- ¼ tsp dried thyme
- Pinch of cayenne, optional
- Salt and black pepper
- 1 tsp fresh lemon juice
- 1 small piece prepared cornbread, about 2 oz
- ½ tsp butter
- Pinch of garlic powder
Instructions:
- Dice your onion and celery, mince the garlic, slice the sausage and chop the greens. Drain the butter beans. Heat olive oil in a medium skillet over medium-high heat. Add sliced turkey sausage in one layer. Cook for about 2 minutes without moving it, then flip. Cook another 1–2 minutes until browned. Transfer the sausage to a plate.
- Turn the heat to medium. Add onion and celery to the same pan. Cook for approximately 3–4 minutes, stirring occasionally, until softened. Add garlic, smoked paprika, thyme and cayenne. Stir for about 30 seconds.
- Pour in the drained butter beans and chicken broth. Stir and gently scrape the bottom of the pan. Take the back of your spoon and mash approximately ¼ cup of the beans against the side of the pan. Stir them back in.
- Reduce the heat to medium-low. Let the beans simmer uncovered for 8–10 minutes, stirring occasionally. Return the browned turkey sausage to the pan. Add your chopped greens. Stir and cook for another 3–5 minutes, until the greens wilt.
- Reduce the heat to low. Stir in ¼ cup milk. Let everything gently warm for another minute or two. Taste before adding salt. Finish with black pepper and 1 teaspoon lemon juice. Warm your cornbread, mix softened butter with a tiny pinch of garlic powder and brush over the warm cornbread. Serve the creamy butter beans with the cornbread alongside.
Why it made the plan: Beans give us a substantial amount of fiber alongside the protein. The creamy texture comes partly from mashed beans rather than heavy cream and butter. Turkey sausage supplies the smoky, savory flavor that makes the entire pot taste rich.
Storage: Keeps 4 days refrigerated.

Thursday — Breakfast
Sausage, Egg & Cheese Breakfast Quesadilla
Crispy tortilla stuffed with fluffy eggs, savory turkey sausage, melted cheddar and sautéed peppers, served with bright salsa for dipping.
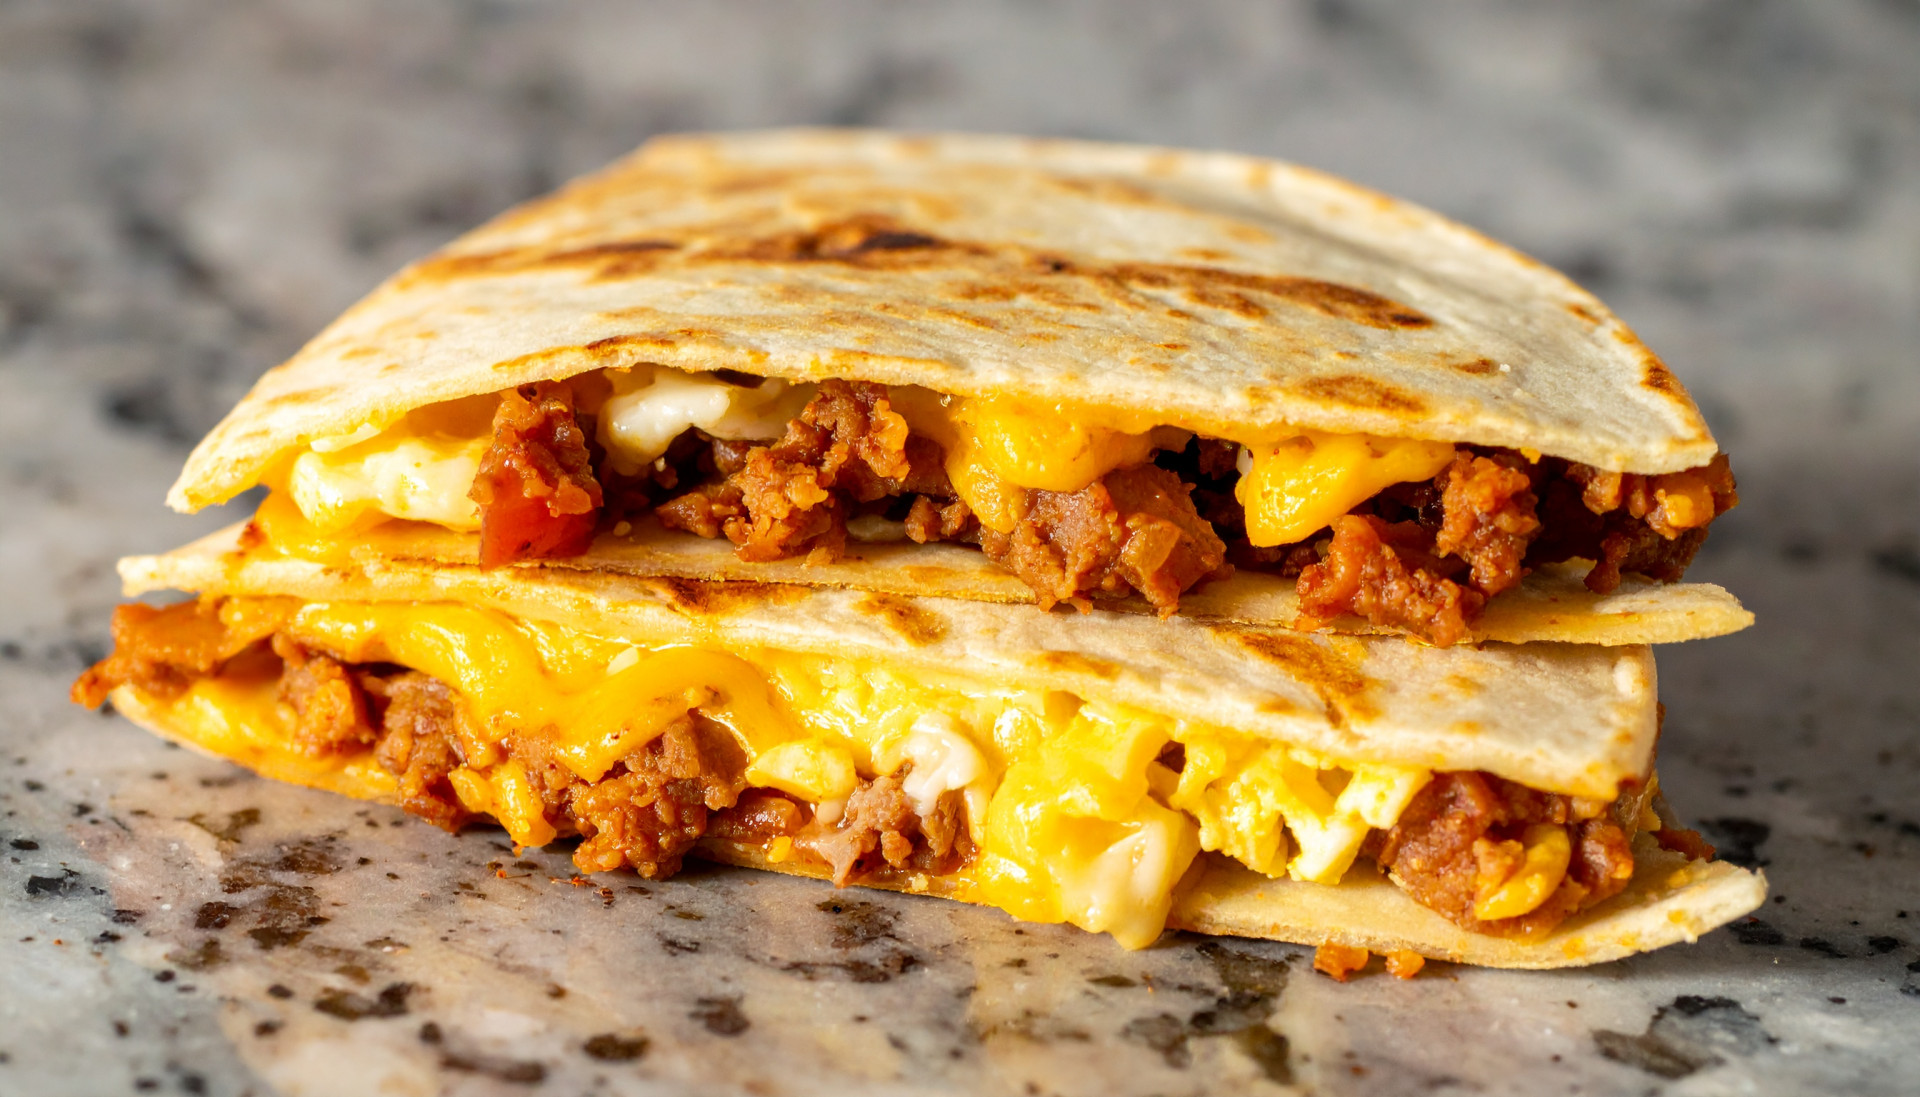
Prep: 10 min | Cook: 15 min | Servings: 1 | Macros: 520 cal | 34g protein | 42g carbs | 25g fat | 4g fiber
Ingredients:
- 1 large flour tortilla
- 2 large eggs
- 2 oz turkey breakfast sausage
- ¼ cup shredded sharp cheddar
- ¼ bell pepper, finely diced
- 2 tbsp diced onion
- ¼ cup fresh salsa
- 1 scallion, sliced
- ¼ tsp smoked paprika
- Salt and black pepper
- Cooking spray
Instructions:
- Heat a nonstick skillet over medium heat. Add the turkey sausage and break it into small pieces with your spatula. Cook for about 4–5 minutes, until completely cooked. Transfer it to a plate.
- Add the diced pepper and onion to the same skillet. Cook for 2–3 minutes, until slightly softened. Crack the eggs into a bowl. Add smoked paprika, salt and pepper. Whisk with a fork. Pour them into the skillet with the vegetables. Turn the heat to medium-low and gently move the eggs around the pan with your spatula until they’re just barely cooked.
- Lay the tortilla flat. Sprinkle half the cheddar over one half of the tortilla. Top with scrambled eggs, peppers, onions and sausage. Add the remaining cheddar and scallions. Fold the empty half of the tortilla over the filling.
- Lightly coat your skillet with cooking spray and place it over medium heat. Add the quesadilla. Cook for 2–3 minutes, until the bottom is golden brown. Carefully flip and cook another 1–2 minutes, until the second side is crisp and the cheese is melted.
- Put the quesadilla on a cutting board for about 1 minute. Slice into wedges and serve with salsa.
Why it made the plan: Eggs and turkey sausage give the meal staying power, while the tortilla provides enough carbohydrate for morning energy. Salsa, peppers and onions bring freshness and volume, allowing us to keep the cheese portion reasonable while the quesadilla still tastes decidedly cheesy.
Storage: Best assembled fresh.
Thursday — Lunch
Korean Beef Crunch Wrap
Savory-sweet Korean beef, fluffy rice, cool cucumber and crunchy sesame slaw wrapped inside a golden toasted tortilla with spicy crema.
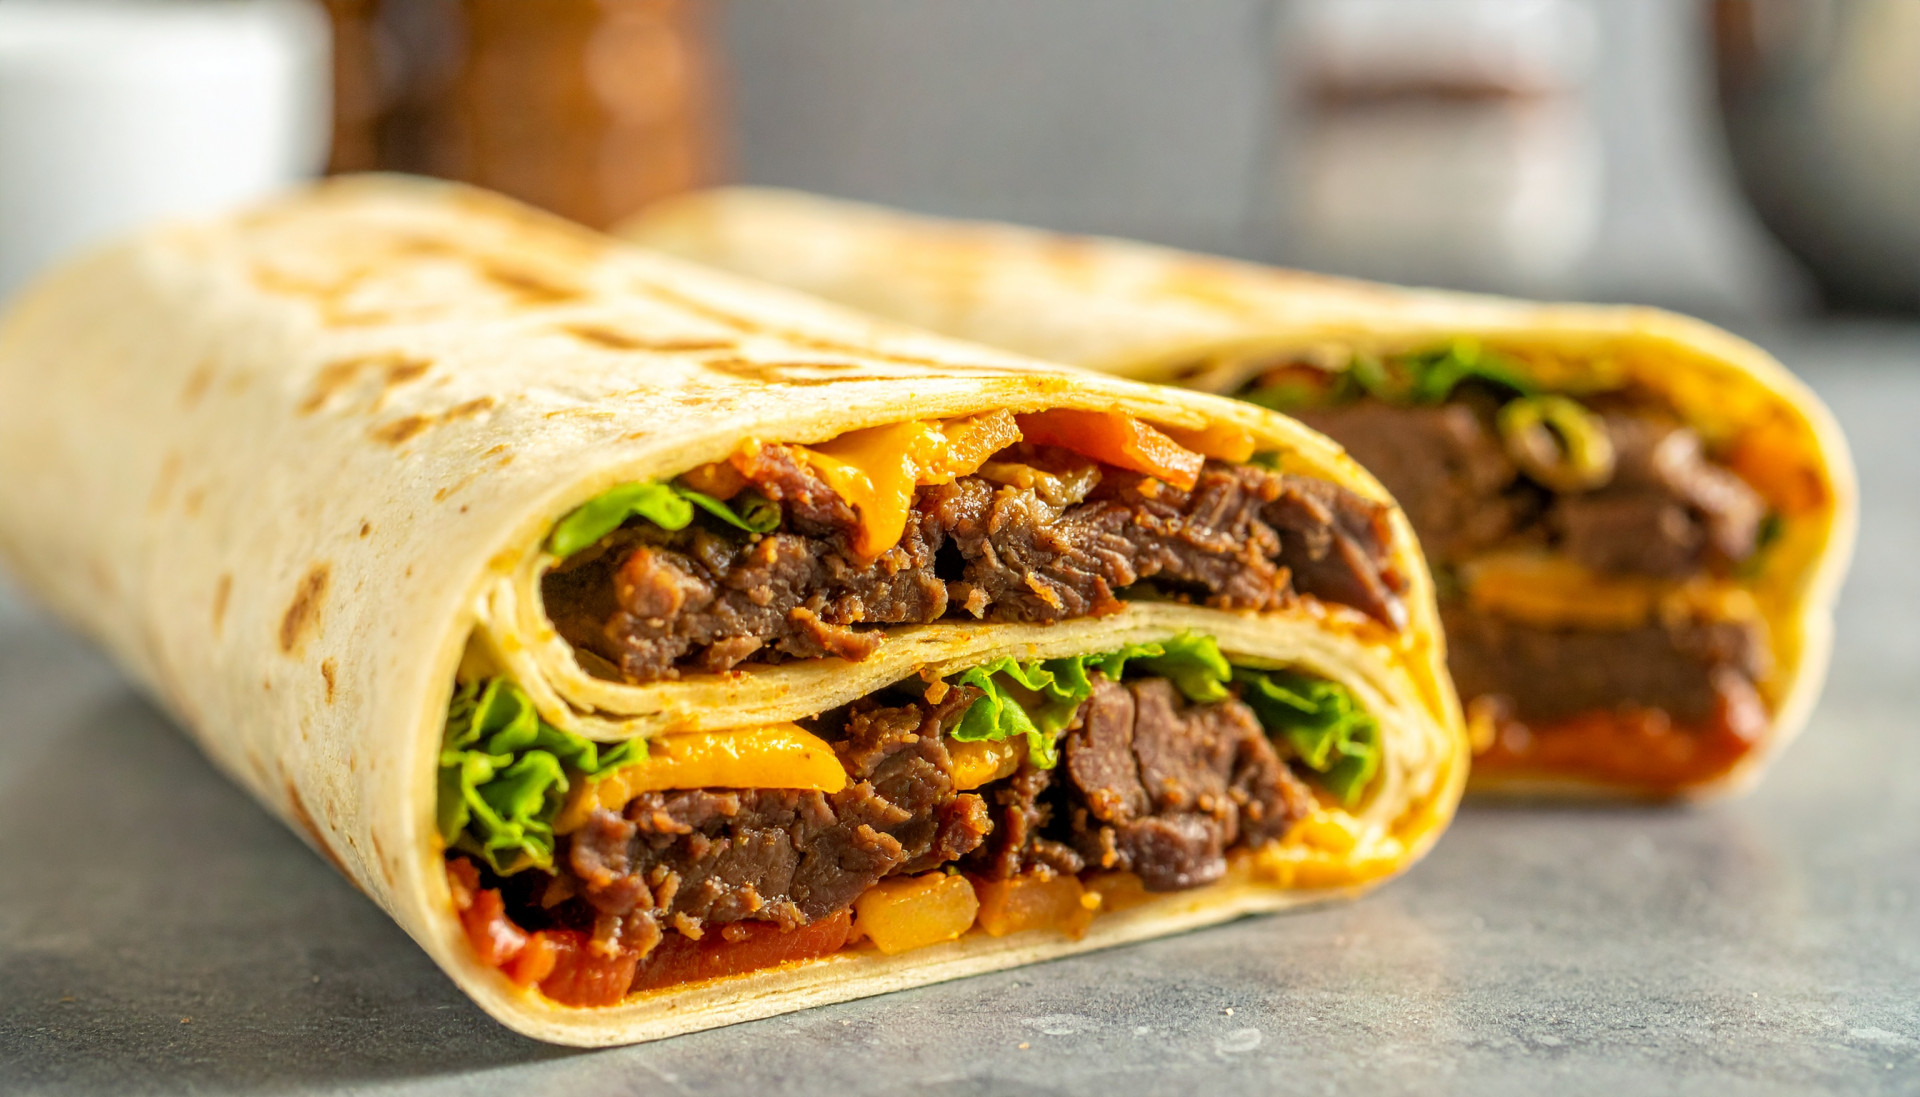
Prep: 15 min | Cook: 15 min | Servings: 1 | Macros: 560 cal | 35g protein | 64g carbs | 20g fat | 5g fiber
Ingredients:
- 4 oz 93% lean ground beef
- 2 tsp low-sodium soy sauce
- 1 tsp gochujang
- 1 tsp honey
- ½ tsp rice vinegar
- ½ tsp sesame oil
- ½ garlic clove, minced
- ¼ tsp grated ginger
- 1 large flour tortilla
- ⅓ cup cooked jasmine rice
- ½ cup shredded cabbage or coleslaw mix
- ¼ cup thinly sliced cucumber
- 1 scallion, sliced
- ½ tsp sesame seeds
- Cooking spray
- 2 tbsp nonfat Greek yogurt
- ½–1 tsp gochujang (for crema)
- ½ tsp honey (for crema)
- 1 tsp water (for crema)
Instructions:
- Make the crema: Mix Greek yogurt, gochujang, honey and water in a small bowl. Set aside. Make the quick slaw: Put the cabbage in another bowl. Add ½ teaspoon rice vinegar, a tiny splash of soy sauce and sesame seeds. Toss and set aside.
- Make the Korean beef sauce: Combine soy sauce, gochujang, honey, rice vinegar, sesame oil, garlic and ginger. Stir well. Heat a skillet over medium-high heat. Add the ground beef and break it apart with your spatula. Cook for 5–7 minutes, until completely browned. Drain excess fat if necessary.
- Turn the heat to medium. Pour the sauce over the beef. Cook for another 1–2 minutes, stirring frequently, until the beef looks glossy and the sauce has mostly absorbed.
- Microwave the tortilla for about 10–15 seconds. Place the ingredients slightly below the center: Rice → Korean beef → sesame slaw → cucumber → scallions → spicy crema. Fold the sides toward the center, then roll from the bottom upward into a tight wrap.
- Lightly spray a skillet with cooking spray. Place the wrap seam-side down over medium heat. Cook for approximately 2 minutes, then flip and cook another 1–2 minutes. Slice diagonally.
Why it made the plan: The Korean beef and rice give you the comfort-food component, but cucumber and vinegar-dressed cabbage take up a meaningful amount of space inside the wrap. Instead of filling the entire tortilla with beef, rice, cheese and a mayo-heavy sauce, we’re creating satisfaction through contrast.
Storage: Best assembled fresh.
Thursday — Dinner
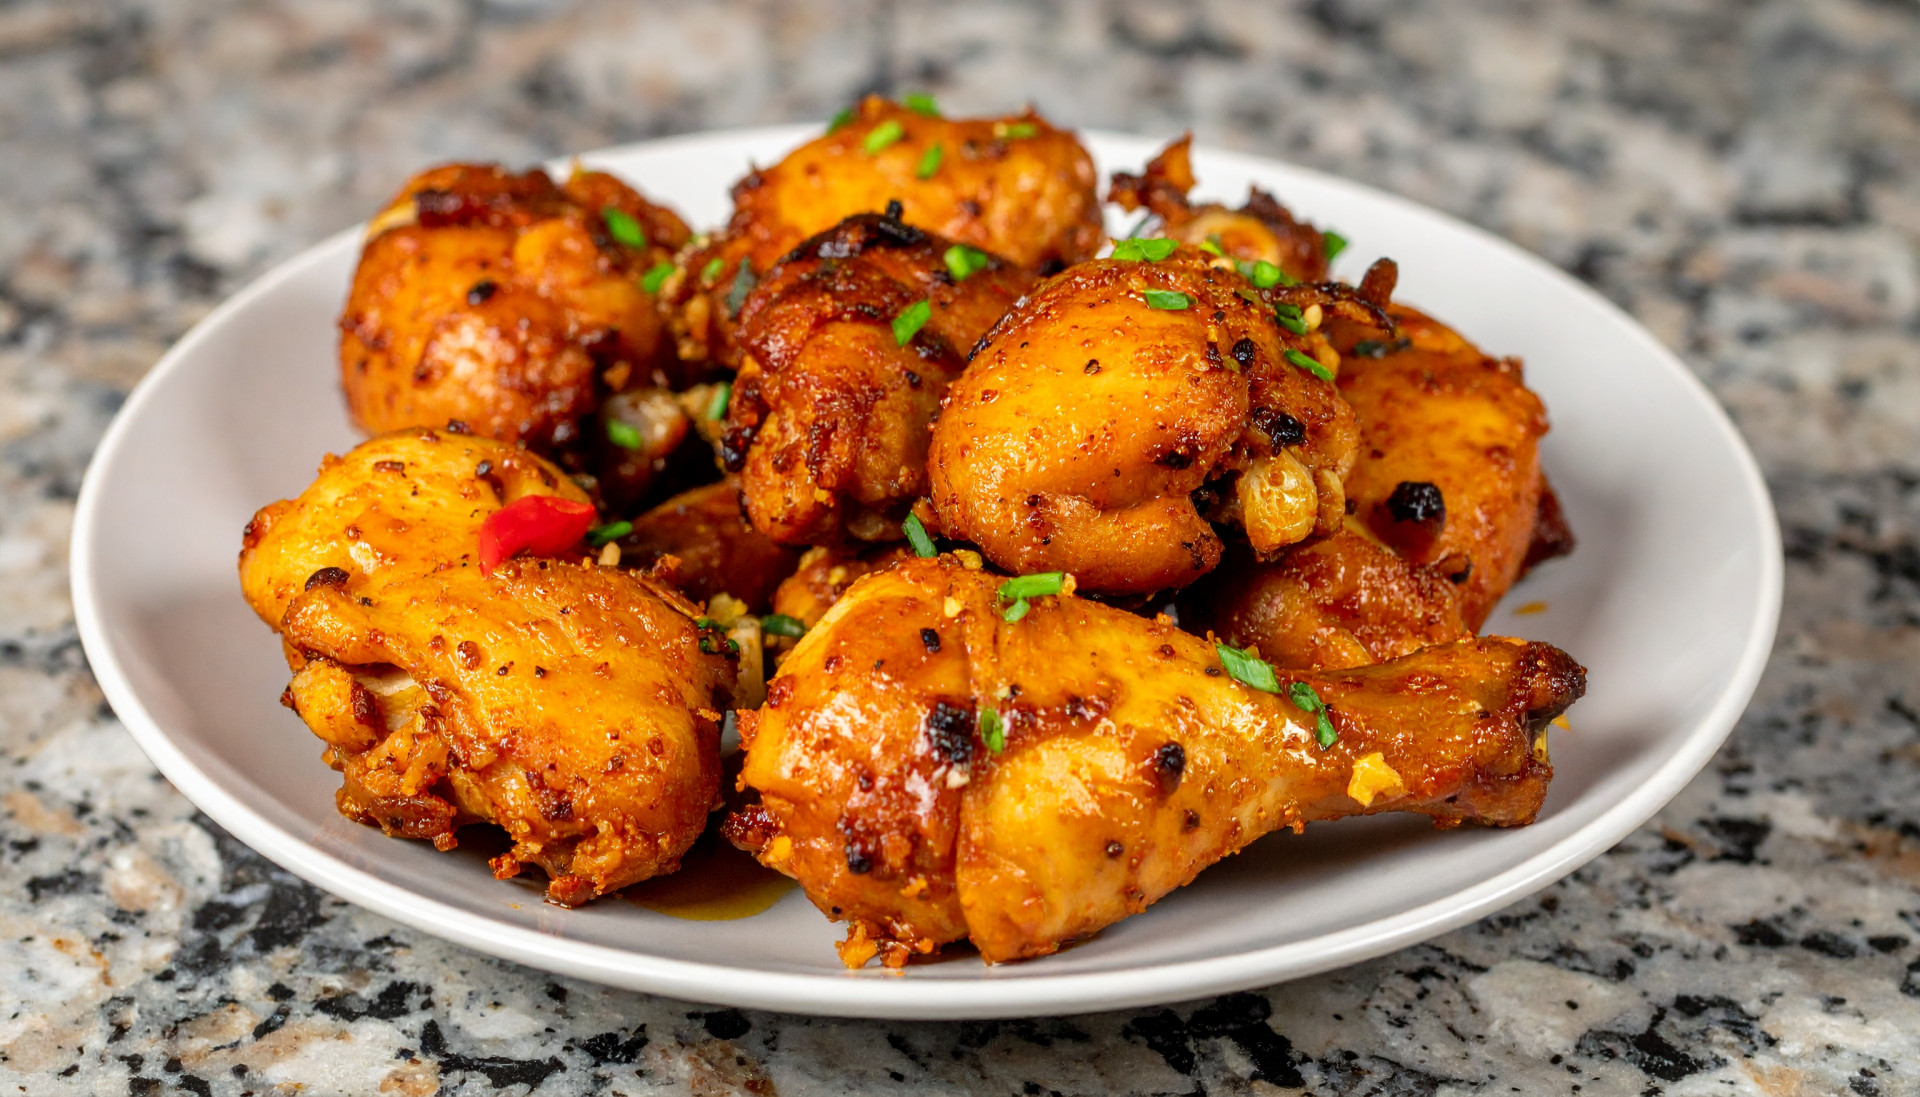
Sticky Honey-Garlic Chicken
Golden chicken coated in a glossy sweet-savory honey-garlic glaze, served with crispy smashed potatoes and blistered garlic green beans.
Prep: 20 min | Cook: 35 min | Servings: 1 | Macros: 650 cal | 57g protein | 69g carbs | 17g fat | 8g fiber
Ingredients:
- 6 oz boneless, skinless chicken breast
- 1 tbsp cornstarch
- ¼ tsp garlic powder
- Salt and black pepper
- 1 tsp olive oil
- 1 tbsp honey
- 1 tbsp low-sodium soy sauce
- 1 tsp rice vinegar
- 1 tsp sriracha, optional
- 1 large garlic clove, minced
- ½ tsp grated ginger
- 2 tbsp water
- 6 oz baby potatoes
- 1 tsp olive oil
- 1 tbsp grated Parmesan
- ¼ tsp garlic powder
- 1½ cups fresh green beans, trimmed
- ½ tsp olive oil
- 1 garlic clove, minced
- Squeeze of lemon
- 1 scallion, sliced
- ½ tsp sesame seeds
Instructions:
- Preheat oven to 425°F. Put the baby potatoes in a small pot and cover them with cold water. Add a pinch of salt. Bring to a boil, then reduce slightly and cook for approximately 12–15 minutes. Drain well. Place on a baking sheet and gently press each potato until it flattens to about ½ inch thick. Drizzle with olive oil, sprinkle with Parmesan, garlic powder, salt and pepper. Roast for approximately 20–25 minutes.
- While the potatoes roast, combine honey, soy sauce, rice vinegar, sriracha, garlic, ginger and water in a small bowl. Set aside. Cut the chicken into bite-size pieces. Pat them dry. Season with garlic powder, pepper and a small pinch of salt. Sprinkle cornstarch over the chicken and toss until each piece has a very thin coating.
- Heat 1 teaspoon olive oil in a skillet over medium-high heat. Add the chicken in one layer. Leave it alone for approximately 2–3 minutes before stirring so it has time to brown. Continue cooking for another 4–5 minutes, stirring occasionally, until cooked through.
- Reduce the heat to medium-low. Pour your honey-garlic sauce into the skillet. Stir continuously for 1–2 minutes. Once it coats the chicken rather than pooling at the bottom of the skillet, remove from heat.
- Heat ½ teaspoon olive oil in another skillet over medium-high heat. Add green beans and cook for approximately 4–5 minutes, stirring occasionally. Add garlic during the final 30–60 seconds. Season with salt, pepper and a squeeze of lemon.
- Add the sticky honey-garlic chicken to one side of your plate. Add crispy smashed potatoes and a generous serving of green beans. Finish the chicken with scallions and sesame seeds. Spoon any remaining glaze from the pan over the chicken.
Why it made the plan: The chicken gets golden from a light cornstarch coating rather than breading and deep frying. The honey-garlic glaze provides that sticky takeout-style payoff. The potatoes are genuinely crispy, but roasted rather than fried, and a full serving of garlicky green beans keeps the plate balanced.
Storage: Chicken and potatoes keep 3 days.

Friday — Breakfast
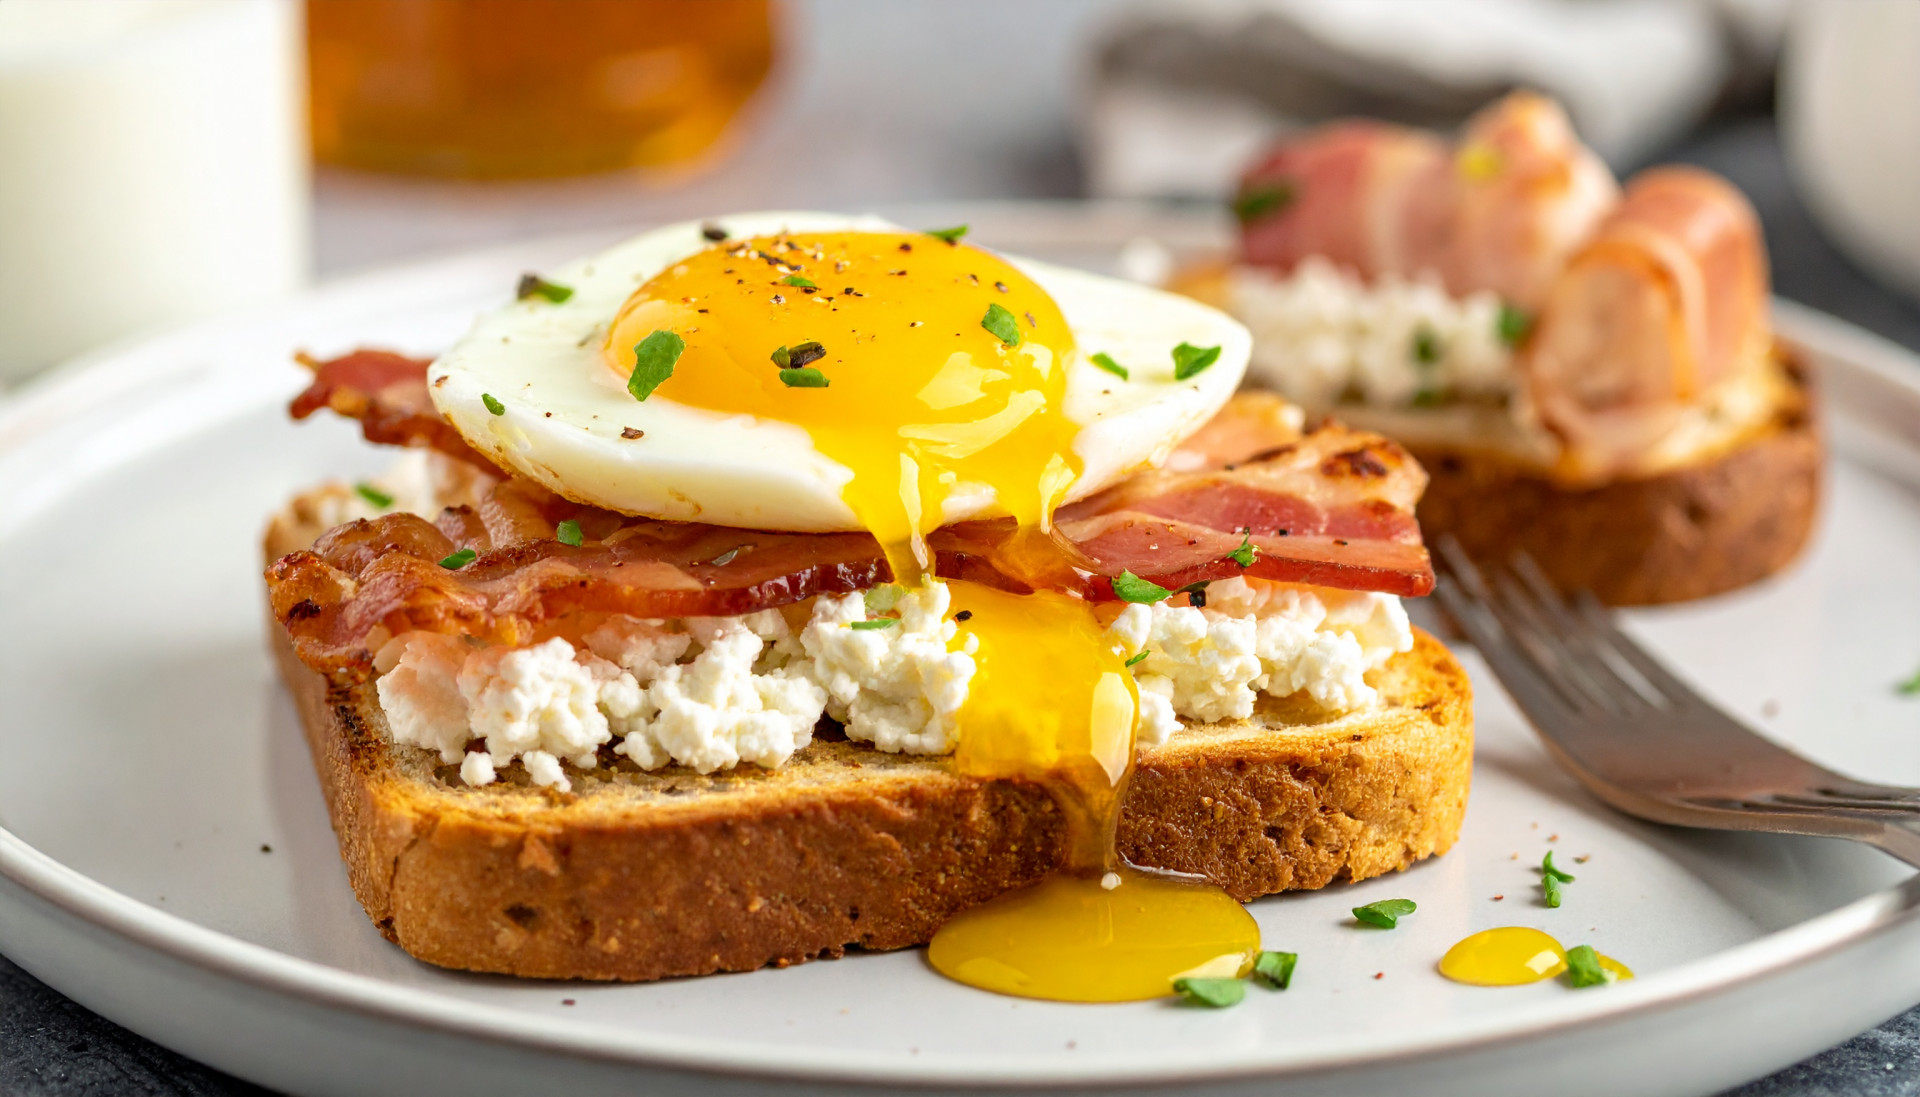
Savory Cottage Cheese Breakfast Toast
Golden sourdough piled with whipped cottage cheese, jammy eggs and crisp turkey bacon, finished with scallions, cracked pepper and a touch of hot honey.
Prep: 10 min | Cook: 10 min | Servings: 1 | Macros: 500 cal | 40g protein | 48g carbs | 18g fat | 4g fiber
Ingredients:
- 2 slices sourdough bread
- ½ cup 2% cottage cheese
- 2 large eggs
- 2 slices turkey bacon
- 1 tsp hot honey
- 1 scallion, thinly sliced
- Pinch of red pepper flakes
- Freshly cracked black pepper
- Small pinch of salt
- Optional: squeeze of lemon juice
Instructions:
- Fill a small saucepan with enough water to completely cover two eggs. Bring it to a boil. Once the water is boiling, lower the eggs into the water using a spoon. Set a timer for 7 minutes. While the eggs cook, fill a bowl with cold water and several ice cubes. When the timer goes off, immediately transfer the eggs into the ice water. Leave them for at least 3 minutes.
- Cook the turkey bacon according to the package directions until browned and crisp. Transfer to a paper towel and roughly chop.
- Put cottage cheese in a small food processor or blender and blend until smooth and creamy. No blender? Use it as-is. Add black pepper and, optionally, a tiny squeeze of lemon.
- Toast both slices of sourdough until golden and crisp. Gently tap each egg against the counter to crack the shell. Peel under cool running water. Slice each egg in half.
- Spread whipped cottage cheese generously over the sourdough. Top with the jammy eggs and chopped turkey bacon. Finish with scallions, red pepper flakes, black pepper and a light drizzle of hot honey.
Why it made the plan: Cottage cheese and eggs provide a substantial protein base, while sourdough supplies carbohydrates for energy. Turkey bacon brings smoky comfort-food flavor, and a small amount of hot honey creates that sweet-savory contrast without turning breakfast into something sugary.
Storage: Best assembled fresh.
Friday — Lunch
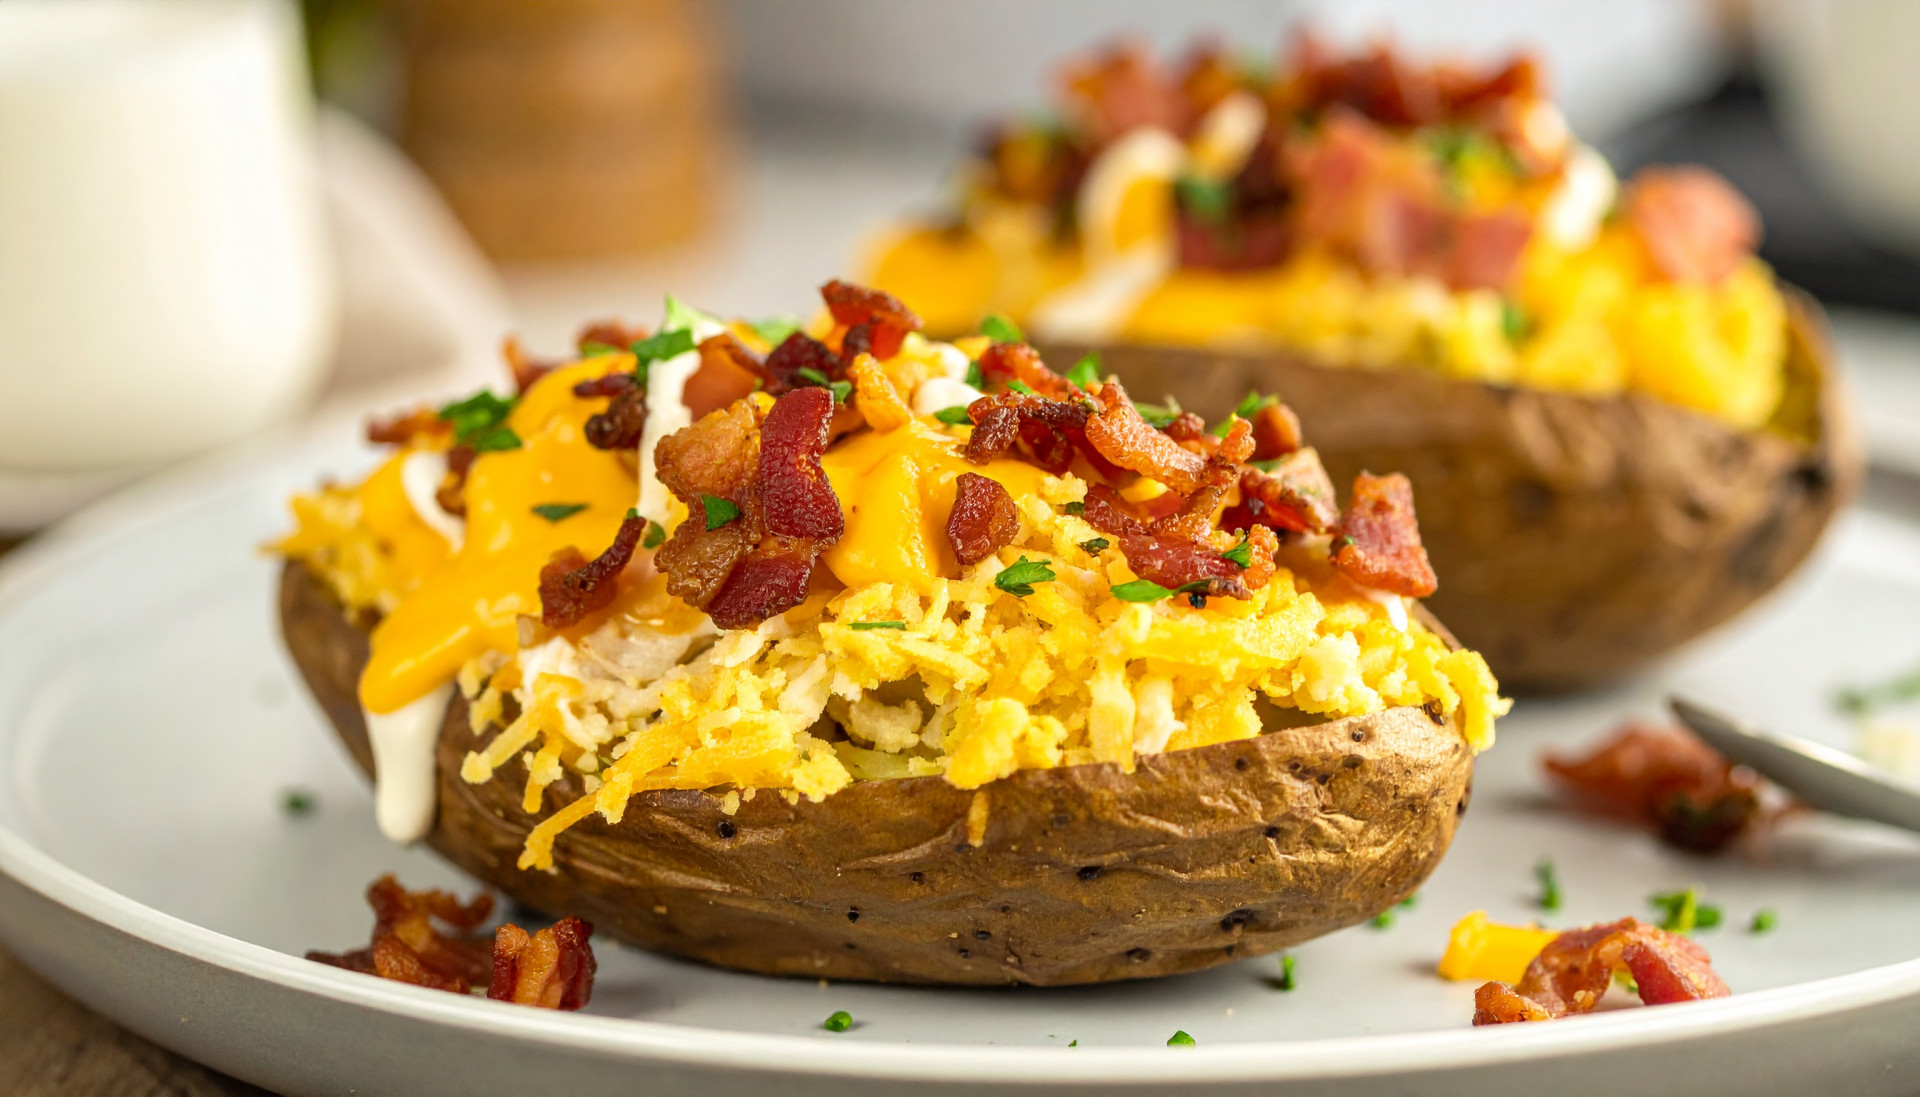
Loaded Chicken Bacon Ranch Baked Potato
A fluffy baked potato piled with seasoned chicken, crispy turkey bacon, melted cheddar and creamy ranch, finished with scallions and chives.
Prep: 15 min | Cook: 60 min | Servings: 1 | Macros: 570 cal | 53g protein | 55g carbs | 17g fat | 5g fiber
Ingredients:
- 1 medium russet potato, about 8 oz
- 4 oz boneless, skinless chicken breast
- 2 slices turkey bacon
- ¼ cup shredded sharp cheddar
- 2 scallions, sliced
- 1 tbsp chopped fresh chives
- ¼ tsp garlic powder
- ¼ tsp smoked paprika
- Salt and black pepper
- Cooking spray
- ¼ cup nonfat Greek yogurt
- ½ tsp ranch seasoning
- 1–2 tsp water
- Squeeze of lemon juice
Instructions:
- Preheat your oven to 425°F. Scrub the potato and dry it. Pierce it several times with a fork. Place directly on the oven rack and bake for approximately 45–60 minutes, until a knife slides easily into the center.
- Combine Greek yogurt and ranch seasoning. Add water a teaspoon at a time until it reaches the consistency you like. Finish with a little lemon juice. Refrigerate until needed.
- Season the chicken with garlic powder, smoked paprika, salt and pepper. Lightly coat a skillet with cooking spray and heat over medium-high. Cook chicken for approximately 4–6 minutes per side until it reaches 165°F. Transfer to a cutting board and let it rest for 5 minutes. Then chop into bite-size pieces. Cook turkey bacon according to package directions until crisp. Chop into small pieces.
- Carefully slice the hot potato lengthwise without cutting completely through the bottom. Push the ends gently toward each other to open it. Use a fork to fluff the inside. Season lightly with salt and black pepper.
- Load it up: Chicken → cheddar → turkey bacon. Return it to the oven for 2–3 minutes, just until the cheddar melts. Drizzle with Greek-yogurt ranch. Add scallions, chives and plenty of black pepper.
Why it made the plan: The potato gives you plenty of carbohydrate and volume, while chicken provides more than 30 grams of protein. Sharp cheddar, bacon and ranch are still there because those flavors are what make a loaded potato a loaded potato. We’re simply using them as high-impact toppings instead of the bulk of the meal.
Storage: Potato and chicken keep 3 days.
Friday — Dinner
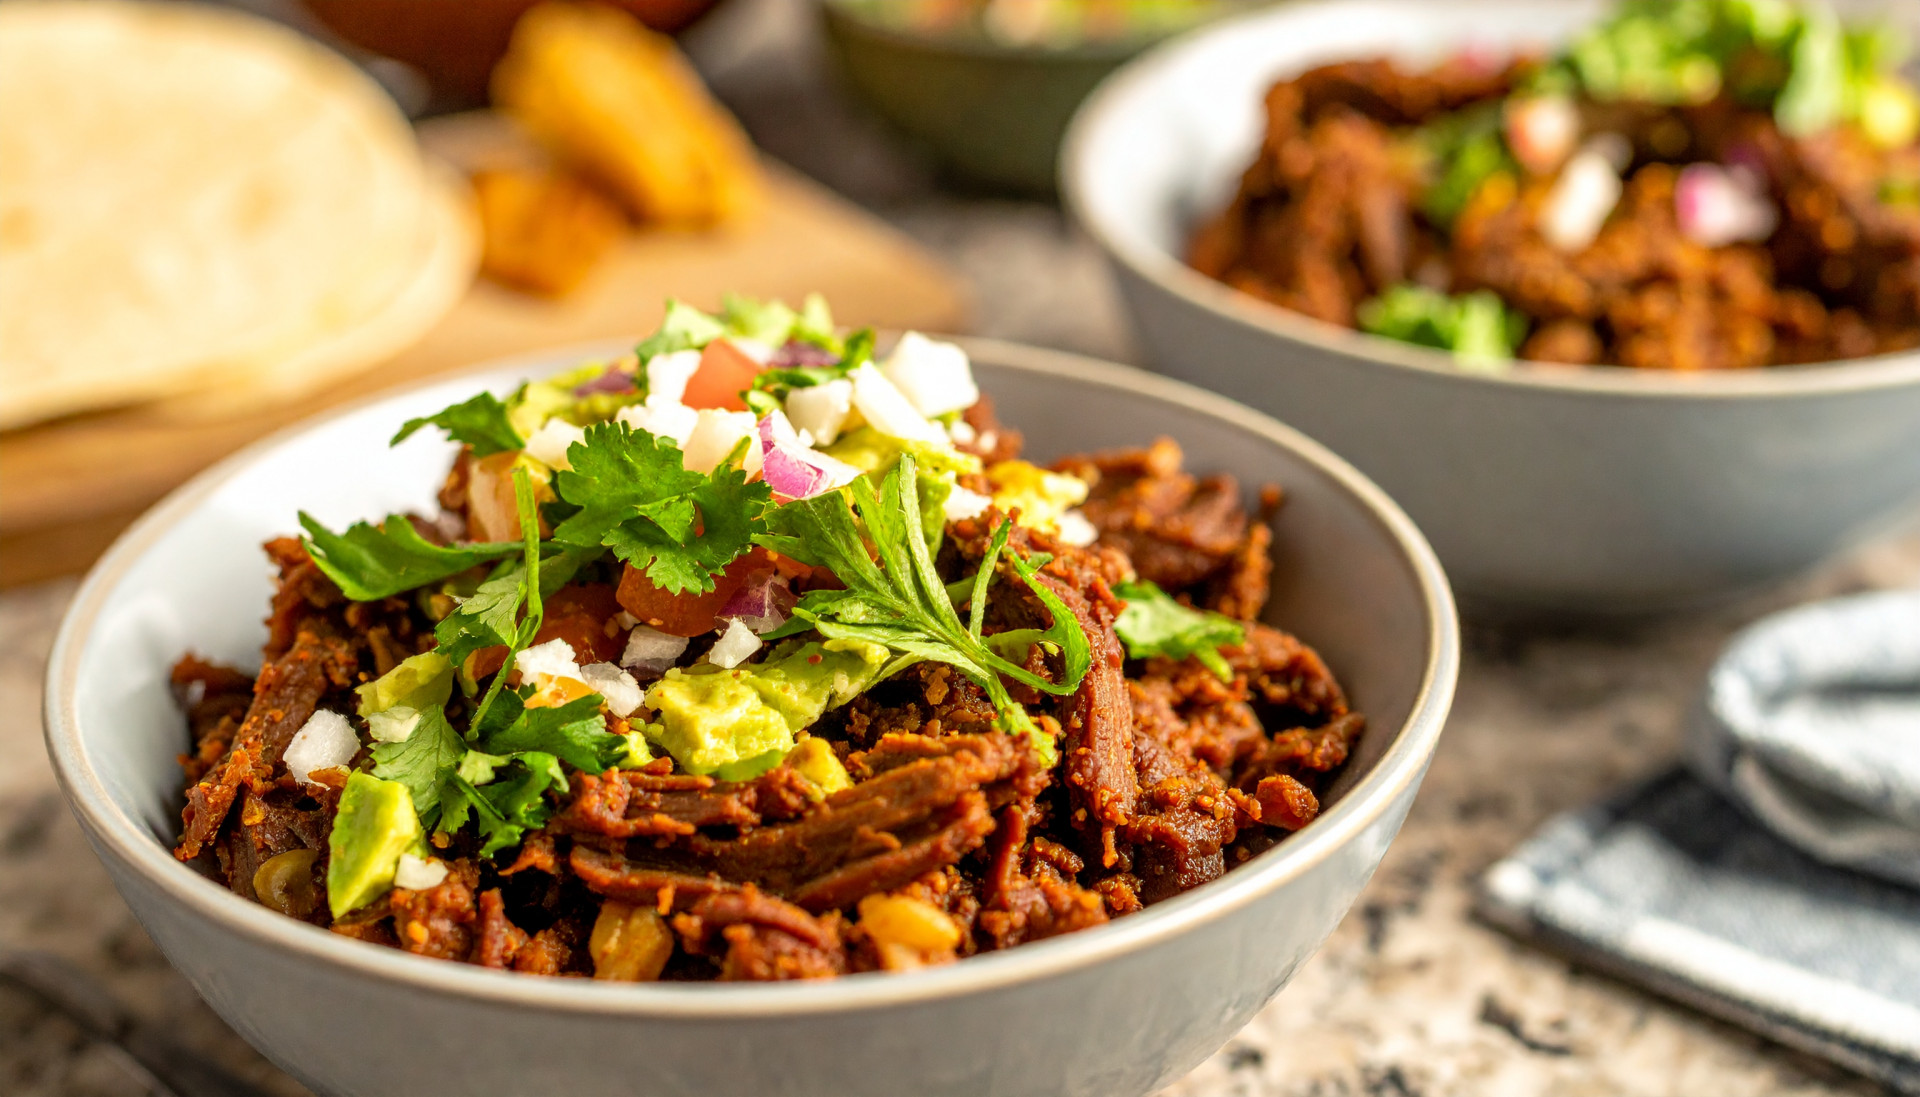
Slow-Cooked Chipotle Beef Carnitas Bowls
Fork-tender smoky chipotle beef over cilantro-lime rice and black beans, topped with fresh pico de gallo and cool avocado-lime crema.
Prep: 20 min | Cook: 6-8 hours (slow cooker) | Servings: 1 | Macros: 630 cal | 43g protein | 71g carbs | 19g fat | 14g fiber
Ingredients:
- 5 oz lean chuck roast or sirloin roast
- ½ chipotle pepper in adobo, finely chopped
- 1 tsp adobo sauce
- ¼ cup low-sodium beef broth
- 2 tbsp diced onion
- 1 garlic clove, minced
- ½ tsp ground cumin
- ½ tsp smoked paprika
- ¼ tsp dried oregano
- 1 tsp fresh lime juice
- Salt and black pepper
- ½ cup cooked jasmine or long-grain rice
- 1 tbsp chopped cilantro
- 1 tsp lime juice (for rice)
- ½ cup black beans, drained and rinsed
- ½ cup pico de gallo
- ½ cup finely shredded cabbage
- 1 scallion, sliced
- ¼ avocado
- 2 tbsp nonfat Greek yogurt
- 1–2 tsp lime juice (for crema)
- Pinch of salt
- 1–2 tsp water (for crema)
Instructions:
- Pat the beef dry with a paper towel. Season all over with cumin, smoked paprika, oregano, salt and black pepper. Heat a skillet over medium-high heat and lightly coat with cooking spray. Add the beef. Cook for approximately 2 minutes per side, just until browned.
- Place the beef inside a slow cooker. Add onion, garlic, chopped chipotle, adobo sauce and beef broth. Cook on LOW for 6–8 hours or HIGH for 3–4 hours, until you can easily pull the meat apart with two forks.
- Transfer the cooked beef to a plate. Use two forks to pull it into bite-size shreds. Return the shredded beef to the cooking liquid and stir. Add fresh lime juice.
- Make the cilantro-lime rice: Combine warm cooked rice with cilantro, lime juice and a pinch of salt. Heat the black beans in a microwave-safe bowl with a tablespoon of water for 60–90 seconds.
- Make the avocado-lime crema: Mash avocado thoroughly with a fork. Add Greek yogurt, lime juice and salt. Mix until creamy. Add water 1 teaspoon at a time until it’s thin enough to drizzle.
- Build your bowl: Cilantro-lime rice → black beans → chipotle beef → shredded cabbage → pico → avocado-lime crema → scallions. Spoon a little of the smoky cooking liquid over the beef before serving.
Why it made the plan: This bowl has everything you’d expect from comfort food: slow-cooked beef, rice, creamy avocado and a smoky sauce. But there’s also a meaningful amount of fiber from black beans, cabbage and avocado, while pico, cilantro and lime bring freshness and acidity. It’s a big-flavor finale rather than a giant-portion finale.
Storage: Beef keeps 4 days; assemble bowls fresh.
Ingredients:
Protein and Dairy
- 2.5 lbs Boneless, Skinless Chicken Breast
- 1 lb Lean Ground Beef
- .5 lb Sirloin Steak
- 1 lb Lean Chuck
- 8 oz Turkey Breakfast Sausage
- 12 oz Smoked Turkey Sausage
- 8 oz Turkey Bacon
- 12 Eggs
- 32 oz Plain Nonfat Greek Yogurt
- 16 oz 2% Cottage Cheese
- 8 oz Sharp Cheddar
- 4 oz Fresh Mozzarella
- 5 oz Parmesan
- 8 oz Light Cream Cheese
- 1 quart Milk
- 1 package Butter
Produce
- 2 lb Yukon Gold Potatoes
- 1 lb Baby Potatoes
- 3 Bell Peppers
- 2 Yellow Onions
- 2 bulbs Garlic
- 1 head Romaine
- 5 oz Arugula
- 1 head Broccoli
- .5 lb Green Beans
- 1 Cucumber
- 1 bag Shredded Cabbage
- 1 bunch Celery
- 1 Roma Tomato
- 1 pint Cherry Tomatoes
- 2 bunches Scallions
- 2 Avocados
- 3 Limes
- 2 Lemons
- 8 oz Pico de Gallo
Grains
- 1 loaf Sourdough Bread
- 8 Large Flour Tortillas
- 1 package Biscuits
- 1 package Prepared Cornbread
- 1 lb Jasmine rice
- 1 box Pasta
- 1 container Panko Breadcrumbs
- 1 bag All-Purpose Flour
- 15 oz Butter Beans
- 15 oz Black Beans
- 10 oz Frozen Shelled Edamame
Seasonings and Sauces
- 7 oz Gochujang
- Low-Sodium Soy Sauce
- Rice Vinegar
- Sesame Oil
- Honey
- Buffalo Sauce
- Caesar Dressing
- 6 oz Basil Pesto
- Balsamic Glaze
- 1 packet Ranch Seasoning
- Sriracha
- Chipotle Peppers in Adobo
- 32 oz Low-Sodium Chicken Broth
- 32 oz Low-Sodium Beef Broth
- Cornstarch
- Olive Oil
- Cajun Seasoning
- Smoked Paprika
- Paprika
- Garlic Powder
- Red Pepper Flakes

Ingredients are subject to availability at local stores. Unavailable items will be automatically substituted at best-effort.
Estimated Budget: ~$129
Prices are approximate and based on store brands, value packs, and seasonal produce. Pantry staples like salt, pepper, and basic seasonings are assumed to be on hand.
| Proteins (steak, chicken, ground beef, turkey sausage, bacon) | ~$45 |
| Produce & fresh | ~$25 |
| Dairy & refrigerated | ~$18 |
| Grains, pantry & specialty | ~$41 |
| Total | ~$129 |
This plan uses more variety, premium proteins, bigger flavors, and restaurant-inspired meals—while still making smart use of overlapping ingredients. Macros are planning estimates and will vary by brand and portion.


What to Eat for Brain (Cognitive) Health
High Protein Ramen (25g Protein)